Discovering 2014: Flower Ribbon Sculpture

Discovering 2014 is a personal goal to complete a daily project throughout the year!

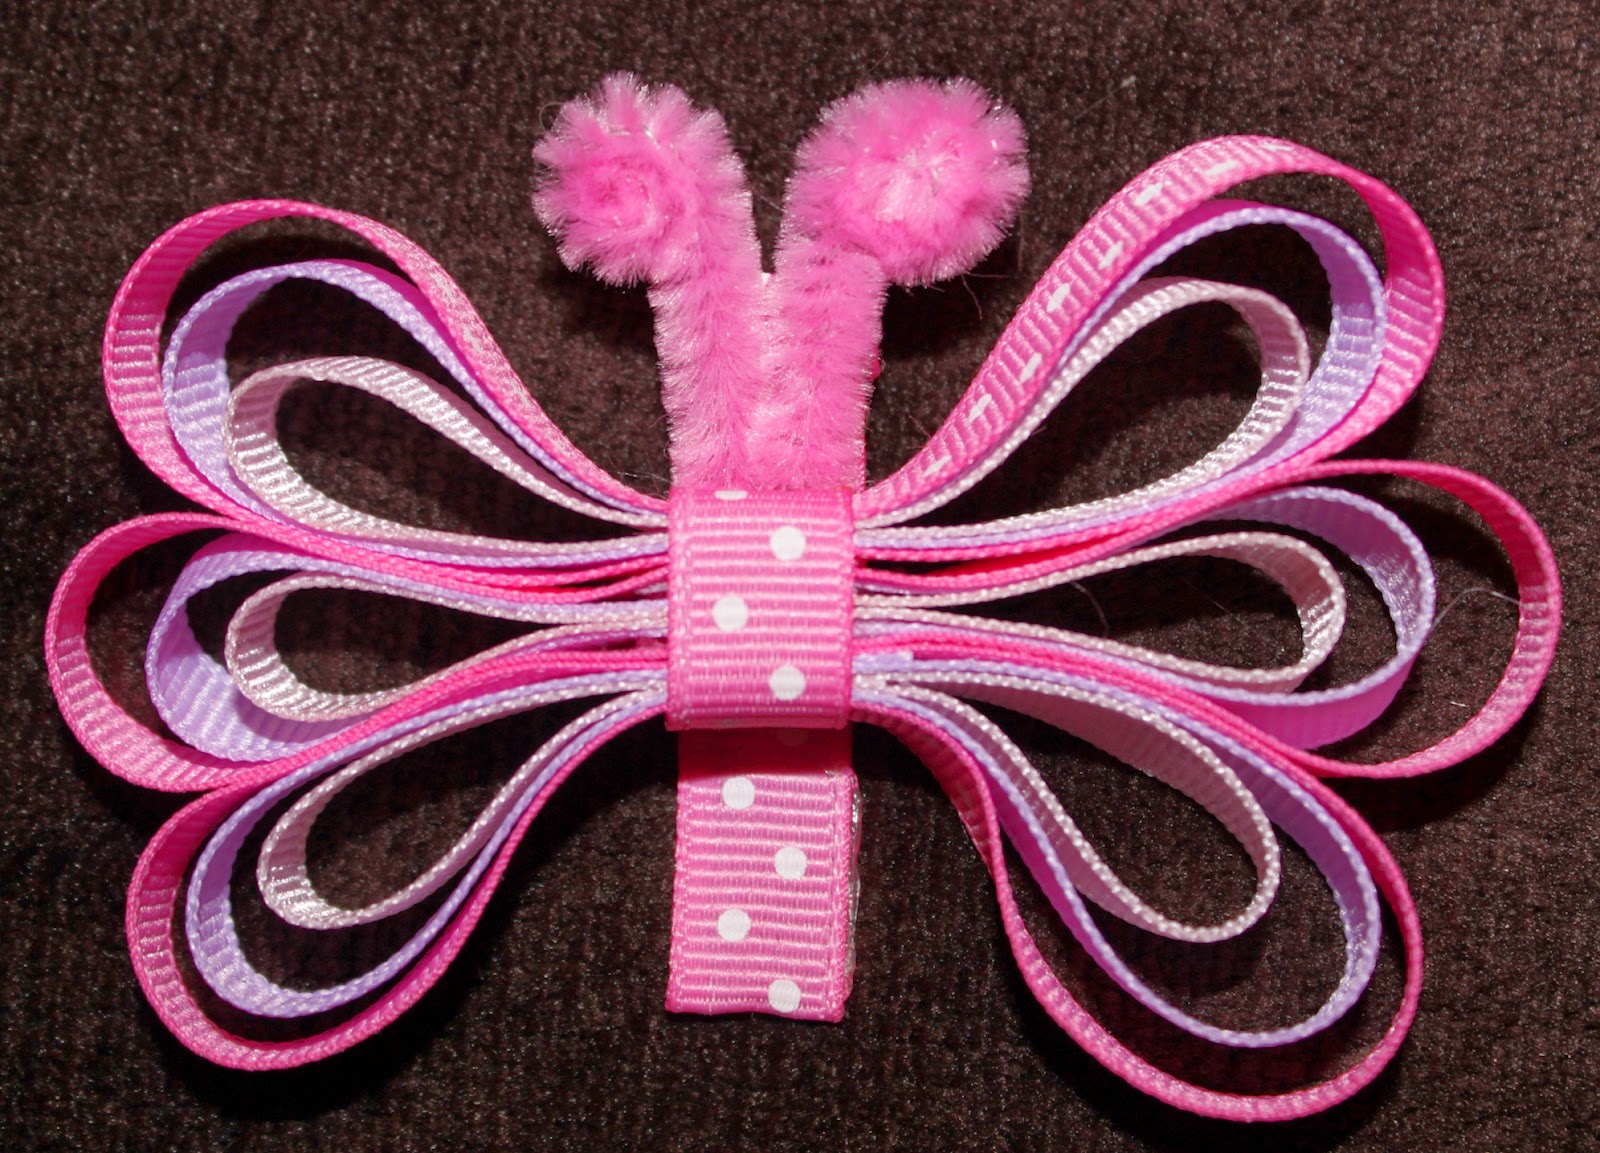
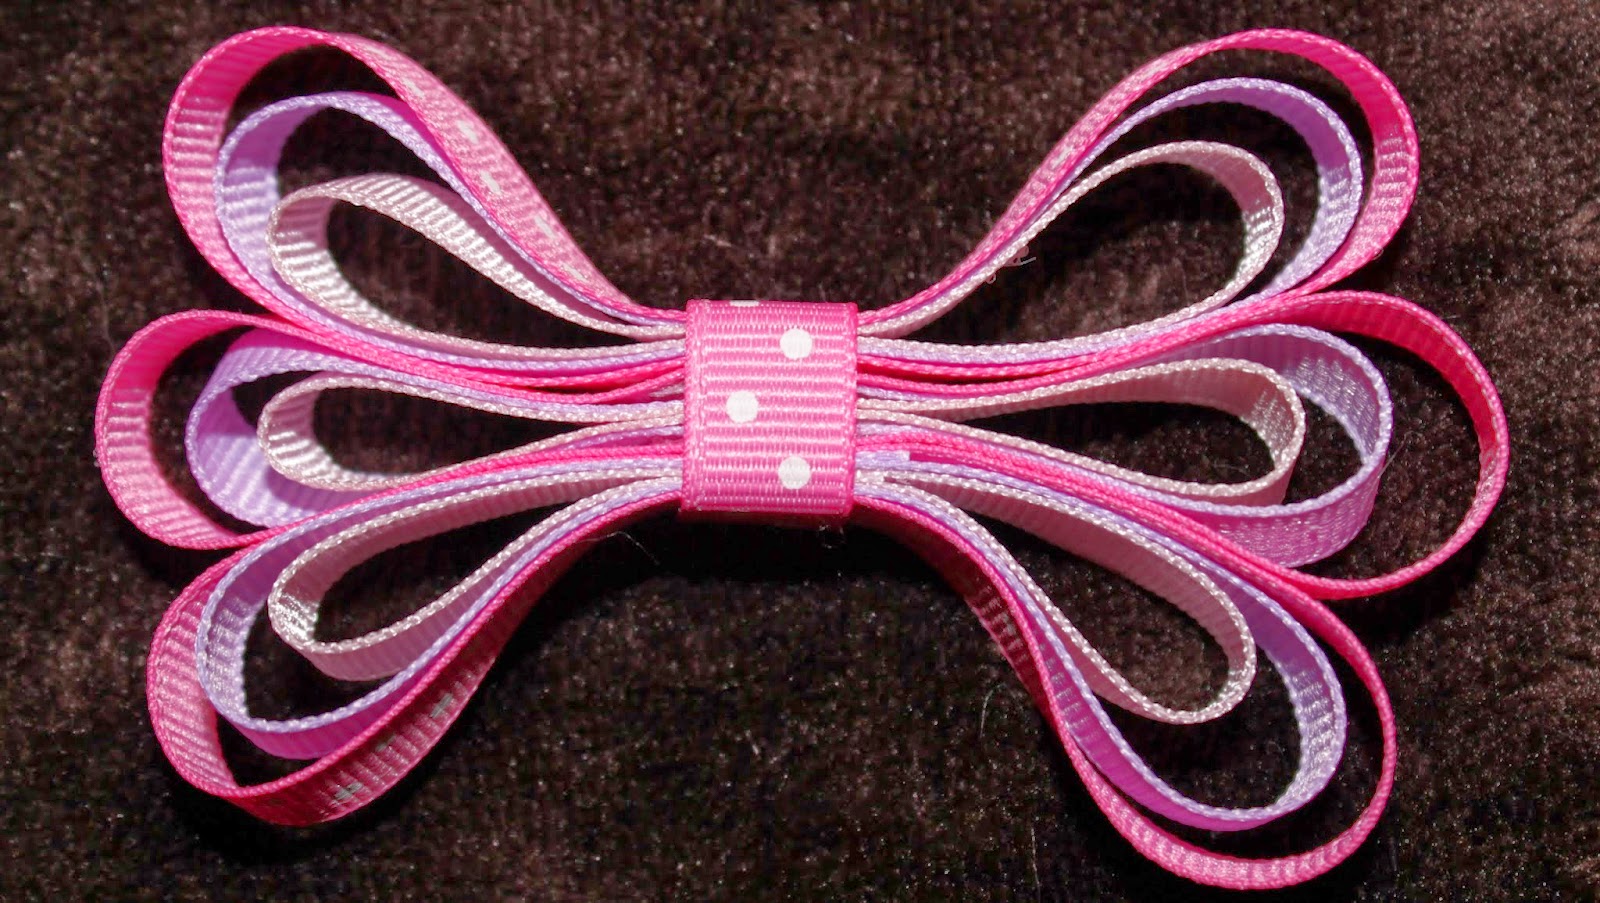
Today’s project was a Flower Ribbon Sculpture. I’ve done flowers in the past, such as this or this, but there’s so many different types to try that I could almost make a full month of them! This one was much easier to put together than yesterday’s butterfly, and I used this pin as my example.

Supplies

  • (1) 2 3/4″ long 3/8″ grosgrain ribbon (flower)
  • (1) 2″ long 3/8″ grosgrain ribbon (flower; same color as above)
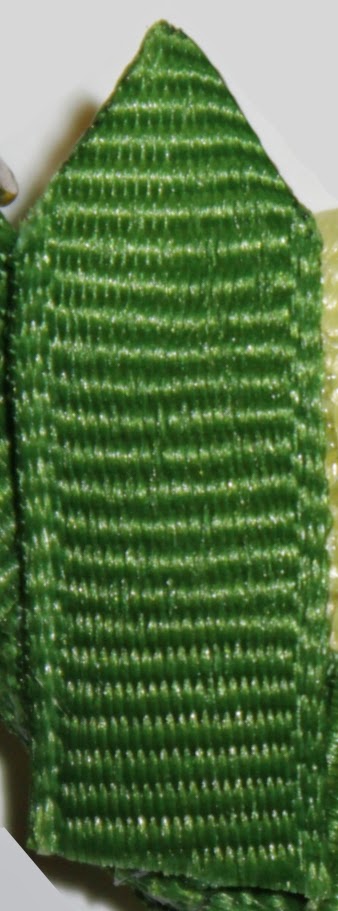
  • (2) 1″ long 3/8″ grosgrain ribbon (leaves, green)
  • covered hair clip (green)
  • hot glue gun

Take your 2″ and 2 3/4″ pieces and wrap them around each other like shown below, adhering with hot glue. The larger one wraps around the outside, of course! 🙂

Cut your green grosgrain pieces to have a pointed end for the leaf shape. You can use a heat sear like a lighter or fray check to keep it from unraveling.

Hot glue the flower onto your covered hair clip, add the leaves, and that’s it!

Discovering 2014: Butterfly Ribbon Sculpture

Discovering 2014 is a personal goal to complete a daily project throughout the year!

Today’s project was a Butterfly Ribbon Sculpture. I’ve made butterfly hair clips in the past (seen here),but this time I took a different approach to making it, using this pin as an example.

Supplies

  • (3) 8″ long 3/8″ grosgrain ribbon (matching color)
  • (3) 7″ long 3/8″ grosgrain ribbon (matching color)
  • (3) 6″ long 3/8″ grosgrain ribbon (matching color)
  • (1) 2 1/4″ long 3/8″ grosgrain ribbon (coordinating color)
  • (2) 2 1/4″ long pipe cleaners (coordinating color)
  • covered hair clip (coordinating color)
  • hot glue gun
  • needle and thread (optional)

The objective is to nest the three wing colors inside each other, as shown below. I preferred to stitch them together with needle and thread. This is the most time consuming part of the build. Do this for all three wing sections.

I hot glued one wing section together, just to show why I prefer using thread and needle for some of these ribbon projects. The hot glued one is on the left and the stitched one is on the right. It’s not wrong to hot glue it and sometimes it’s preferable, but for some things it gives a too bulky feel, in my opinion!

After you have all three assembled, hot glue them together in the centers.

Use your smaller coordinating piece and wrap it around the center, hot gluing it closed.

Prep your pipe cleaner antennae and covered hair clip! I use my round-nose pliars to curve the pipe cleaners.

Attach the wings and antennae to your covered hair clip and you have a cute butterfly!

Discovering 2014: Rainbow Clippie

Discovering 2014 is a personal goal to complete a daily project throughout the year!

Today’s project was a Rainbow Clippie. You’ll need 3/8″ grosgrain ribbon in red, orange, yellow, green, blue, purple and white.

Cut all your colors, except white, to about 2.5-3″ long. Mine started at 2.5″ but I think closer to 3″ would have worked better.

Hot glue them staggered on one another, as shown below. Trim them so that each successive color is just a tiny bit shorter than the previous. Glue the layered ribbons onto your white covered hair clip.

Next you should lightly glue the opposite ends of the ribbons together, forcing them to meet flush at their ends. I started with blue onto purple, green onto blue, and so on. By the end it should be able to make a puffed arch when you fold it into rainbow shape.

Finally, glue the connected rainbow ends onto the clip, and cut white grosgrain to two 1 1/2″ lengths and one 2″ length. Glue the ends together to make rolls for each length, then glue them onto the clip, forming your clouds.

Now you have a rainbow!

Discovering 2014: Minecraft Creeper Clippie

 Discovering 2014 is a personal goal to complete a daily project throughout the year!

Today’s project was a Minecraft Creeper Clippie.This one I had to wing from creeper pictures, but all three of my crazy-for-Minecraft kids recognized it instantly. The full tutorial follows!

Creeper Body
For the creeper’s body I used 1 1/2″ wide green silk ribbon, cut to about 3 1/4″ long, then folded to be 1 1/2″ long (so it was 1.5″x1.5″) with some overlap to cover the open end, as shown below. I also closed up the sides with a light layer of glue. You could use grosgrain ribbon instead, and 2×2 may actually be better for this if you can find that size.

Creeper Face
For the creeper’s face I used 3/8″ wide black grosgrain ribbon; I wouldn’t suggest any other size for this part. You need two pieces that are 3/8″ long for the eyes and three pieces that are 3/4″ long for the nose and mouth. Carefully heat seal the ends or use fray check.

Final Assembly
When assembling the creeper face I found it easier to work from the bottom up. Apply the hot glue lightly to avoid it oozing out onto the green. I did have it ooze in a few places and I manged to peel most of the excess off, but a couple of spots are stuck for good.

After the face is on, attach it to your covered hair clip and you’re ready to BOOM with style!

Discovering 2014: Balloon Ribbon Sculpture

Discovering 2014 is a personal goal to complete a daily project throughout the year!

Today’s project was a Balloon Ribbon Sculpture. For this you need some 3/8″ grosgrain ribbon (for the balloons) as well as 1/4″ or 1/8″ grosgrain or silk ribbon (for the tails). Cut 2″, 3″ and 4-4.5″” lengths of your balloon colors and nest them inside each other. The balloon tails (I used korker ribbon for mine) should be about 3-4″ long. You can either hot glue or stitch the pieces together!

See you tomorrow!