Discovering 2014: Canvas Decor

Discovering 2014 is a personal goal to complete a daily project throughout the year!

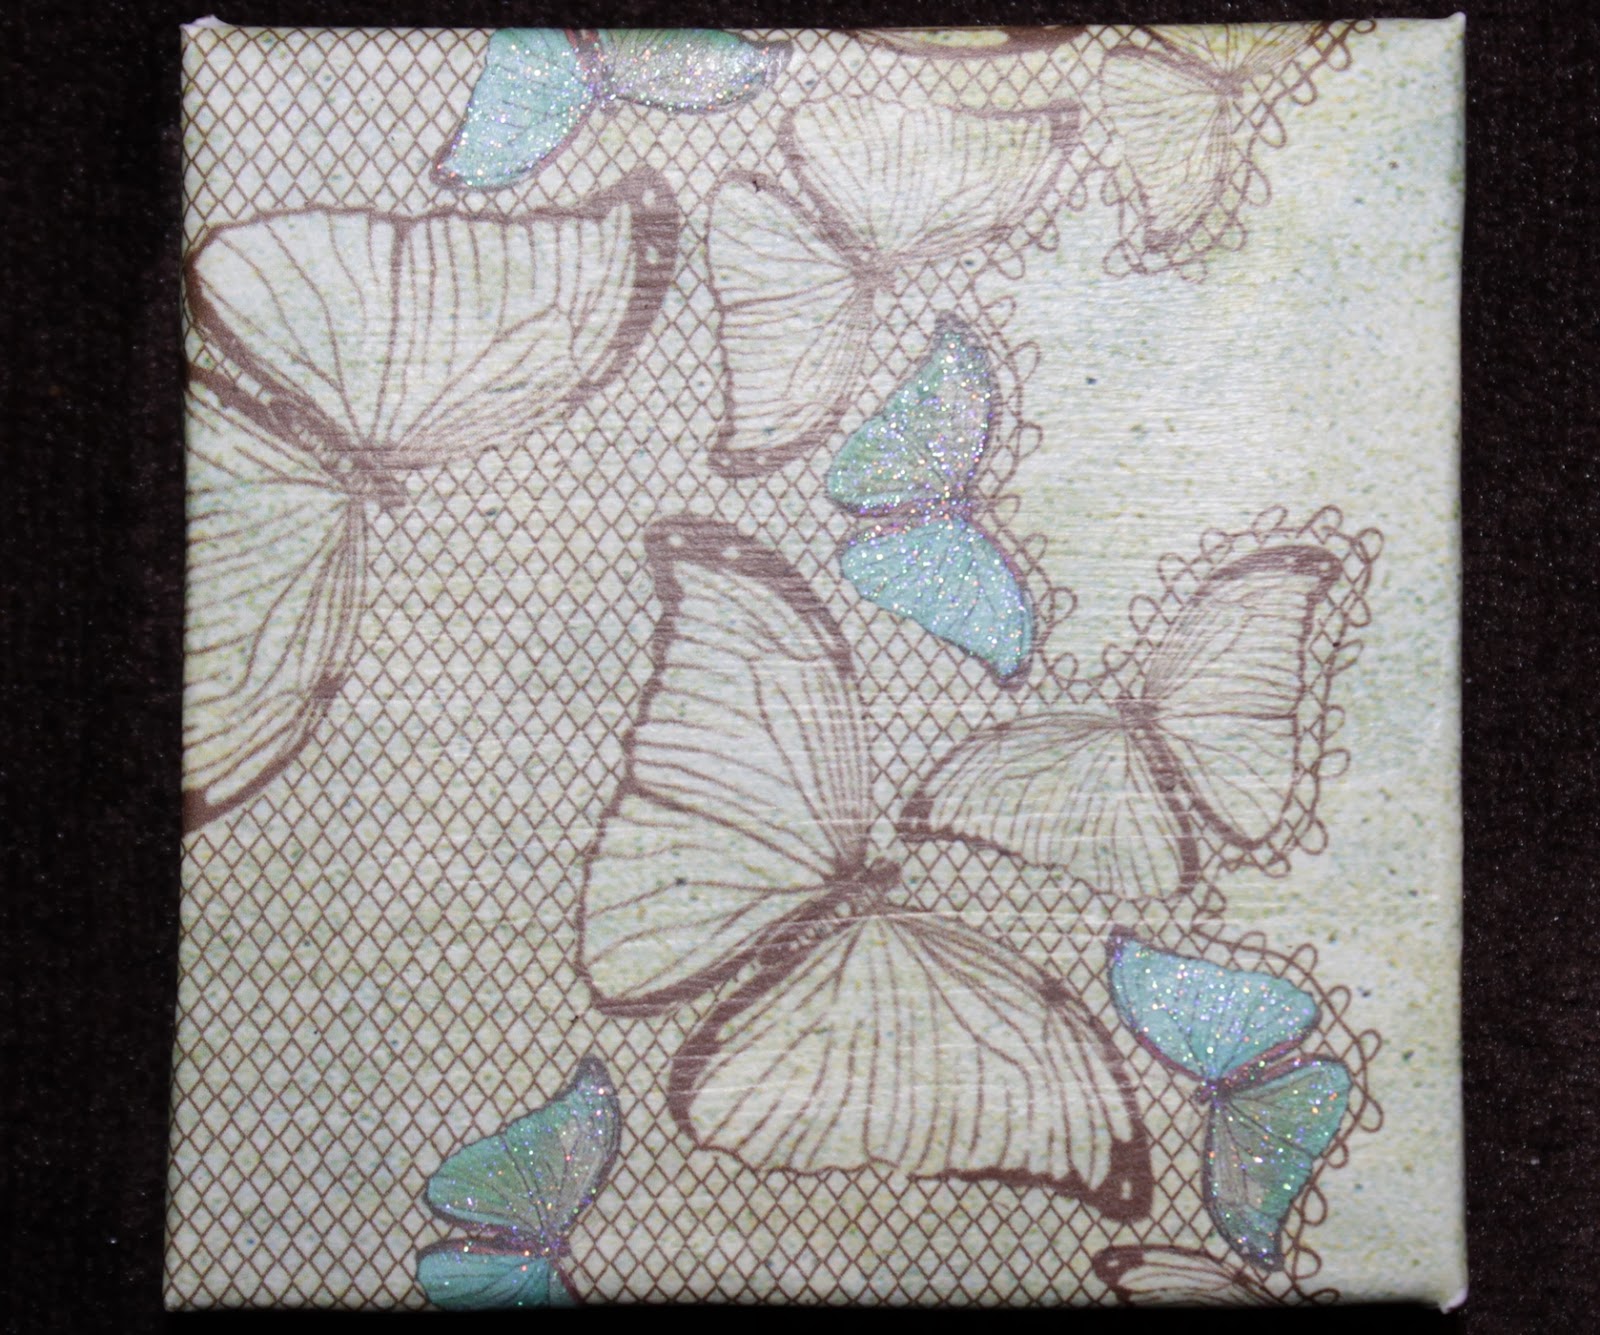
Today’s project was Canvas Decor, which I’ve seen in various forms on Pinterest, ranging from using newspapers or old calendars to using photos to create your own collage. I chose to use some scrapbook paper for mine.

Supplies:

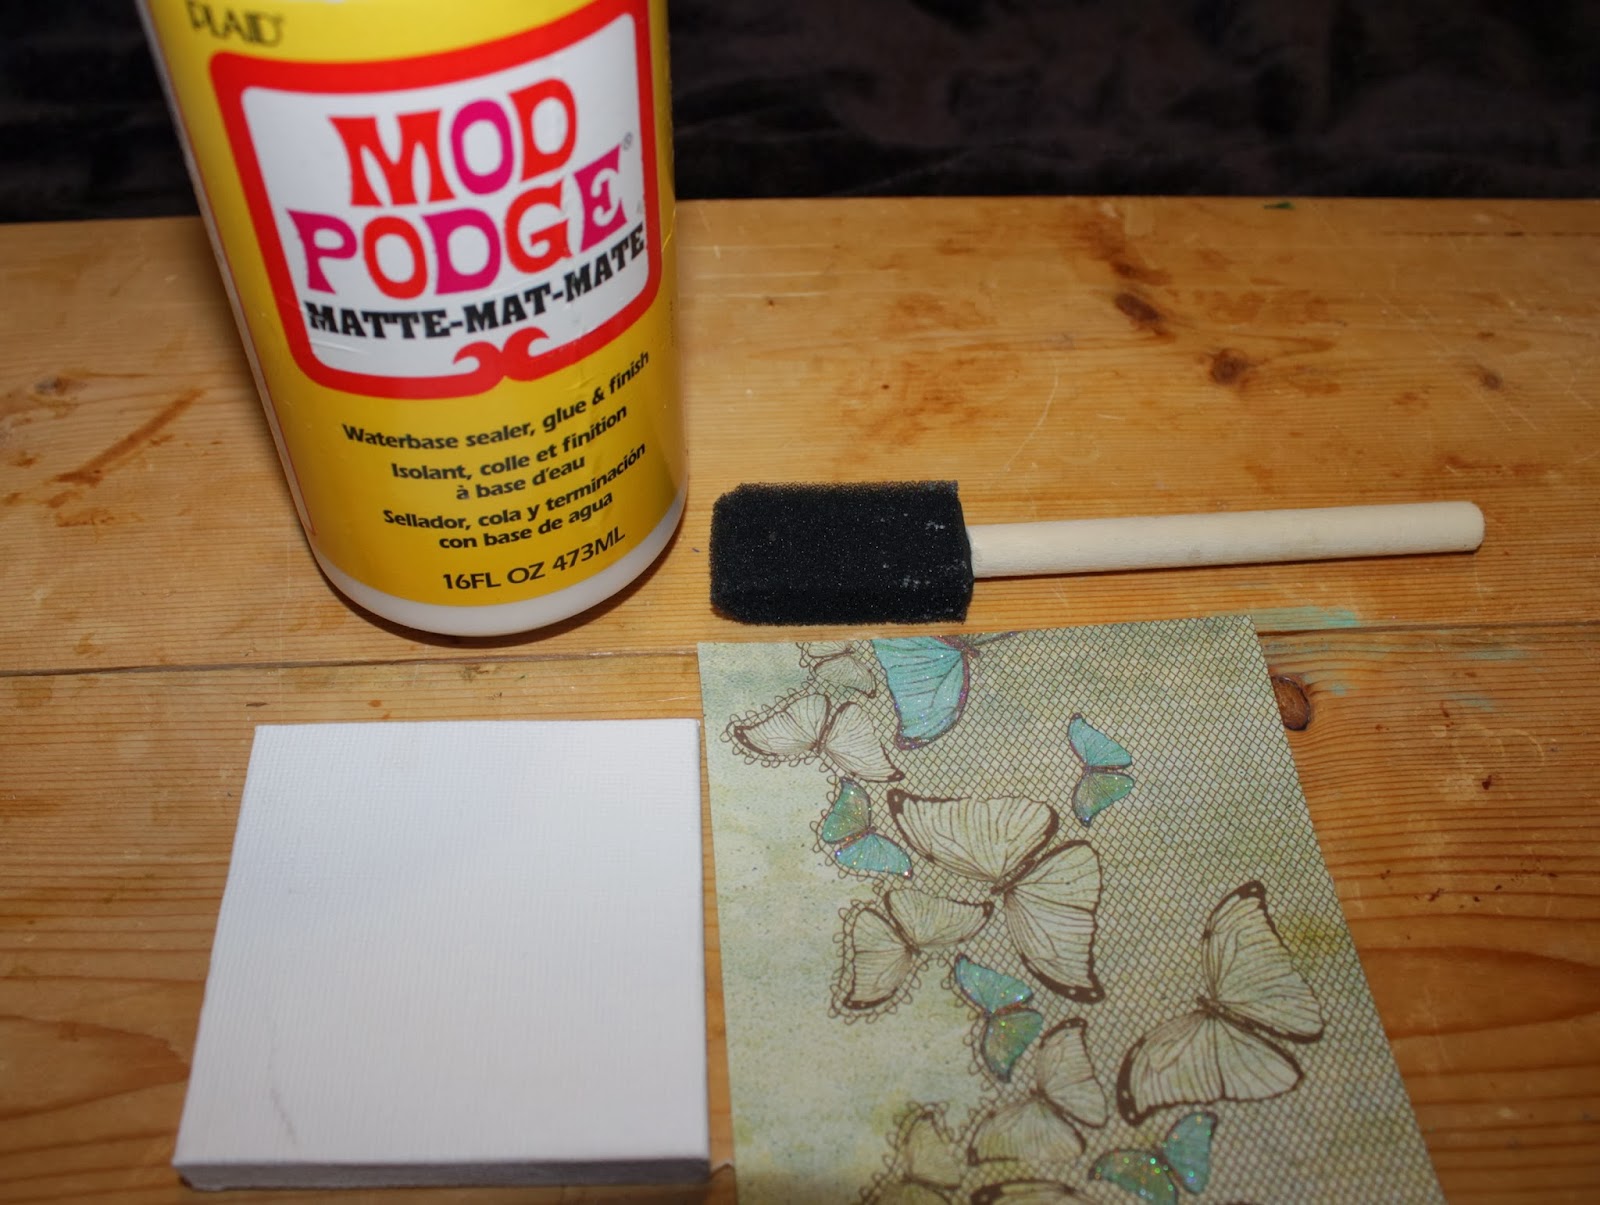
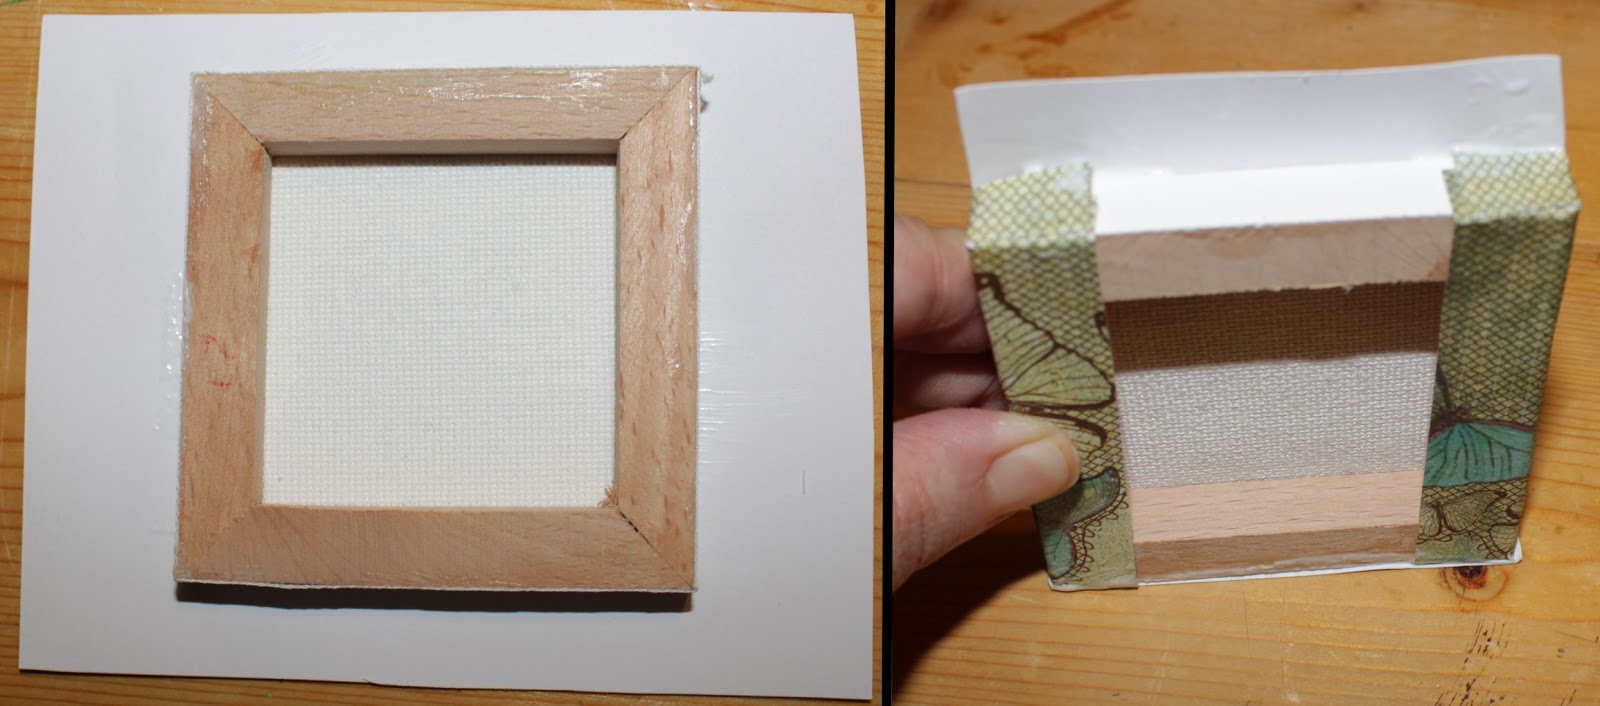
  1. Size your paper to the canvas, ensuring that it can overlap the sides
  2. Center your paper and use your Mod Podge to adhere your paper to the canvas
  3. Depending on overlap you may have to carefully cut slits in the paper so it will fold over nicely
  4. Smooth and flatten the paper as you apply it to the canvas

     5. Apply a layer of Mod Podge over your paper
     6. Let it dry and now you have some unique decor!

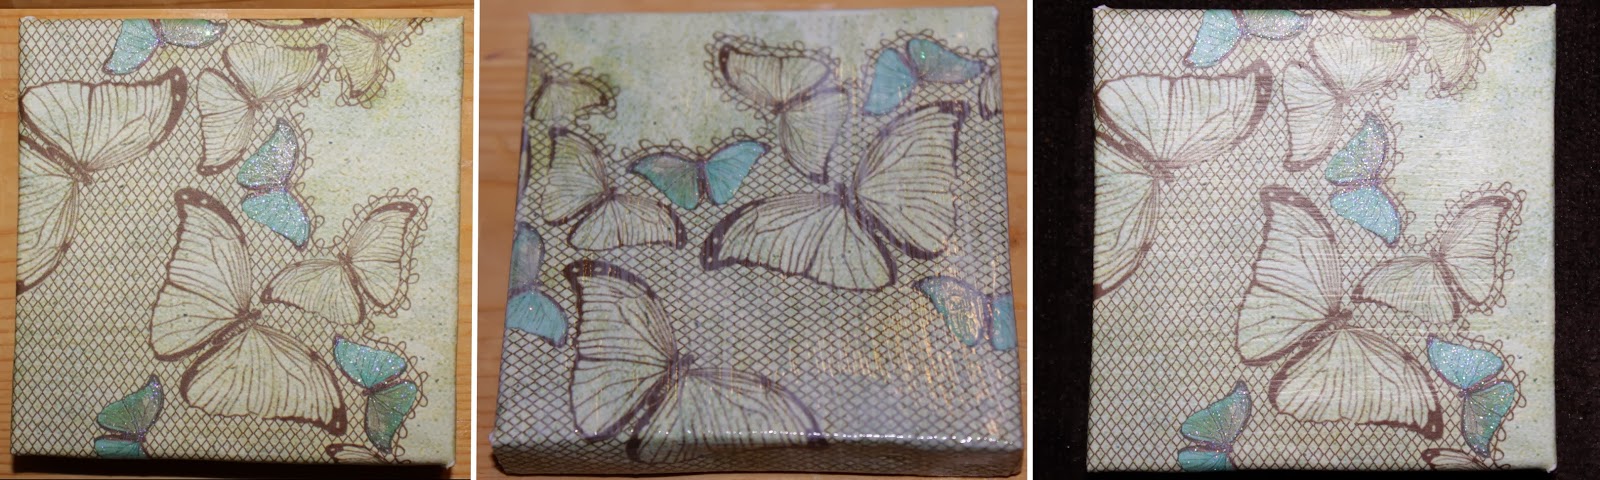
This is a very easy project and the mini canvases would make great stocking stuffers.

Tomorrow’s project is Lip Balm!

Discovering 2014: Resin Jewelry

Discovering 2014 is a personal goal to complete a daily project throughout the year!

Today’s project was Resin Jewelry. This one I’m not going to dive deep into, since instructions for use may vary depending on what you have. For material additives I tried out green food coloring (might be a mistake, it’s still not dried) and sprinkles (this one I like). I also tried adding a few embellishments to the bottlecap-sized cabachons.

The resin takes a full 72 hours to completely cure, so while I was able to remove everything but the bracelet from molds today (after 26 hours), they are definitely not ready to be incorporated into jewelry yet.

To get them out of the molds I stuck them in the freezer for about 10 minutes, and then they readily popped out. As mentioned, the bracelet is the only holdout, and after about an hour of struggling with it I’m going to wait the full 72 hours before trying again to get it out of the mold.

So stay tuned for a better update on this near the end of the week. It’s definitely not as scary as it seemed in my mind!

Here are the supplies I used:

Tomorrow’s project is Canvas Decor!

Discovering 2014: Cherry Clippies

 Discovering 2014 is a personal goal to complete a daily project throughout the year!

Today’s project was Cherry Clippies, inspired by this pin of a formerly listed Etsy item. To make it you need a hot glue gun, covered hair clip, 3/8″ green grosgrain ribbon and 3/8″ red grosgrain ribbon.

Take about 8″ of the green grosgrain ribbon and bring both ends up and over the center, letting the tails dangle down. Hot glue the ribbon to its center to keep it in place.

Make two 10″ rolls with the red grosgrain. Hot glue the end to the roll.

Hot glue the red rolls to the green ribbon ends, then glue the entire cherry piece onto your covered hair clip.

Tomorrow’s project is one I’ve actually been so intimidated about doing that I’ve let it sit nearly three months untouched… Resin Jewelry!