Discovering 2014: No-Sew Fabric Gift Pouch

Discovering 2014 is a personal goal to complete a daily project throughout the year!

Today’s project was a No-Sew (Reusable!) Fabric Gift Pouch. These can be customized to whatever size you would like and are quick to put together. This requires fabric scraps, hot glue, fray check and ribbon.

Size your fabric to how large or small you want your gift pouch to be. Remember that these will be folded in half so size appropriately for that.

Apply hot glue to the edges, though remember to keep the top open! 🙂

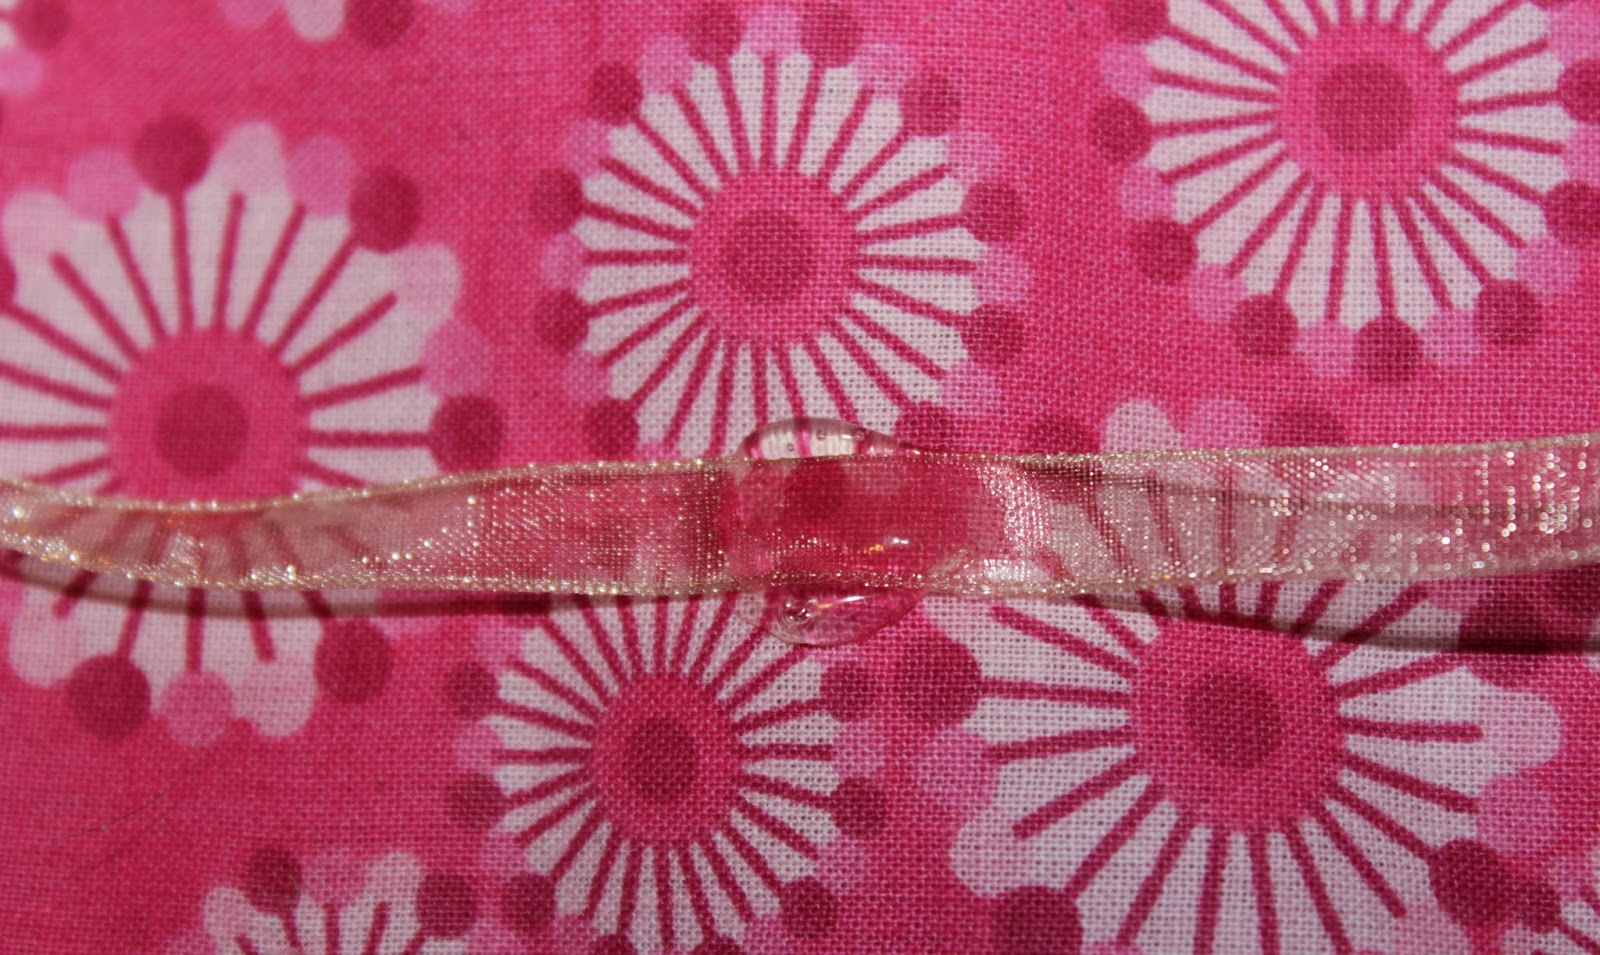
Using a 14″-20″ length of 1/4″ or 1/8″ silk ribbon (depends on your bag size), adhere it centered on one side, about 1-2 inches below the opening. This will be the tie for closing the bag. Trim up as necessary and use your fray check, and allow to dry.

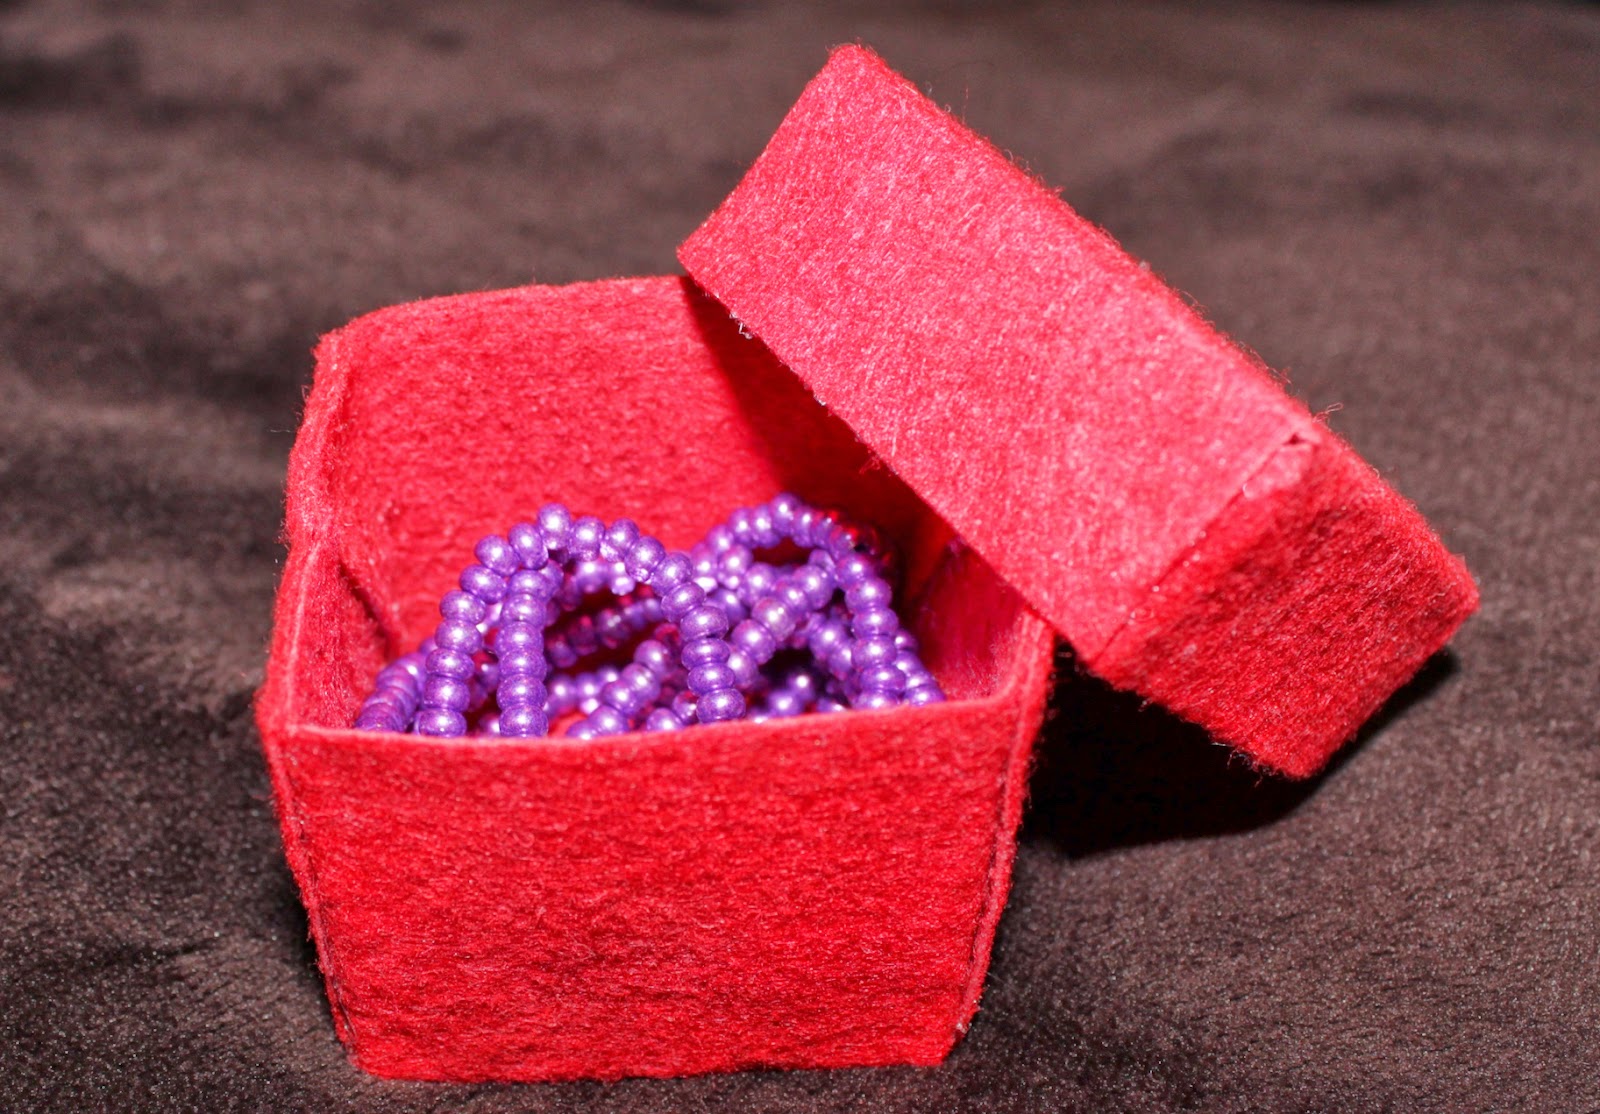
Add items and pass out your gifts!

Every day should be bead gifting day!

Tomorrow’s project is WigJig Earrings!

Discovering 2014: Felt Gift Boxes

 Discovering 2014 is a personal goal to complete a daily project throughout the year!

Today’s project was a Felt Gift Box. I used these box top and box bottom templates from How About Orange’s tutorial. My felt was cheap soft felt stiffened using Martha Stewart Water Resistant Fabric Stiffener. While it did the job, it left streaks and next time I make a felt gift box I’ll just spring for the higher quality thick felt instead.

Cut out the templates and tape them to your felt. Cut the felt along the template borders. Fold the seams in the appropriate locations.

Hot glue your triangular flaps inside the larger side flaps.

That’s it! Put the lid on the box and you’re all done.

Tomorrow’s project is a Mason Jar Sewing Kit!

Discovering 2014: Eucalyptus Shea Butter Lip Balm

Discovering 2014 is a personal goal to complete a daily project throughout the year!

Today’s project was Eucalyptus Shea Butter Lip Balm, following these directions from the Whole Woman Health site. I didn’t use Vitamin E oil or honey, but did use eucalyptus oil instead of peppermint.

Supplies:


I spent more time grating the beeswax than I did making it, so I don’t have many in-progress pictures. My teenage son helped me out, so you can do this easily with older kids. Next time I think I’ll just slice the beeswax instead of grating it because it melted so quickly that all that time grating felt wasted.

  1. Melt the beeswax, coconut oil and shea butter together in a double boiler, stir well
  2. Add your eucalyptus oil and any optional additives, stir well

3. Very carefully pour into your containers, or use a dropper/pipette if you have one. If you’re using tins with hinges, be careful to not fill at or above the hinges as it can overflow (I learned this the hard way)
4. The containers will be hot for the first several minutes; do not cover them and once the top begins to solidify you can move them to a safer place to finish cooling

5. Allow to cool and harden completely before putting the lids on

Optional Additions:

  • 4 drops Vitamin E oil (optional)
  • 3-5 drops of honey (optional)
  • Can substitute for different essential oils

This is a easy project that may take 15-30 minutes total. I got four of my acrylic jars and two tins worth out of the batch I made.. I probably could have gotten one more tin or jar worth had I not overflowed the first tin. These would make very nice gifts or stocking stuffers!

Discovering 2014: Canvas Decor

Discovering 2014 is a personal goal to complete a daily project throughout the year!

Today’s project was Canvas Decor, which I’ve seen in various forms on Pinterest, ranging from using newspapers or old calendars to using photos to create your own collage. I chose to use some scrapbook paper for mine.

Supplies:

  1. Size your paper to the canvas, ensuring that it can overlap the sides
  2. Center your paper and use your Mod Podge to adhere your paper to the canvas
  3. Depending on overlap you may have to carefully cut slits in the paper so it will fold over nicely
  4. Smooth and flatten the paper as you apply it to the canvas

     5. Apply a layer of Mod Podge over your paper
     6. Let it dry and now you have some unique decor!

This is a very easy project and the mini canvases would make great stocking stuffers.

Tomorrow’s project is Lip Balm!

Discovering 2014: Egg Carton Flowers

Discovering 2014 is a personal goal to complete a daily project throughout the year!

Today’s project was Egg Carton Flowers, inspired by this pin. When I started this we had an internet outage, so I had to go off of months-old memory for this one. This is a kid-friendly project, though depending on age you may want to pre-cut the cartons.

Before diving in though, I’d like to take a brief moment to celebrate blog post #100! Wooooo! *throws around confetti*

All you need for this is an egg carton, scissors, paint and pipe cleaners (optional).

I cut out some egg cups and went for four simple, rounded petals on each. For the center hole I used an awl, but scissors should work fine as well.

Then the painting began! This took a good part of the day while waiting for it to dry.

After the petals dried, I painted in some center color.

I only had to gently reopen the holes after it all dried, then my six year old and I got the pipe cleaners on the flowers.

Does that vase look familiar? It’s from my Mod Podge experiment during the Faux Sea Glass project. After sitting around an extra day, the second coat had ended up drying clear!

Now we have some flowers on our dining room table while thinking warm thoughts of spring…

Tomorrow’s project is Whipped Shortbread!