Today’s project was Eucalyptus Shea Butter Lip Balm, following these directions from the Whole Woman Health site. I didn’t use Vitamin E oil or honey, but did use eucalyptus oil instead of peppermint.
Supplies:
- 1.5 oz shea butter
- 1 oz coconut oil
- 1 oz beeswax (grating or slicing will make this melt faster)
- 6-8 drops of eucalyptus essential oil
- Double boiler
- Pipettes or other dropper (or you can just carefully pour it in)
- Wooden skewer, spatula, or similar for mixing
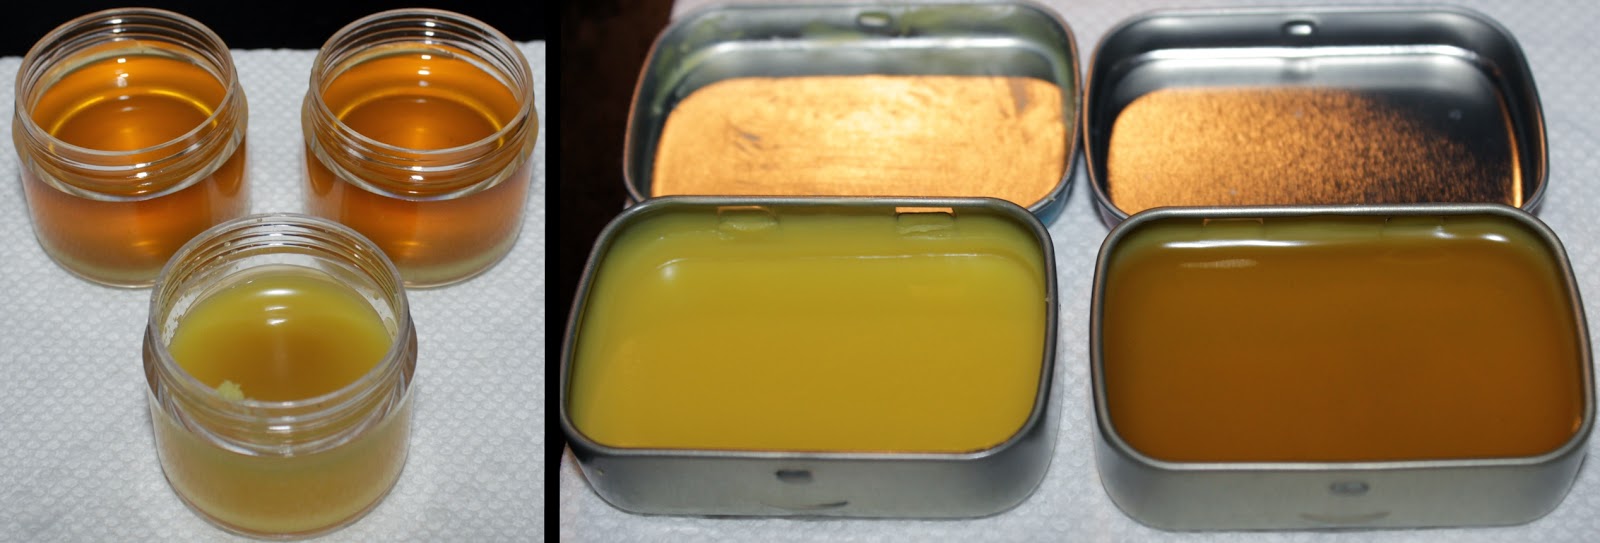
- Small containers (I used acrylic jars and Altoid Smalls tins that held about 1/2 oz each)
I spent more time grating the beeswax than I did making it, so I don’t have many in-progress pictures. My teenage son helped me out, so you can do this easily with older kids. Next time I think I’ll just slice the beeswax instead of grating it because it melted so quickly that all that time grating felt wasted.
- Melt the beeswax, coconut oil and shea butter together in a double boiler, stir well
- Add your eucalyptus oil and any optional additives, stir well
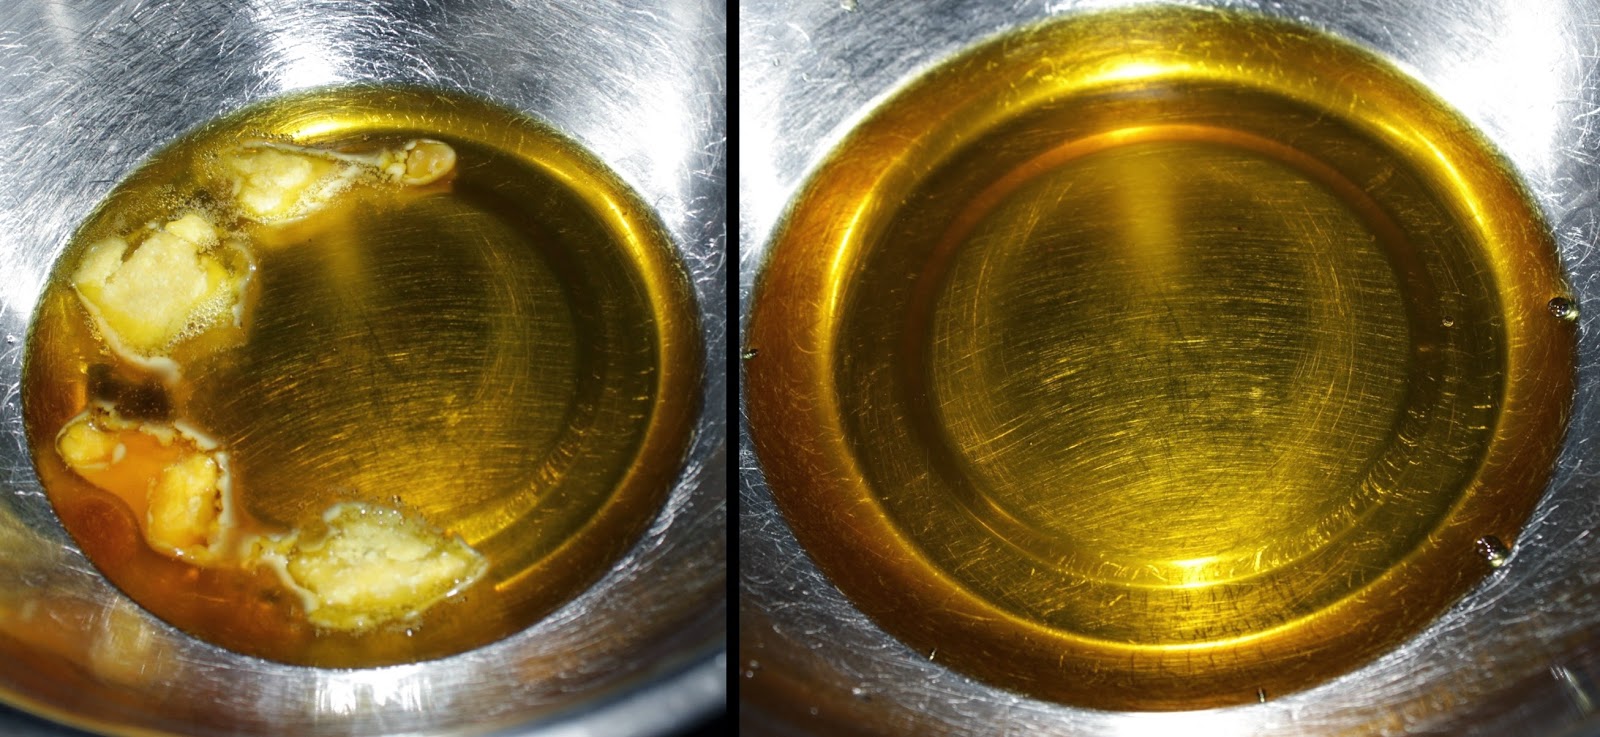
3. Very carefully pour into your containers, or use a dropper/pipette if you have one. If you’re using tins with hinges, be careful to not fill at or above the hinges as it can overflow (I learned this the hard way)
4. The containers will be hot for the first several minutes; do not cover them and once the top begins to solidify you can move them to a safer place to finish cooling
5. Allow to cool and harden completely before putting the lids on

Optional Additions:
- 4 drops Vitamin E oil (optional)
- 3-5 drops of honey (optional)
- Can substitute for different essential oils
This is a easy project that may take 15-30 minutes total. I got four of my acrylic jars and two tins worth out of the batch I made.. I probably could have gotten one more tin or jar worth had I not overflowed the first tin. These would make very nice gifts or stocking stuffers!