Discovering 2014 is a personal goal to complete a daily project throughout the year!
Today’s project was a Bottlecap Bow. This, obviously, incorporates a decorative bottlecap into a hair bow. The bottlecap part of it is fairly straight-forward, but I’ll walk through the entire bow creation process!
Supplies
- Glue gun, needle, thread, thimble and scissors
- (1) Covered Hair Clip (tutorial here)
- (6) 4″-6″ long pieces of Korker Ribbon (PDF tutorial here)
- (2) 8″ pieces of 7/8″ length ribbon
- (1) Decorative Bottlecap
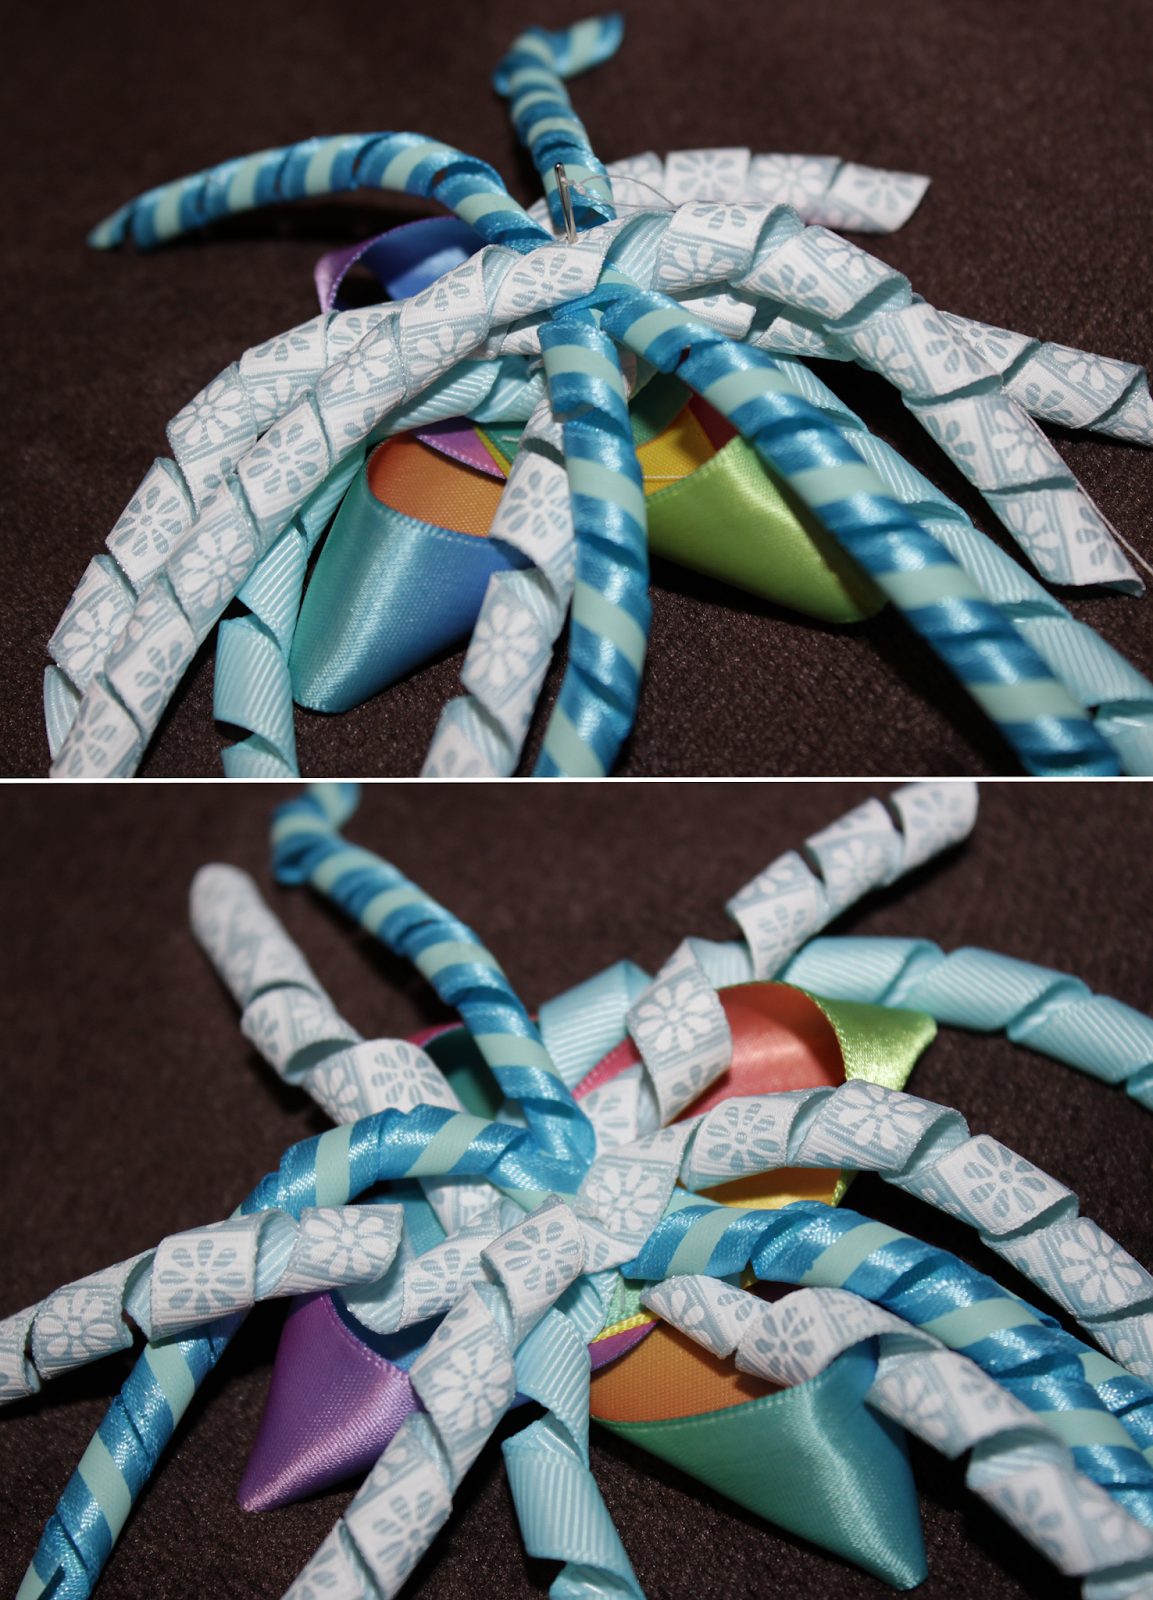
First, cut your 7/8″ ribbon into two pieces, 8″ long each. Then you take one side and swoop it out and under, bringing the end to the center of the length, which should make a peak like pictured below. Do the same with the other side, and carefully resize them until they’re dispersed evenly. This is the technique I use when making my Present Bows! 🙂
At this point I use a plain alligator clip to hold the center in place.
Make a simple cross stitch in the center to hold your folds securely. You can use the glue gun instead if you like, but I prefer stitching because it feels less bulky and more durable to me. My ugly franken-stitches can be seen below, but never fear–if your stitching is as ugly as mine, no one but you will ever see it as all of this gets covered up!
Do the same to the other length of 7/8″ ribbon, then cross them in an X shape, and stitch them together.
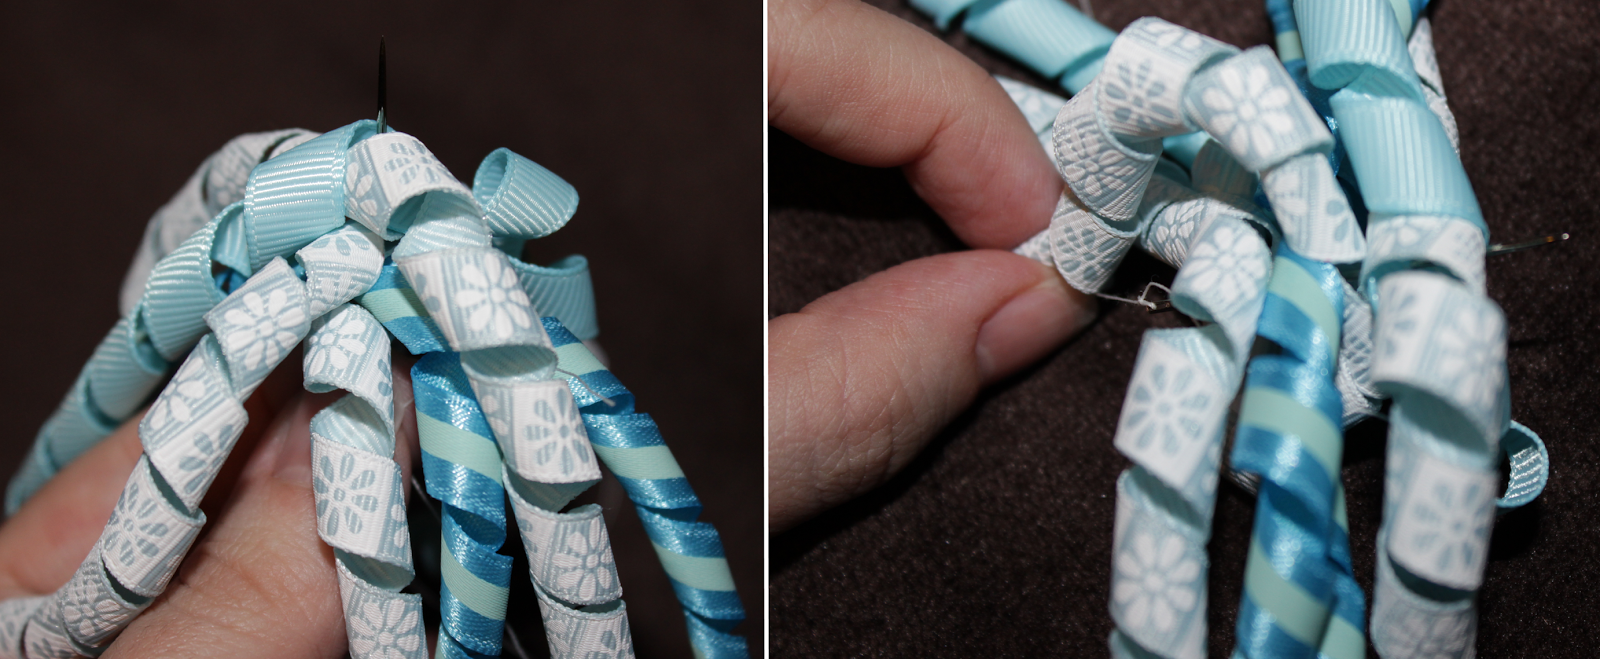
Next you’ll want your 4″-6″ long korker pieces. Center them on your needle, but don’t push them down onto the thread–keep them on the needle! I tried to show this below, though it doesn’t translate well in pictures.
Center the needle on the inside center of your 7/8″ ribbon base. Push the needle all the way through, making a cross stitch that includes the korker ribbons. This is where you’ll want to use a thimble–pushing that needle through all of those ribbons can hurt!
That was the hard part! The rest is smooth sailing. Hot glue your decorative bottle cap onto the center of your bow. Be careful not to burn yourself–the bottlecap will heat up very quickly! Glue your covered hair clip to the back, let it cool and dry, and you’re done!
Tomorrow’s project is another dinner: Crockpot Macaroni & Cheese!