A Day in the Life of a Cherry Tomato

…or as my husband dubbed it, “Vine Video”

Our cherry tomatoes started coming in early last month, so I finally put my DSLR to work by setting out to take a picture daily of one particular tomato’s growth. I missed a few days here and there, but in the end had 25 photos between July 7th – August 7th.

We picked the tomato today and I managed to slice it into five tiny pieces so the whole family could have a small taste. More are ripening already; we can’t wait to have a bigger harvest to enjoy!


Discovering 2014: Garlic Cauliflower "Mac & Cheese"

Discovering 2014 is a personal goal to complete a daily project throughout the year!

Today’s project was Cauliflower “Mac & Cheese”, from the cookbook “Modern Hospitality: Simple Recipes with Southern Charm” by Whitney Miller. The husband uses the cheese sauce portion of this recipe for a few other meals we regularly have, but we had never made the full recipe before. We added a couple extra ingredients of our own!

Before getting to the recipe, I’d like to mention that this brings the end to the planned recipes I’m featuring on this site. I’m not saying that I’ll never do another recipe on here again (because as soon as I say that I’ll prove myself wrong), but most of my recipes will instead be featured over on a joint-effort cooking blog I’m working on with a close friend of mine, Amy.

The cooking blog is called Cook 10 Rats (the name is a gaming reference, in case you’re a confused non-gamer) and already features all the recipes I’ve done here so far as well as the recipes she’s posted to her personal blog over the year. I hope that if you’ve enjoyed the recipes here, you’ll give us a follow over on Cook 10 Rats! Don’t worry, the normal projects will still continue on this blog as well. 🙂

Now back to our regularly scheduled recipe!


Garlic Cauliflower “Mac & Cheese”
Side Dish; Serves 4

Ingredients

  • 8 cups (about 1 head) cauliflower florets
  • 2 tbsp extra-virgin olive oil
  • 1/2 tsp kosher salt
  • 1/2 tsp ground black pepper
  • 1 tsp garlic powder
  • 2 tbsp unsalted butter
  • 2 tbsp flour
  • 1 1/2 cups fat-free milk
  • 1/2 cup heavy cream
  • 1 cup (about 4 oz) grated sharp cheddar cheese
  • 2 tbsp parmesan cheese
  • 3/8 tsp table salt
From the book “Modern Hospitality” by Whitney Miller

Cauliflower Prep
Preheat your oven to 400°F. Toss the cauliflower florets in a bowl with the olive oil. Add the kosher salt, garlic powder and 1/4 tsp of the pepper, then toss it more in the bowl. Give your baking sheet a light coating of cooking spray then spread the florets out on the sheet. Bake 25-30 minutes in the oven until fork-tender and lightly browned (we did 25 minutes). Once done, reduce the oven to 350°F.

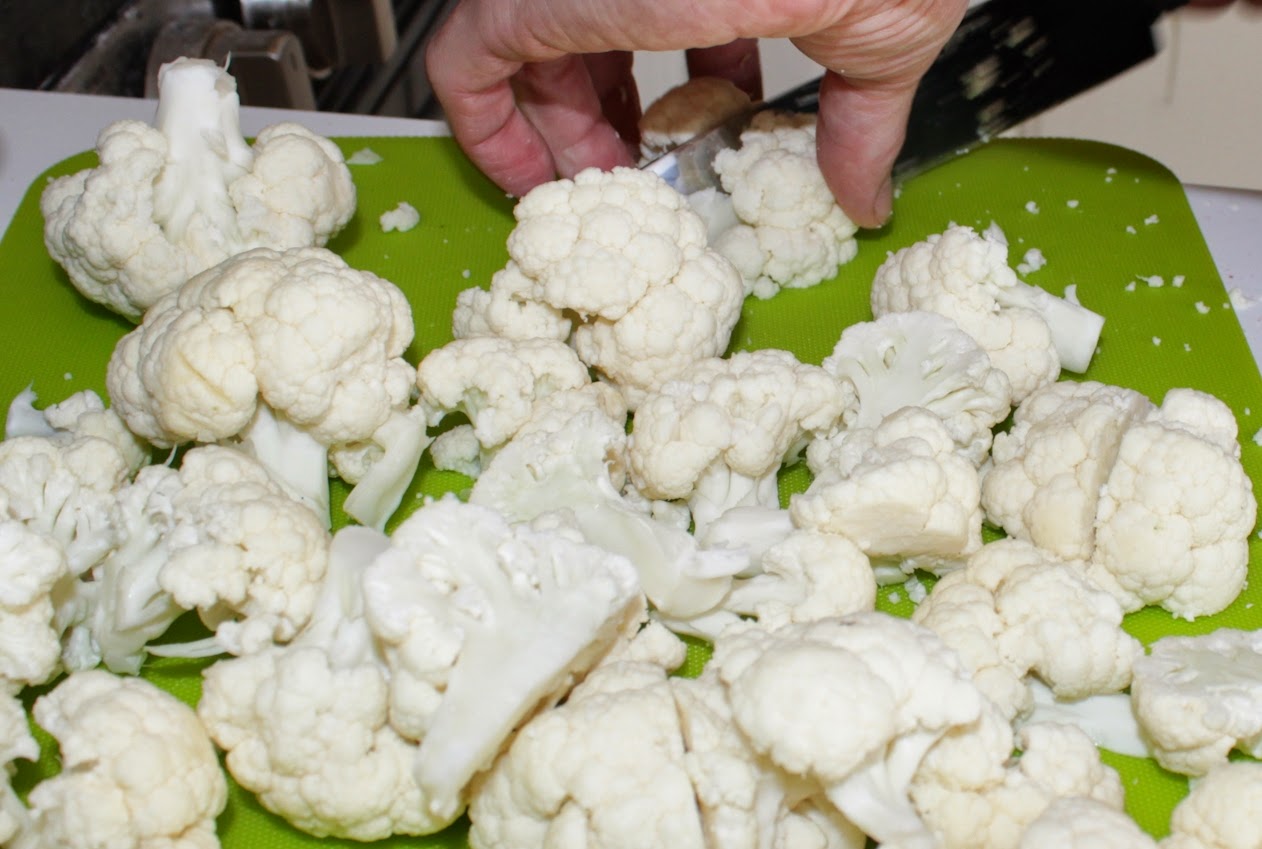
Chopping the cauliflower into florets
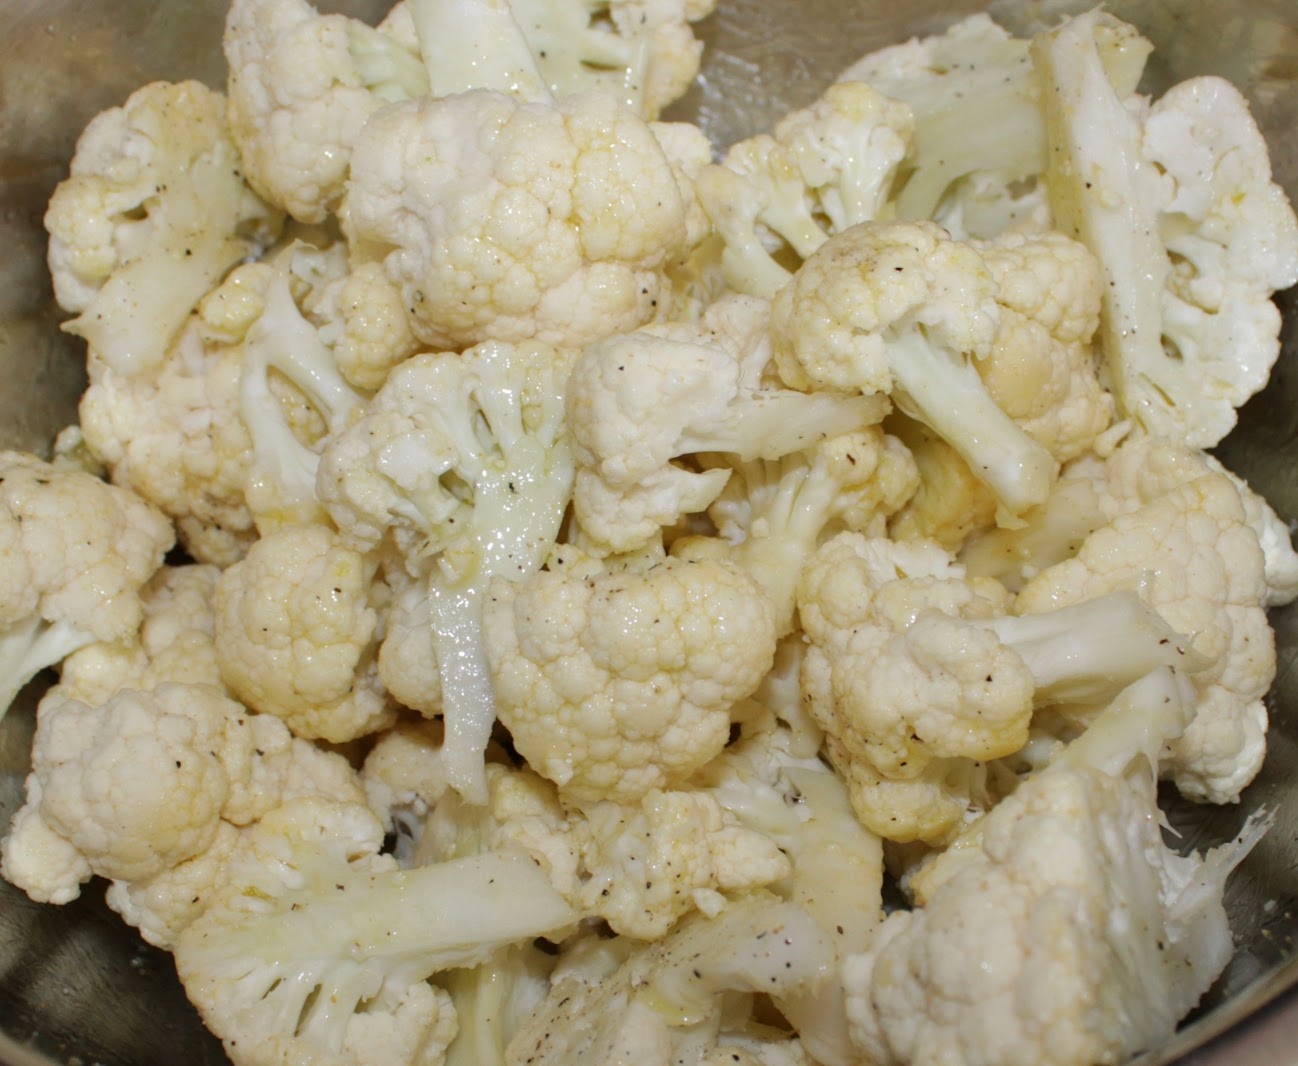
Fully seasoned florets

Cheese Sauce
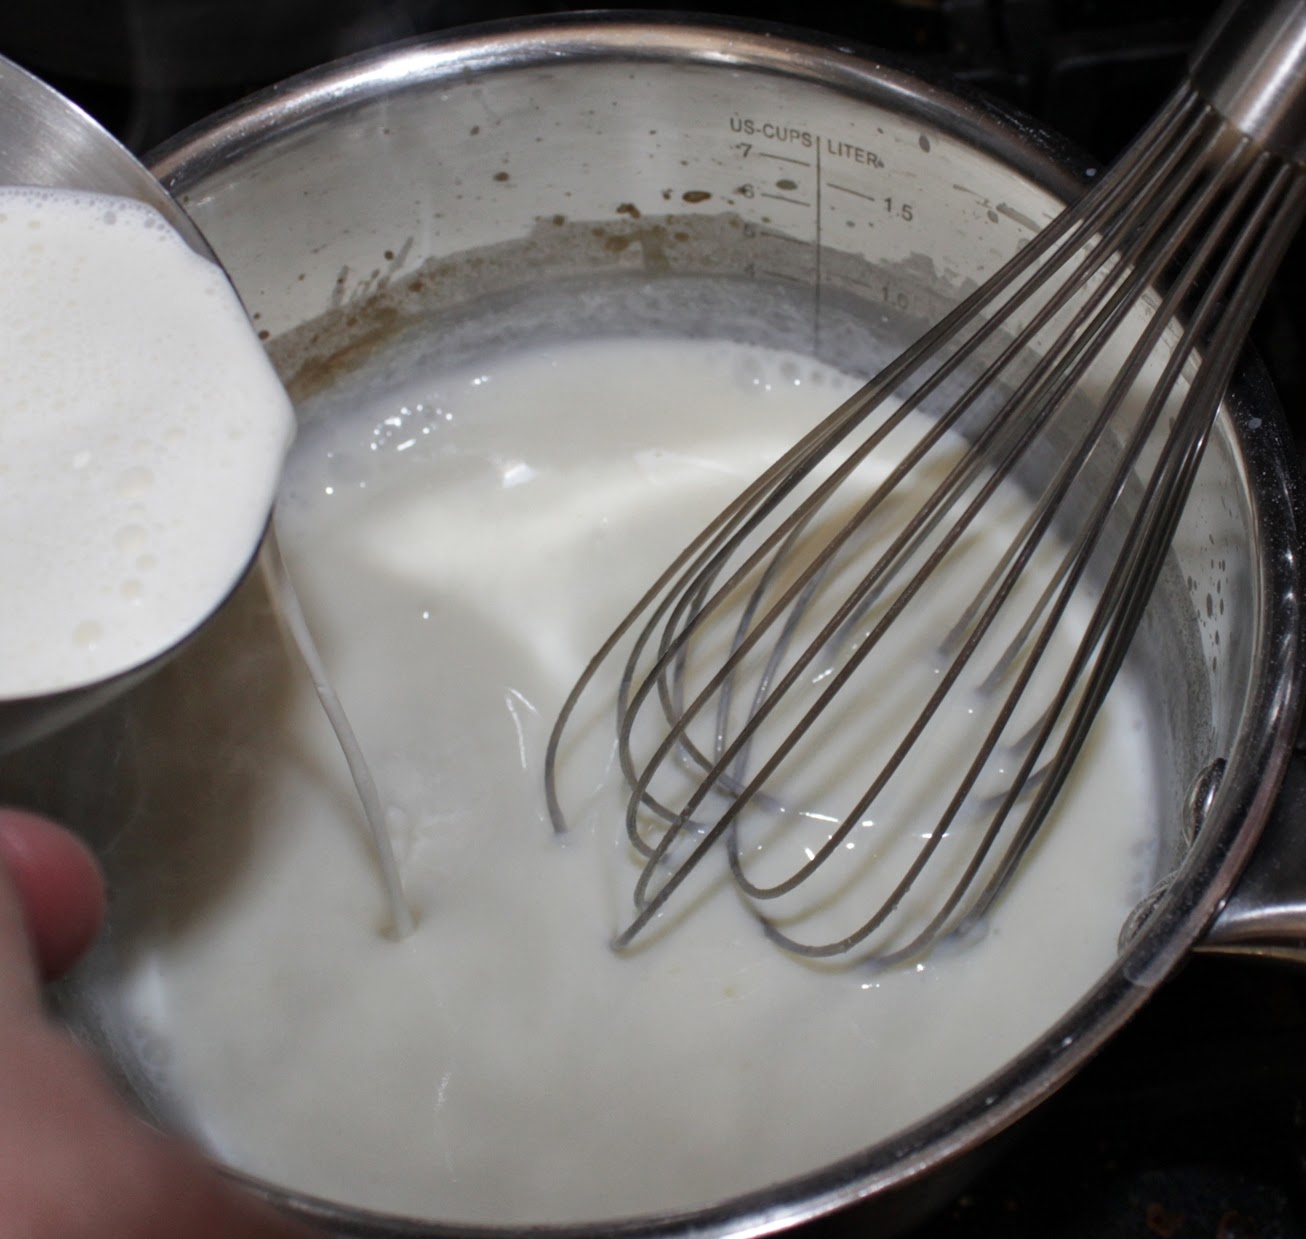
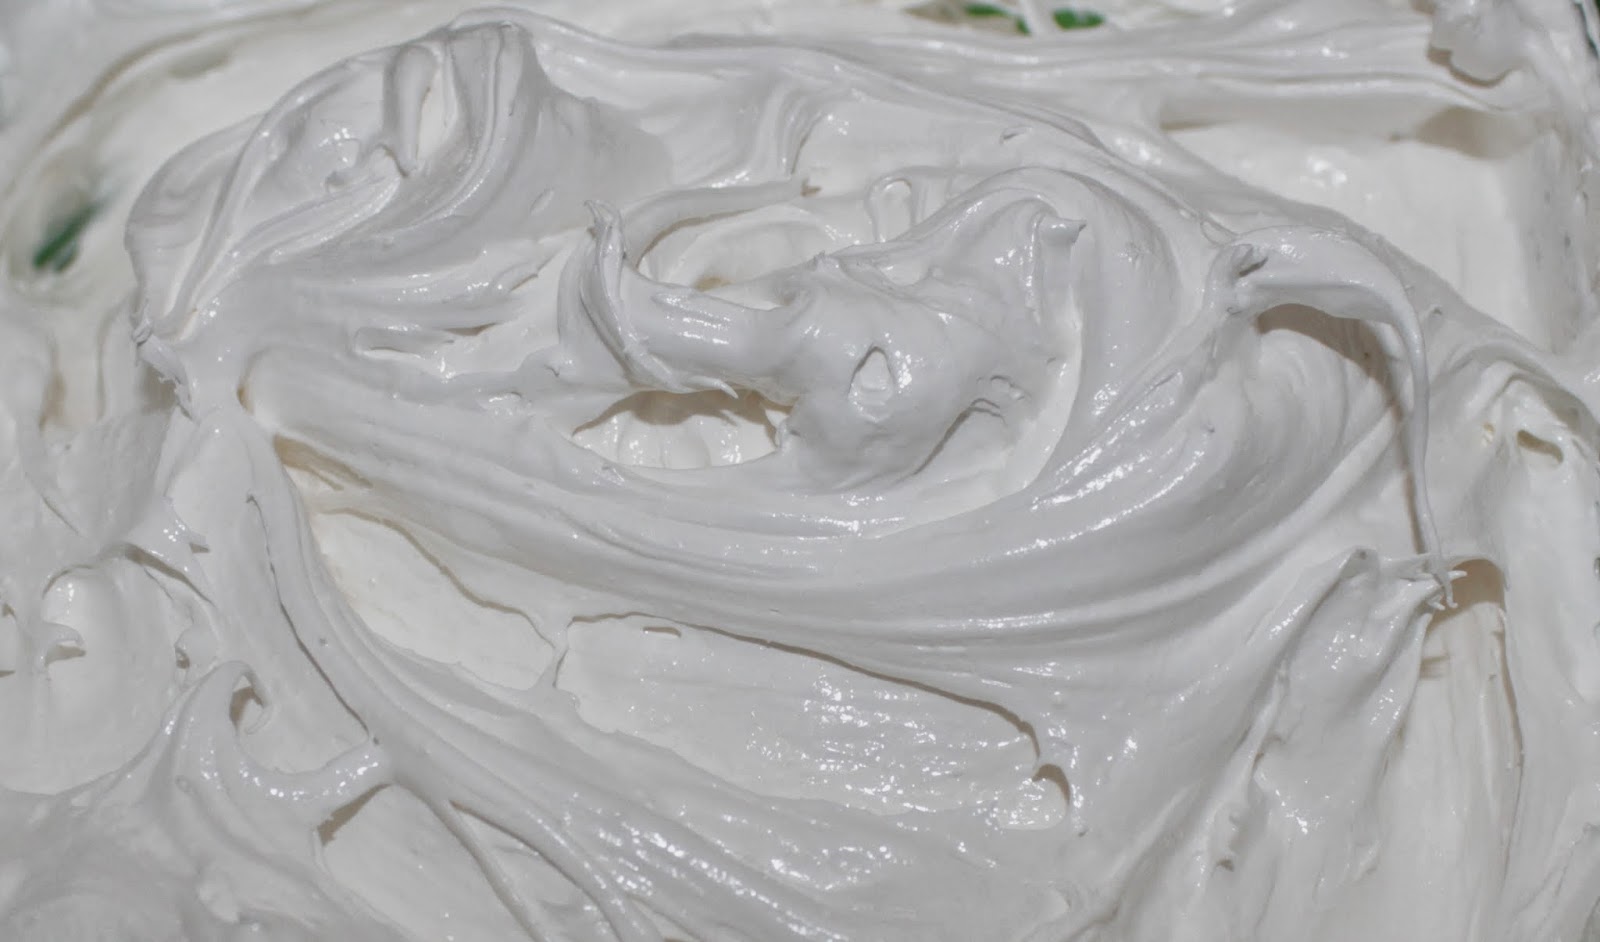
Melt your unsalted butter in a medium skillet over medium heat. Stir in the flour and cook for 1 minute. Slowly whisk in the milk and simmer over medium heat, stirring frequently for about 2 minutes until it thickens. Add the heavy cream, whisking it into your mix, and cook about 3-5 minutes.

Adding in the heavy cream

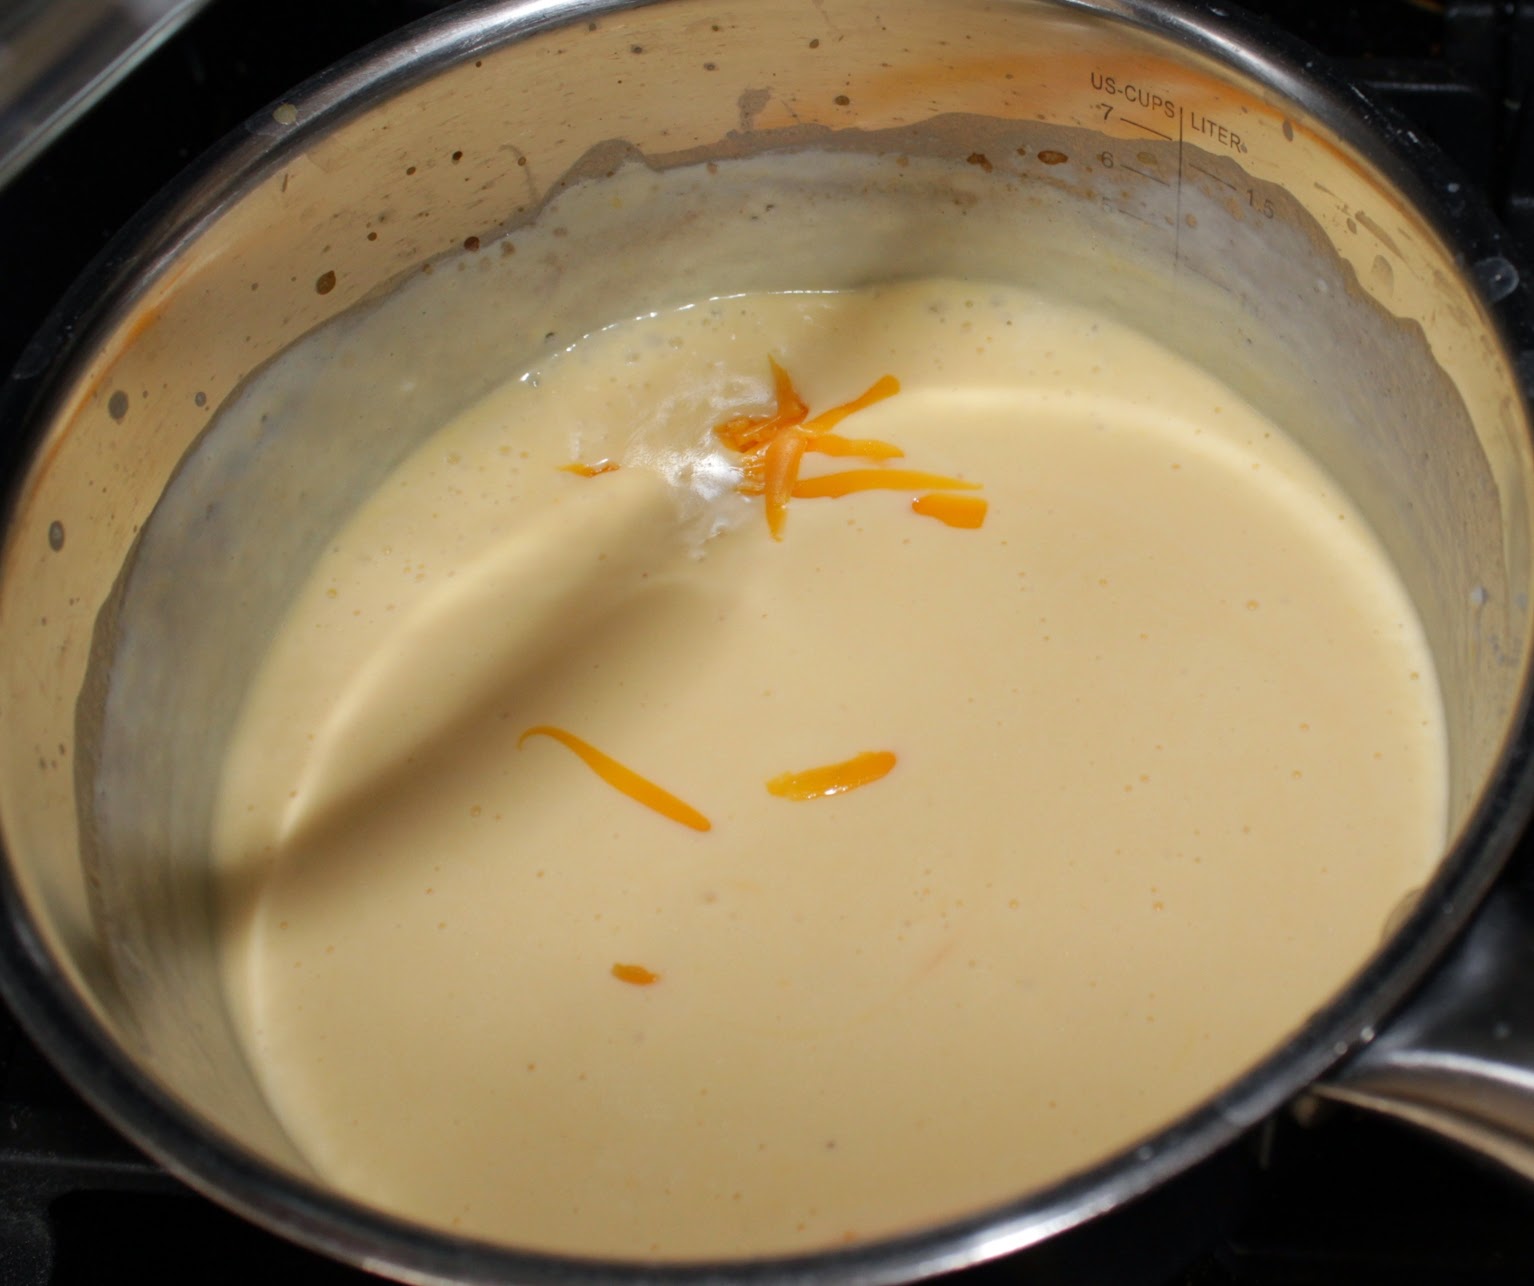
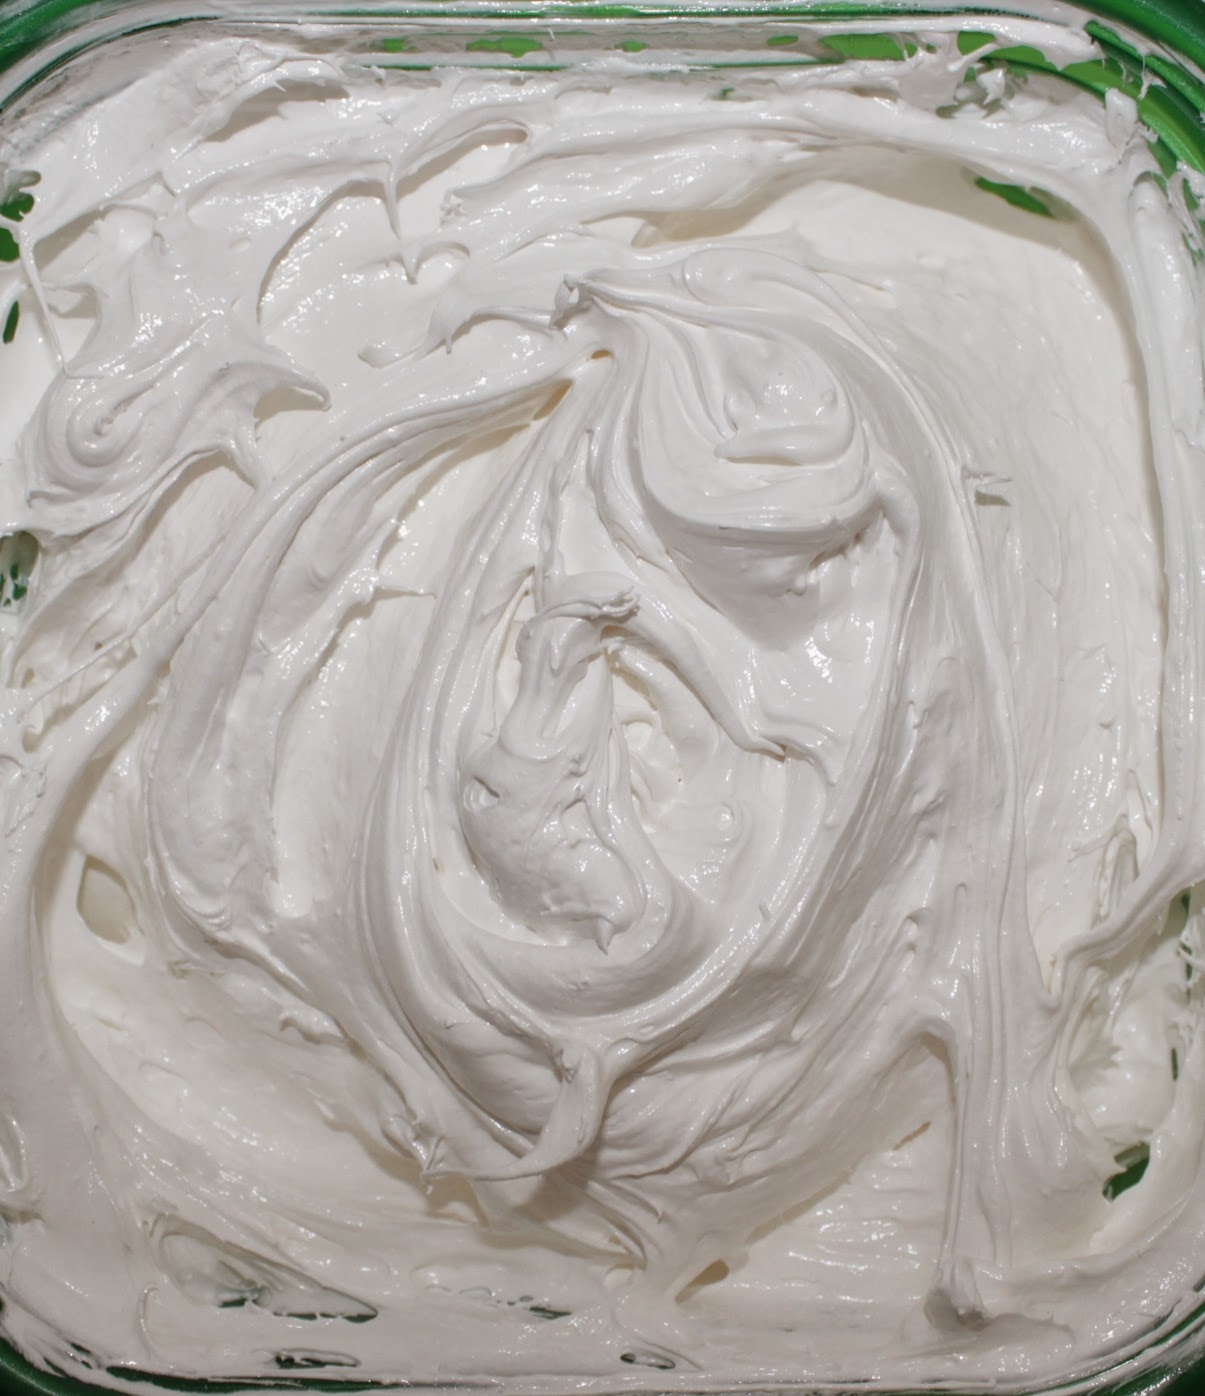
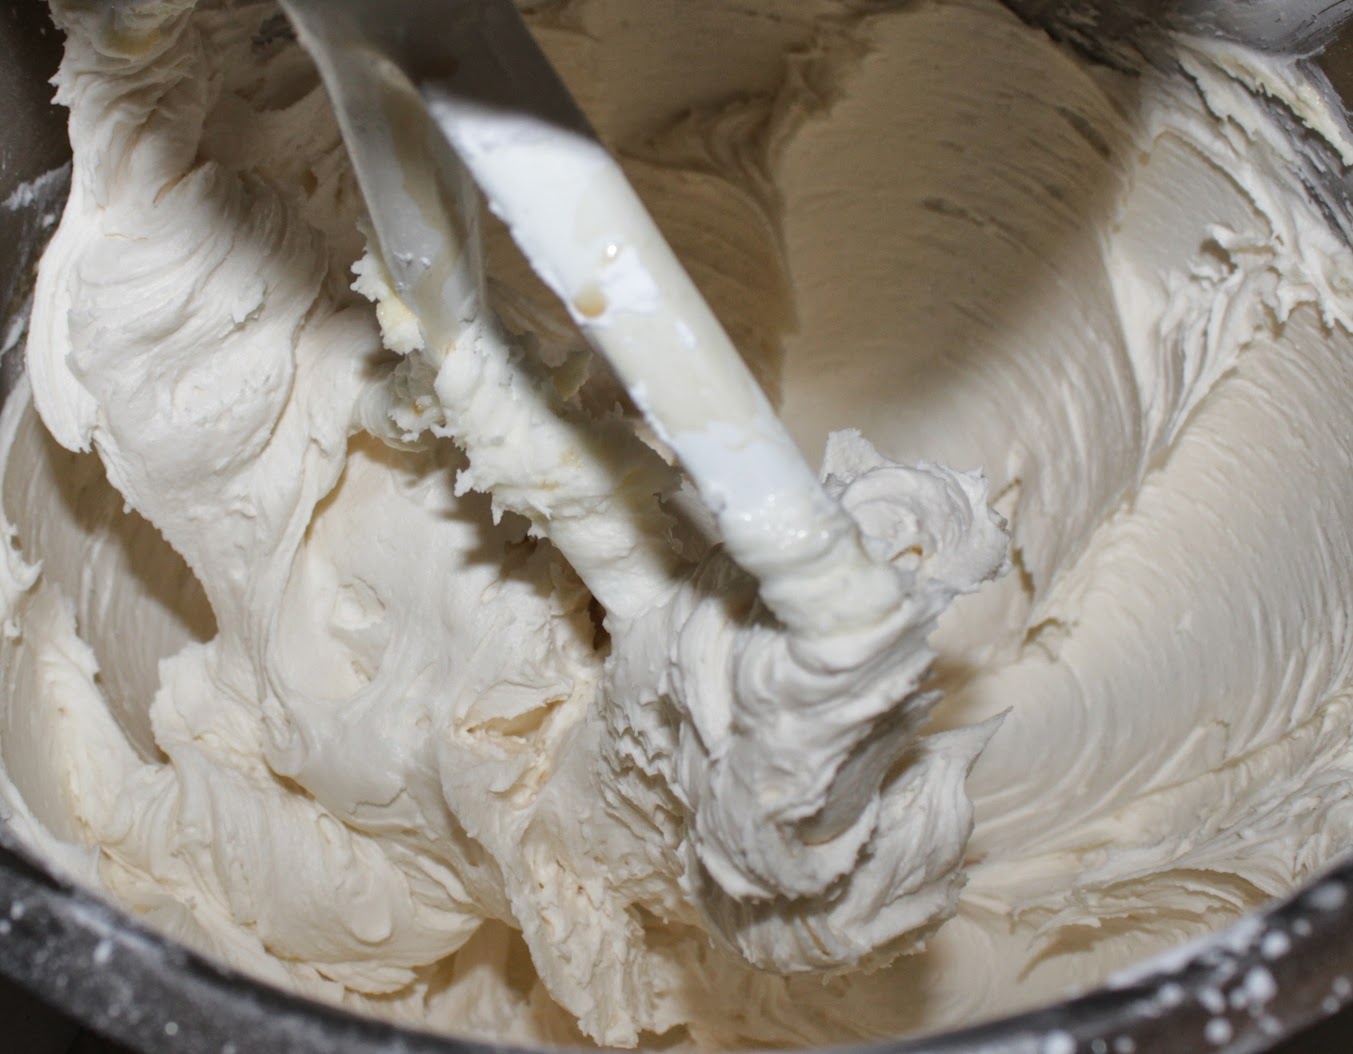
Turn the heat to low and stir in the table salt, the other 1/4 tsp of the pepper and all but 2 tbsp of the cheese. Once the cheese melts in, add in the parmesan cheese. The mixture will continue to thicken as it cooks; stir it frequently. You can leave it over low heat until the cauliflower is done in the oven as long as you continue to stir often.

With most of the cheese melted and bonus weird shadow!

Cauliflower “Mac & Cheese”
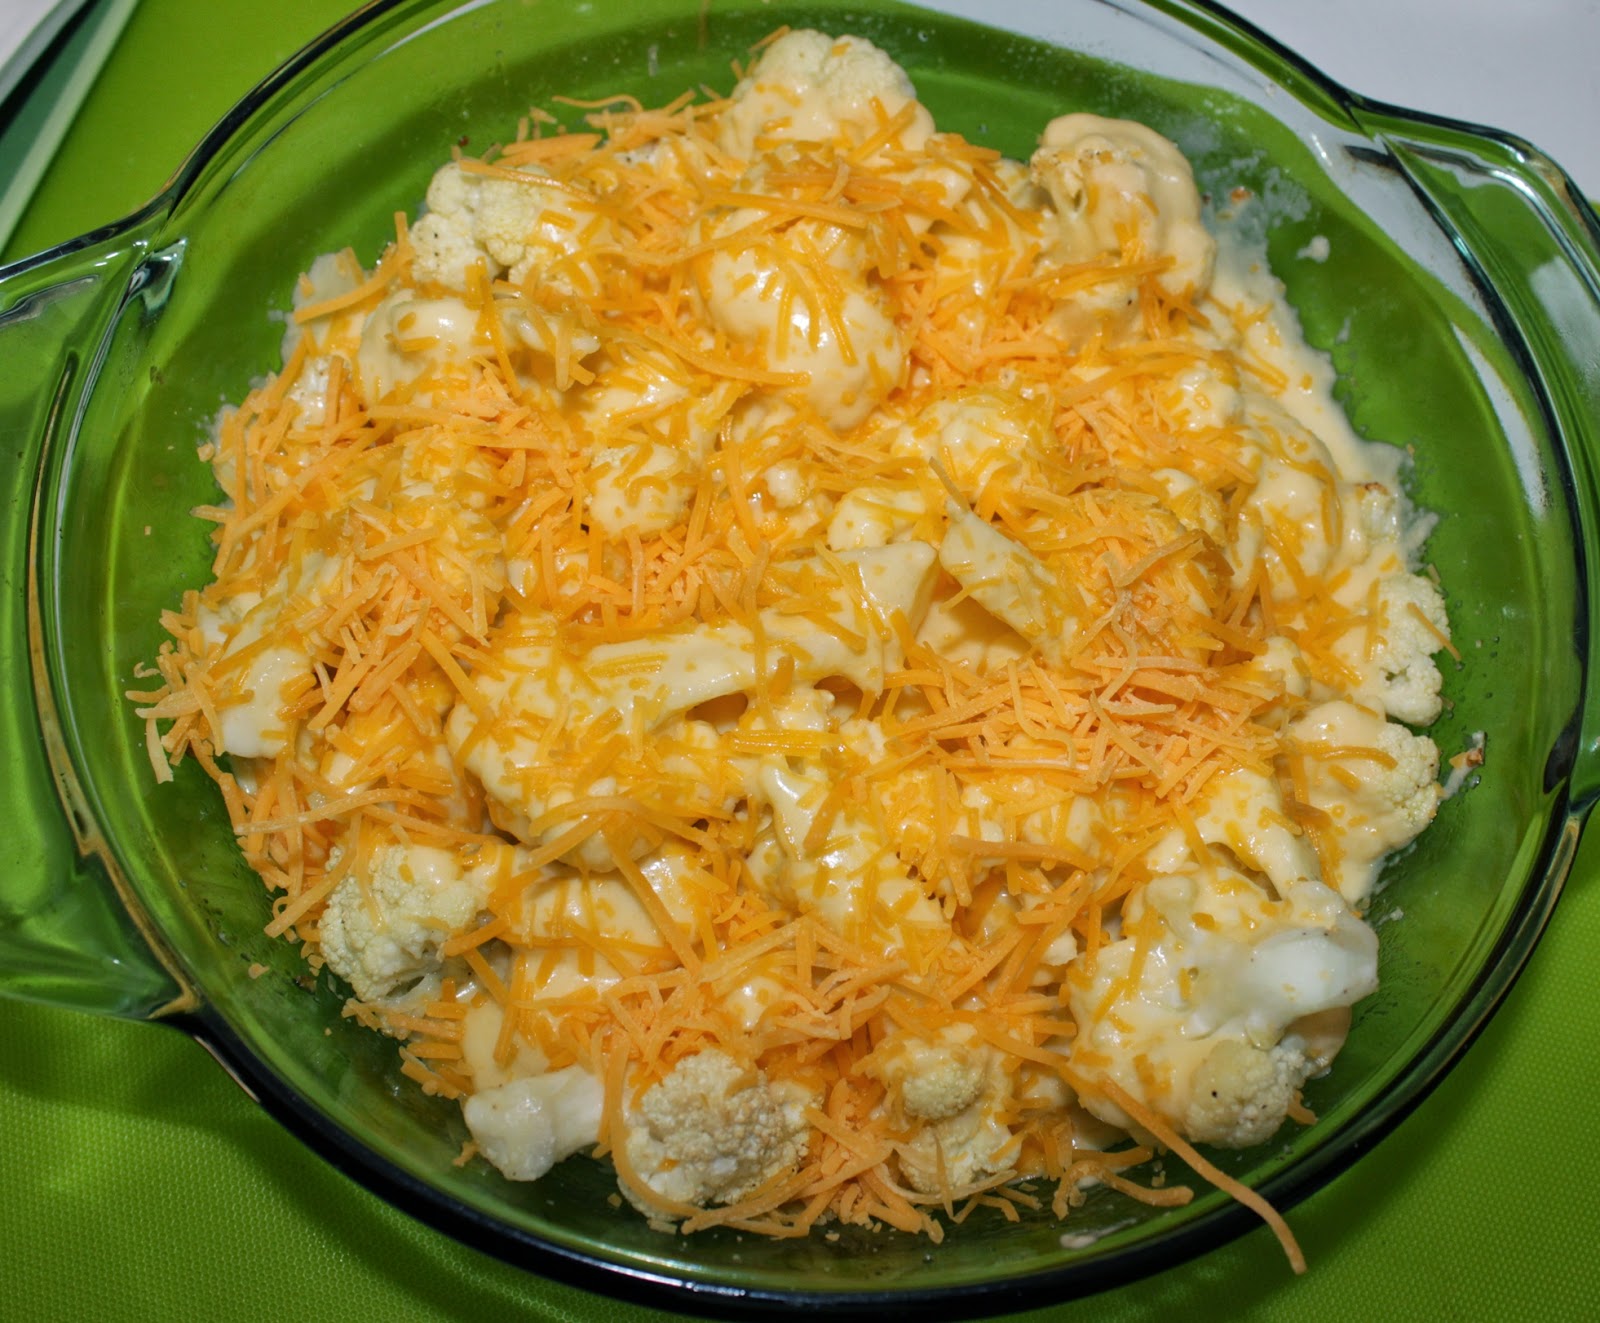
At this point the recipe calls for an 8×8-inch glass baking dish or four 10 oz ramekins. I had neither, but I did have a 8.25″ diameter glass dish, and that worked out just fine. Whatever you’re using, first add the cauliflower, then pour the cheese sauce in, and finally sprinkle your remaining 2 tbsp cheddar cheese on top.

We used pre-shredded cheese for the topping because
we forgot to set aside the 2 tbsp cheese. Oops. 🙂

Bake at 350°F until the cheese is bubbling, which is about 20-25 minutes (we did 25 minutes).

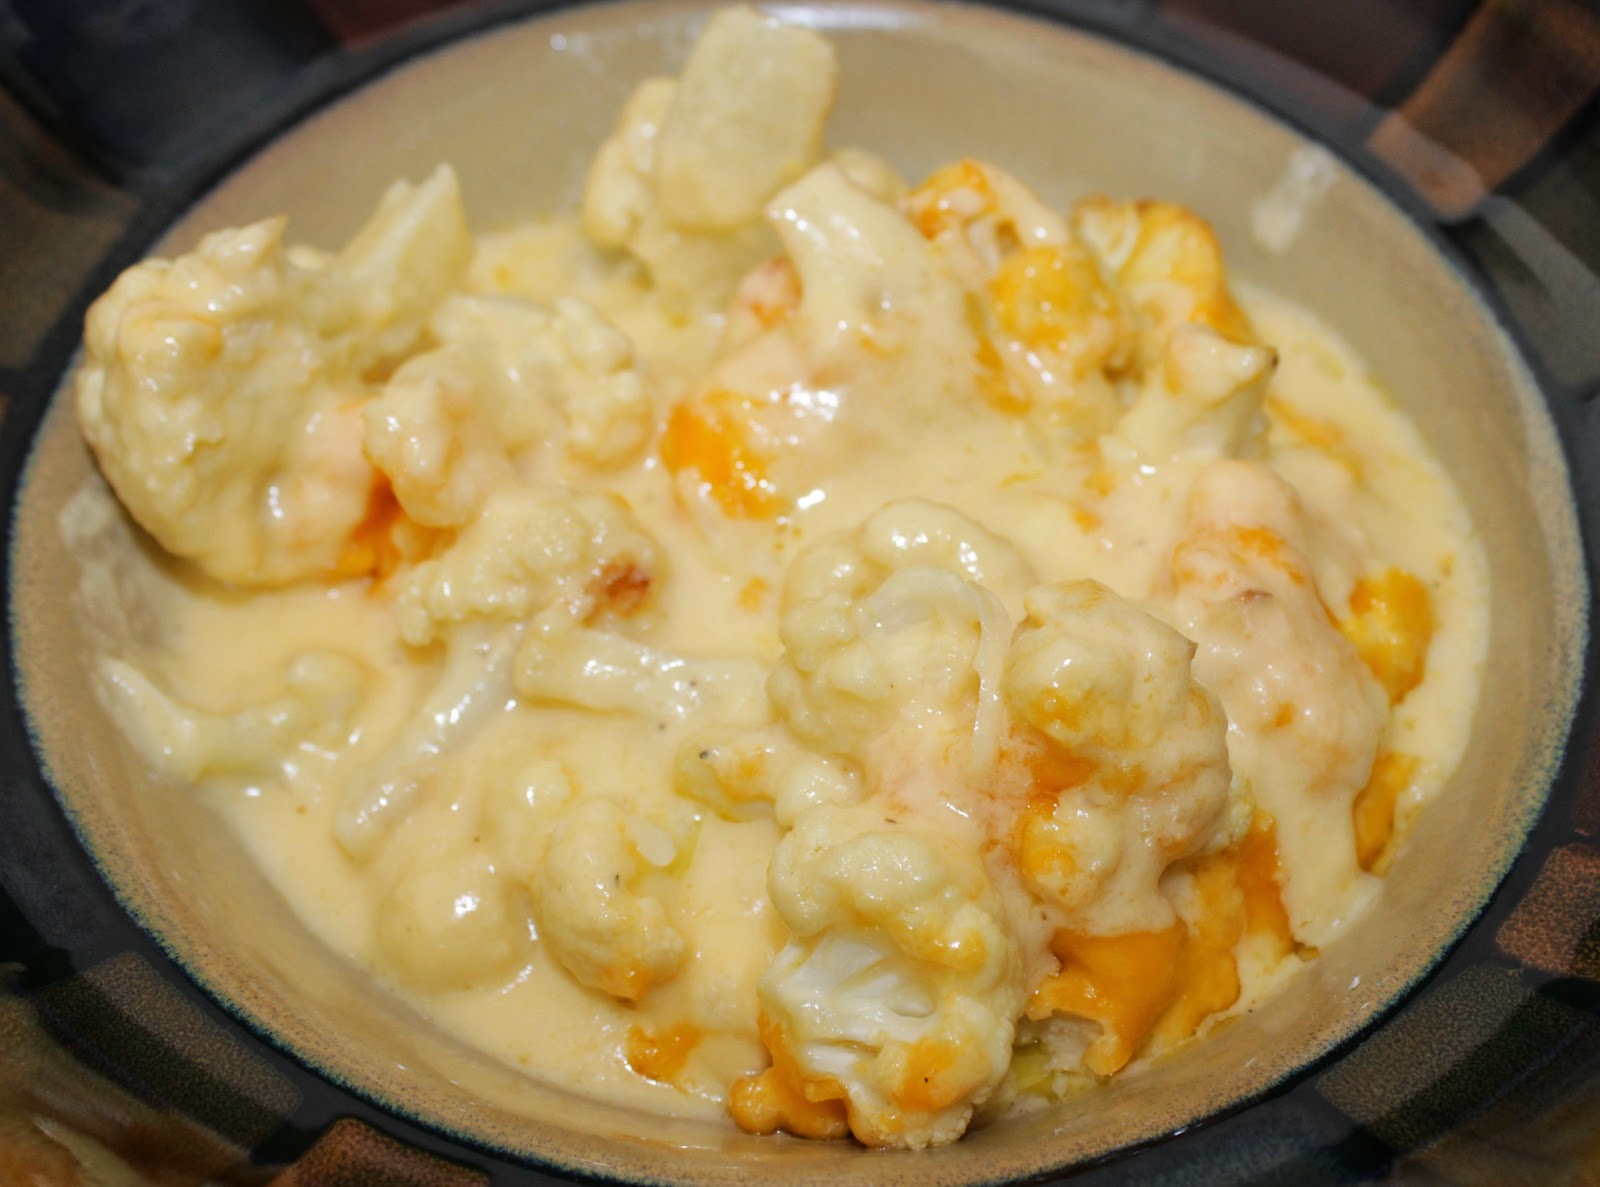
Warning: Molten hot fresh out the oven!

Let cool and serve!

This side dish was quite tasty, but also quite time consuming to make, so it’s not something you want to decide to cook up at the last minute. Maybe one day I’ll take the time to see how a variation of this recipe works out in the crockpot!

Tomorrow’s project is an Embellished Hair Comb!

Discovering 2014: Chocolate Peanut Butter Chip Cookies

Discovering 2014 is a personal goal to complete a daily project throughout the year!

Today’s project was Cookie Sticks. As you can see from my title, the sticks part is debateable! There’s a bunch of pins on Pinterest showing these gorgeous cookie sticks, which seemed simple enough. Well, I made cookies, at least. 🙂

The last time I made chocolate chip cookies from scratch was about a decade ago. I still don’t know what I did wrong, but they were absolutely inedible, and I left the baking to my husband for many years afterward. With all the baking I did over the past couple of months though, I was confident I could get this finally right.

I used the “Chewy Chocolate Chip Cookies” recipe that my husband had, which I believe was passed on from his mother. I had to mildly modify it, substituting dark brown sugar with light brown and using unsalted butter instead of standard butter.


Chewy Chocolate Peanut Butter Chip Cookies

Ingredients

  • Flour Mix
    • 2 1/4 cup flour
    • 1 tsp baking soda
    • 1 tsp salt
  • Sugar Mix:
    • 3/4 cup granulated sugar
    • 3/4 cup light brown sugar
    • 1 cup (2 sticks) unsalted butter, softened
  • Everything Else:
    • 1 tsp vanilla extract
    • 2 large eggs
    • 11-12oz package of Nestle Peanut Butter & Milk Chocolate Morsels
  1. Preheat your oven to 375°F. 
  2. Flour Mix: In a bowl, mix together the flour, baking soda and salt
  3. Sugar Mix: Add the granulated sugar, light brown sugar and the softened unsalted butter to your mixer’s bowl. Beat on low until blended, then medium-low until light and fluffy.
  4. Add the vanilla extract and eggs to the sugar mix. Beat until mixed well.
  5. Keep the mixer on low and add the flour mix slowly to the sugar mix. After about a minute you can slowly turn the speed up to medium-high, then continue to mix for about 1-2 more minutes.
  6. Stop the mixer and scrape the sides and bottom. Add in your chocolate peanut butter chips and mix on low until mixed in.
  7. Put tablespoons of the mix onto an ungreased cookie sheet.
  8. Bake for 9-11 minutes or until light golden brown.

After my dough was ready, my youngest son helped in my first attempt to make the sticks. We rolled chunks of dough into log shape. While these didn’t bake into sticks, they did end up oval-shaped and I liked those the best.

I took the rest of the dough and made a massive square, flattening it to about 1/2″ thick. My husband used our pizza cutter to cut it into sticks, then we gently pulled it apart.

These turned out so-so. Once they were out I cut some of them even more before they completely cooled. It was much easier to cut them after they baked!

Here’s the plate of oval cookies!

Here’s the plate of the pizza cutter cookies! The most stick-like ones I ended up with were from slicing a cookie blob into four.

The recipe is great, but I think I’ll just stick to forming the cookies normally from now on! Or into ovals. 🙂 Tomorrow’s project is a Kawasaki Rose!

    Discovering 2014: Marshmallow Fluff

    Discovering 2014 is a personal goal to complete a daily project throughout the year!

    Today’s project was Marshmallow Fluff, using this recipe by Cinammon Spice and Everything Nice.

    It’s been a very long work day, so I’m just going to post the pictures tonight and will update with commentary tomorrow!

    Egg whites
    With sugar

    Syrup mix pre-boil

    Syrup mix partly boiled

    Syrup mix at 240F

    Partway through mixing it all together

    Marshmallow Fluff when done

    In container to store in the fridge.. surprise, it’s sticky! 😉

    Tomorrow’s project is a WigJig Barrette!

    Discovering 2014: Apple Vanilla Buttercream Frosting

    Discovering 2014 is a personal goal to complete a daily project throughout the year!

    Yesterday I ended up working over eight hours, so I completely failed at doing any projects. I do still plan on squeezing the Spike Bow into another day this week because it looks really fun to make! Just.. not today… too busy!

    Today is my eldest son’s birthday, and realizing that I was the only one available to make a cake today, I decided to do a switch-up and change today’s project to homemade frosting. I looked up several recipes before settling on a buttercream frosting recipe by Savory Sweet Life, which I modified slightly. My eldest had asked for apple flavoring, so I worked that into the recipe as well.

    Apple Vanilla Buttercream Frosting

    Ingredients

    • 1 cup (2 sticks) of unsalted butter, softened
    • 3 cups of confectioners sugar, sifted
    • 1/4 tsp table salt
    • 1 tbsp vanilla extract
    • 1/2 tsp apple flavoring oil
    • 2 tbsp heavy cream
    • food coloring (optional)

    Beat the softened unsalted butter with your mixer on medium for about 1-2 minutes. Turn the mixer to low and slowly begin adding in your sifted confectioners sugar. Once it is mixed into the butter turn your mixer back up to medium-high and beat it for another 1-2 minutes, stopping to scrape the sides and bottom of the bowl.

    Turn the mixer to medium-low and add the vanilla extract, apple oil and salt. Mix about 30 seconds, scrape the bowl and mix for about 30 more seconds.

    If you are adding in food coloring this would be a good time. I added four drops of cyan from the Wilton neon gel coloring pack with the mixer set to low. Turn your mixer up to medium-high and mix, scrape, mix, repeat until well-blended.

    Turn the mixer down to low while you add the heavy cream. Turn it slowly back up to medium high. Beat for 2-3 minutes. The texture should be thick and creamy.. my husband likened it to the texture of soft-serve ice cream.

    My youngest son wanted to help spread the frosting onto the cake!

    Here’s the completed cake. I wasn’t ambitious enough to try making the cake from scratch as well.. that’s something for the future!

    The apple and vanilla flavorings are not overpowering and play well together. Ten thumbs up from the whole family!

    Tomorrow’s project is Marshmallow Fluff!