Discovering 2014: Chocolate Peanut Butter Chip Cookies

Discovering 2014 is a personal goal to complete a daily project throughout the year!

Today’s project was Cookie Sticks. As you can see from my title, the sticks part is debateable! There’s a bunch of pins on Pinterest showing these gorgeous cookie sticks, which seemed simple enough. Well, I made cookies, at least. 🙂

The last time I made chocolate chip cookies from scratch was about a decade ago. I still don’t know what I did wrong, but they were absolutely inedible, and I left the baking to my husband for many years afterward. With all the baking I did over the past couple of months though, I was confident I could get this finally right.

I used the “Chewy Chocolate Chip Cookies” recipe that my husband had, which I believe was passed on from his mother. I had to mildly modify it, substituting dark brown sugar with light brown and using unsalted butter instead of standard butter.


Chewy Chocolate Peanut Butter Chip Cookies

Ingredients

  • Flour Mix
    • 2 1/4 cup flour
    • 1 tsp baking soda
    • 1 tsp salt
  • Sugar Mix:
    • 3/4 cup granulated sugar
    • 3/4 cup light brown sugar
    • 1 cup (2 sticks) unsalted butter, softened
  • Everything Else:
    • 1 tsp vanilla extract
    • 2 large eggs
    • 11-12oz package of Nestle Peanut Butter & Milk Chocolate Morsels
  1. Preheat your oven to 375°F. 
  2. Flour Mix: In a bowl, mix together the flour, baking soda and salt
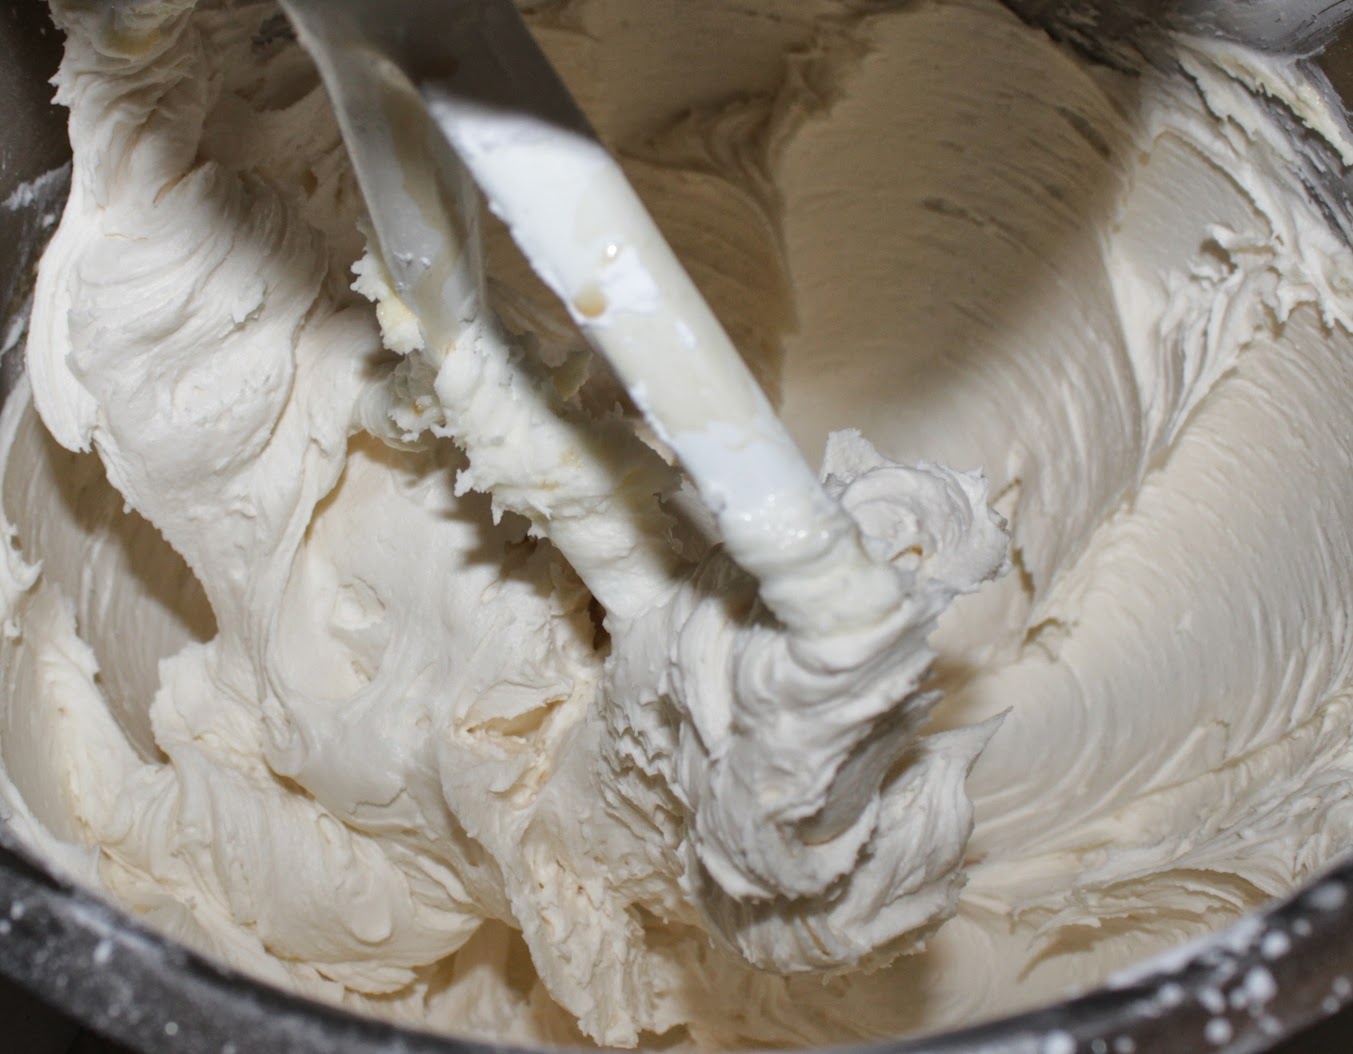
  3. Sugar Mix: Add the granulated sugar, light brown sugar and the softened unsalted butter to your mixer’s bowl. Beat on low until blended, then medium-low until light and fluffy.
  4. Add the vanilla extract and eggs to the sugar mix. Beat until mixed well.
  5. Keep the mixer on low and add the flour mix slowly to the sugar mix. After about a minute you can slowly turn the speed up to medium-high, then continue to mix for about 1-2 more minutes.
  6. Stop the mixer and scrape the sides and bottom. Add in your chocolate peanut butter chips and mix on low until mixed in.
  7. Put tablespoons of the mix onto an ungreased cookie sheet.
  8. Bake for 9-11 minutes or until light golden brown.

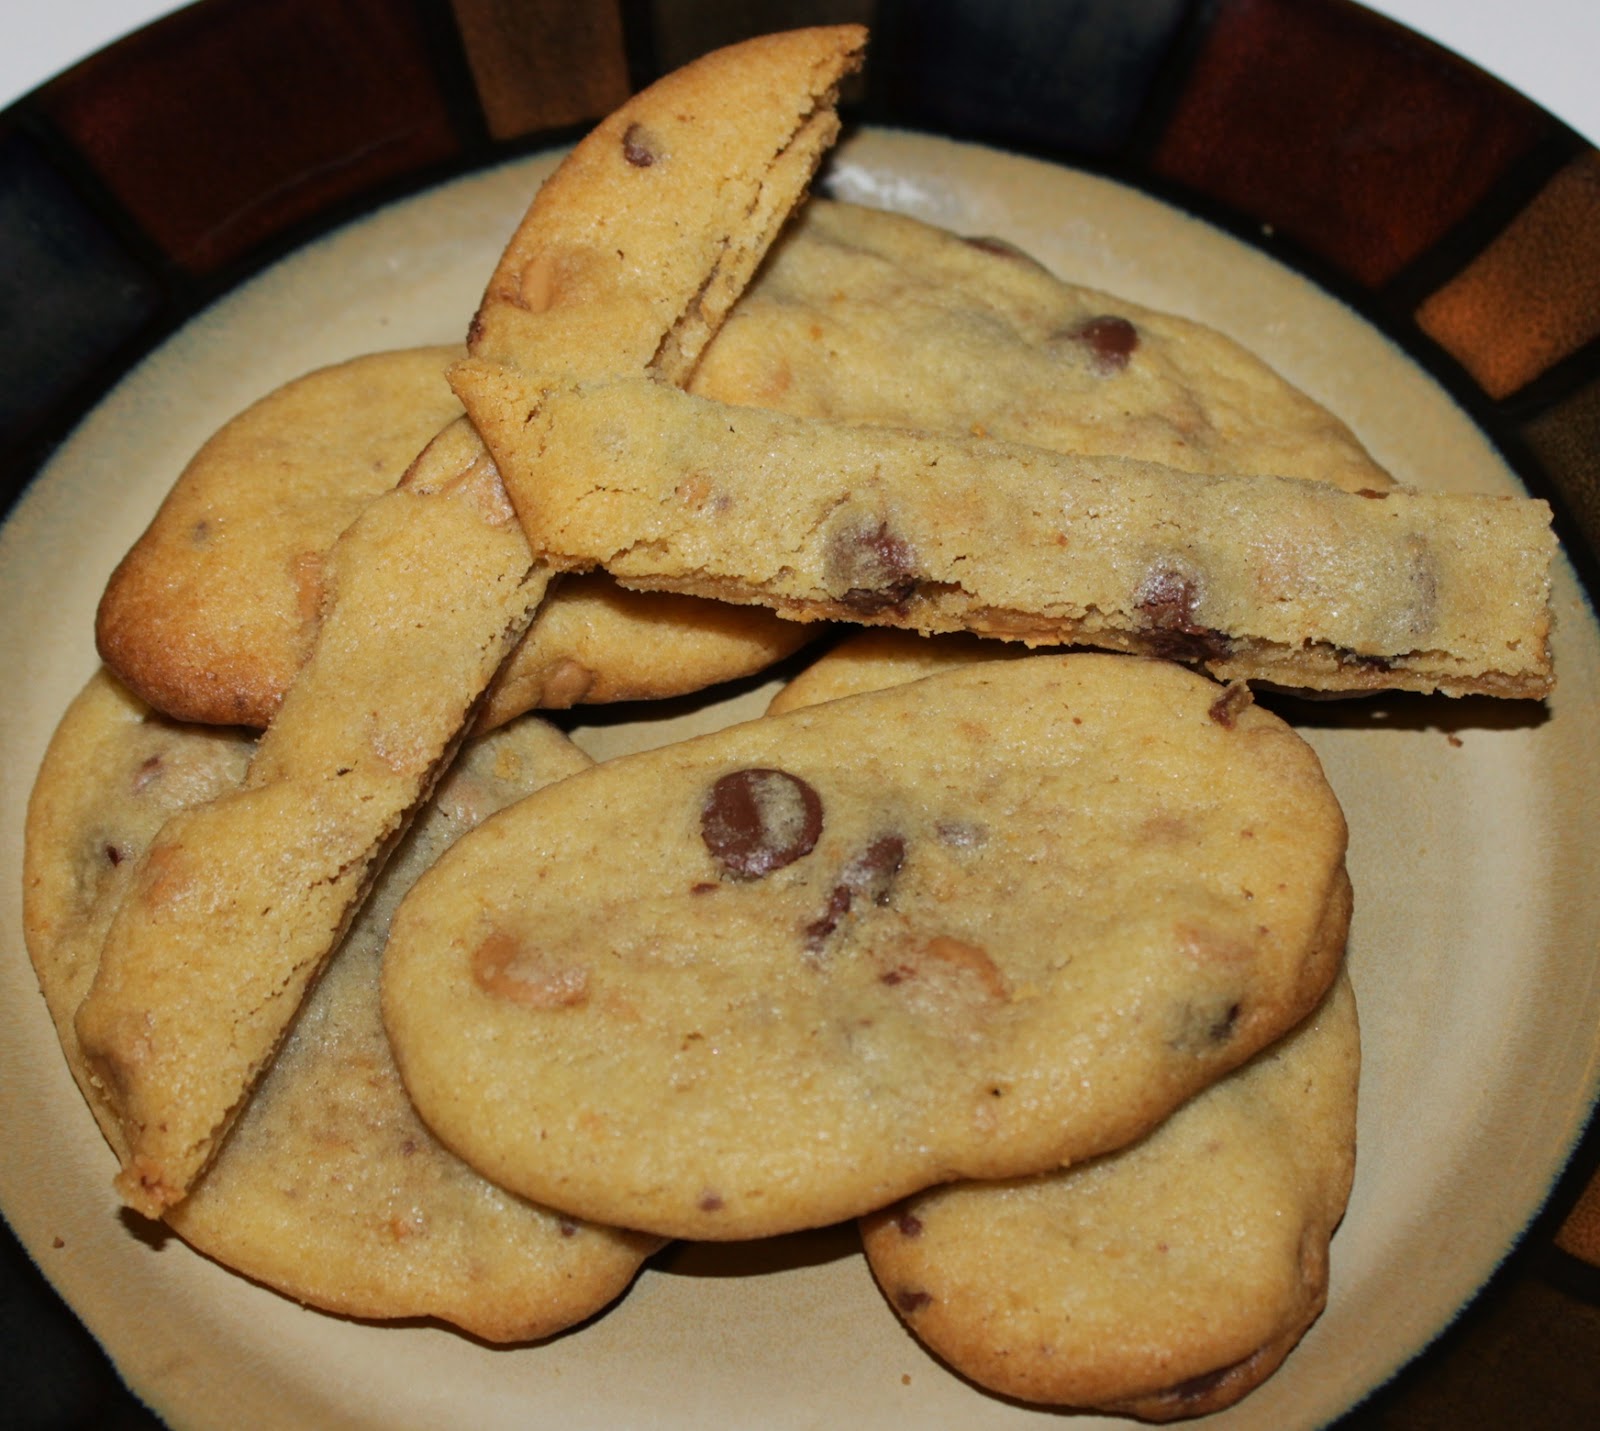
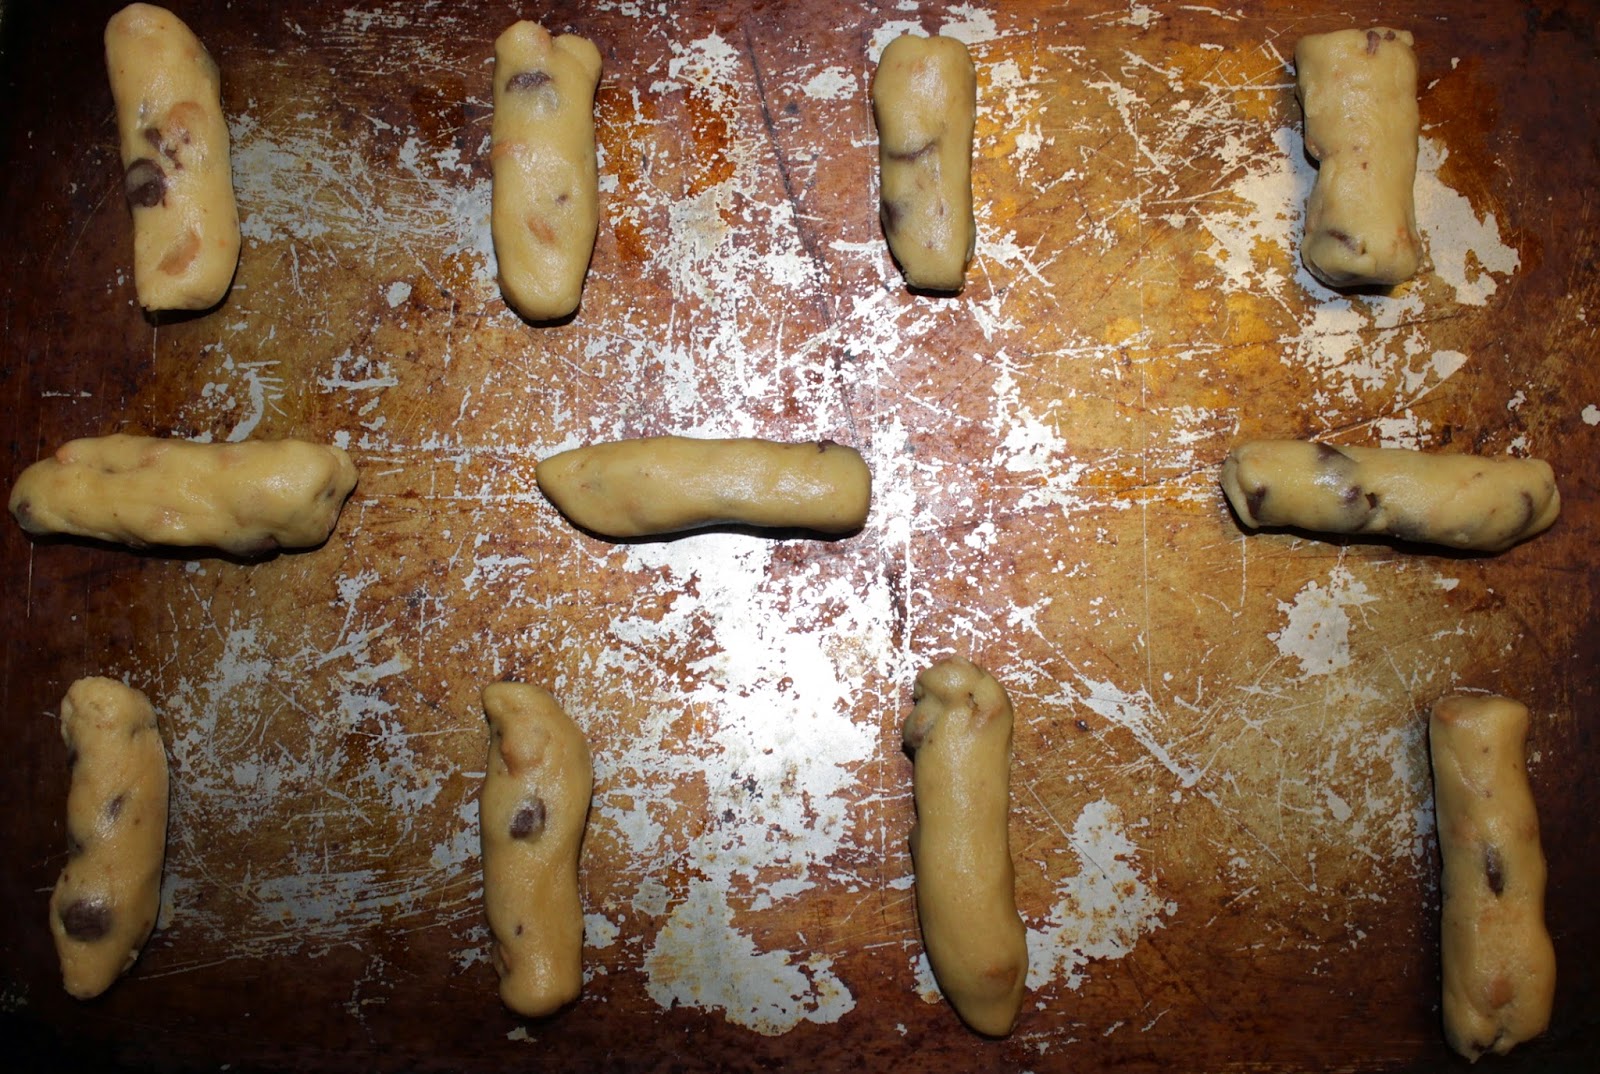
After my dough was ready, my youngest son helped in my first attempt to make the sticks. We rolled chunks of dough into log shape. While these didn’t bake into sticks, they did end up oval-shaped and I liked those the best.

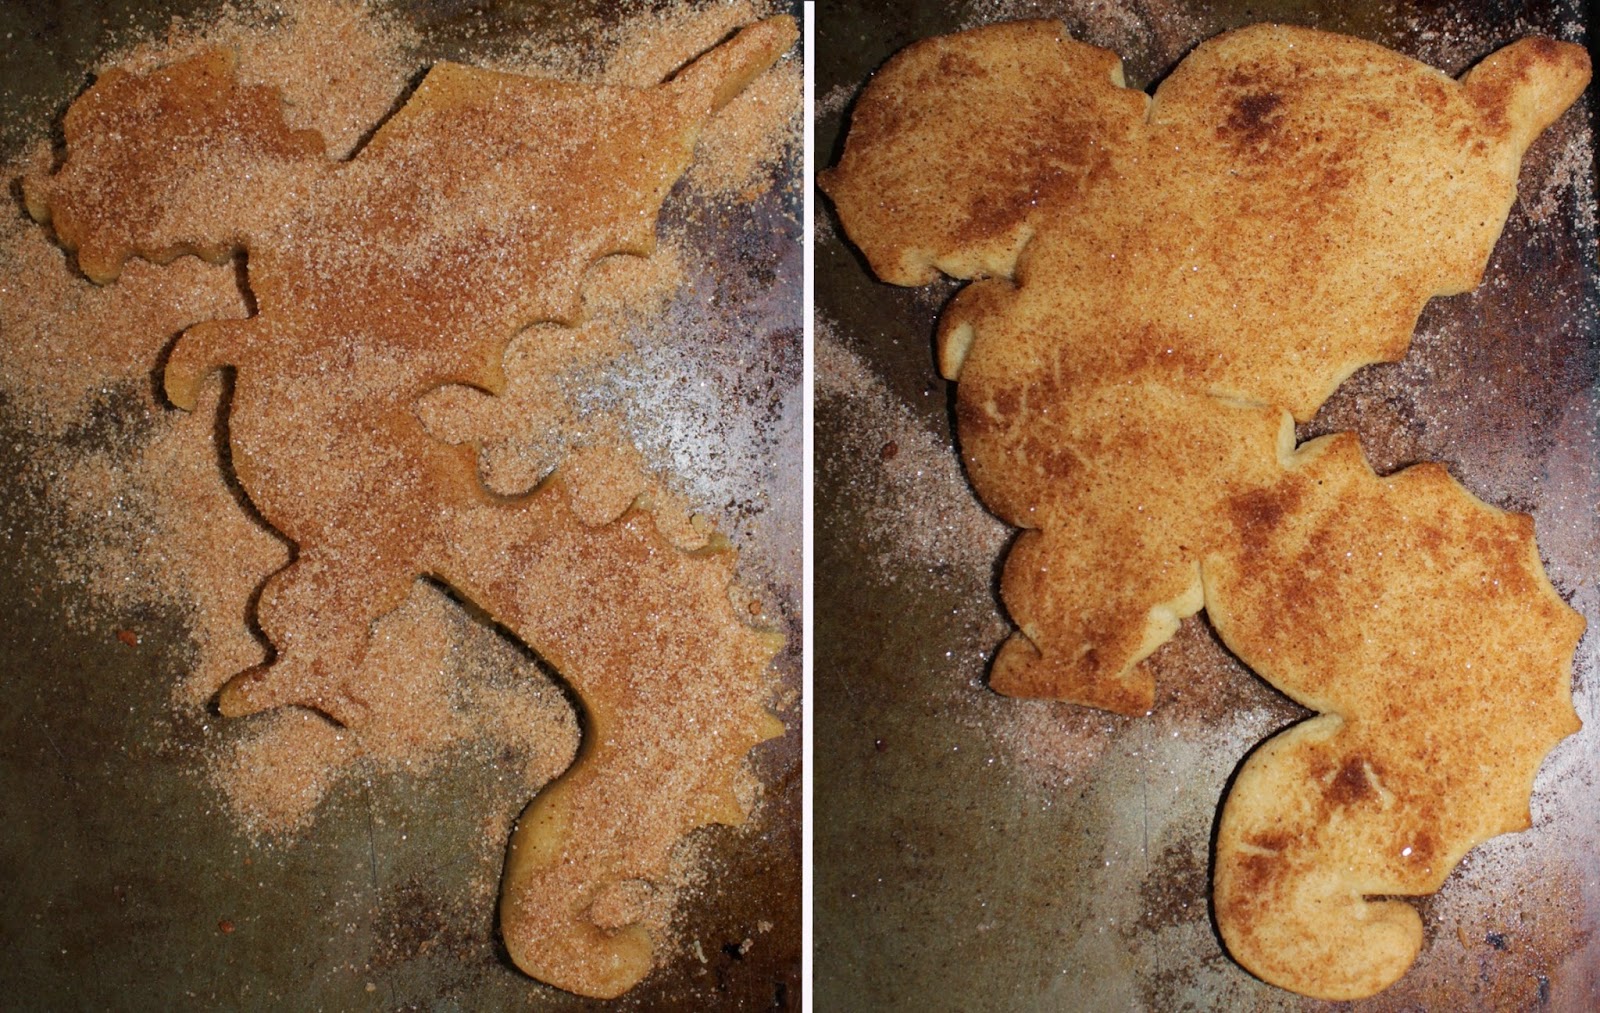
I took the rest of the dough and made a massive square, flattening it to about 1/2″ thick. My husband used our pizza cutter to cut it into sticks, then we gently pulled it apart.

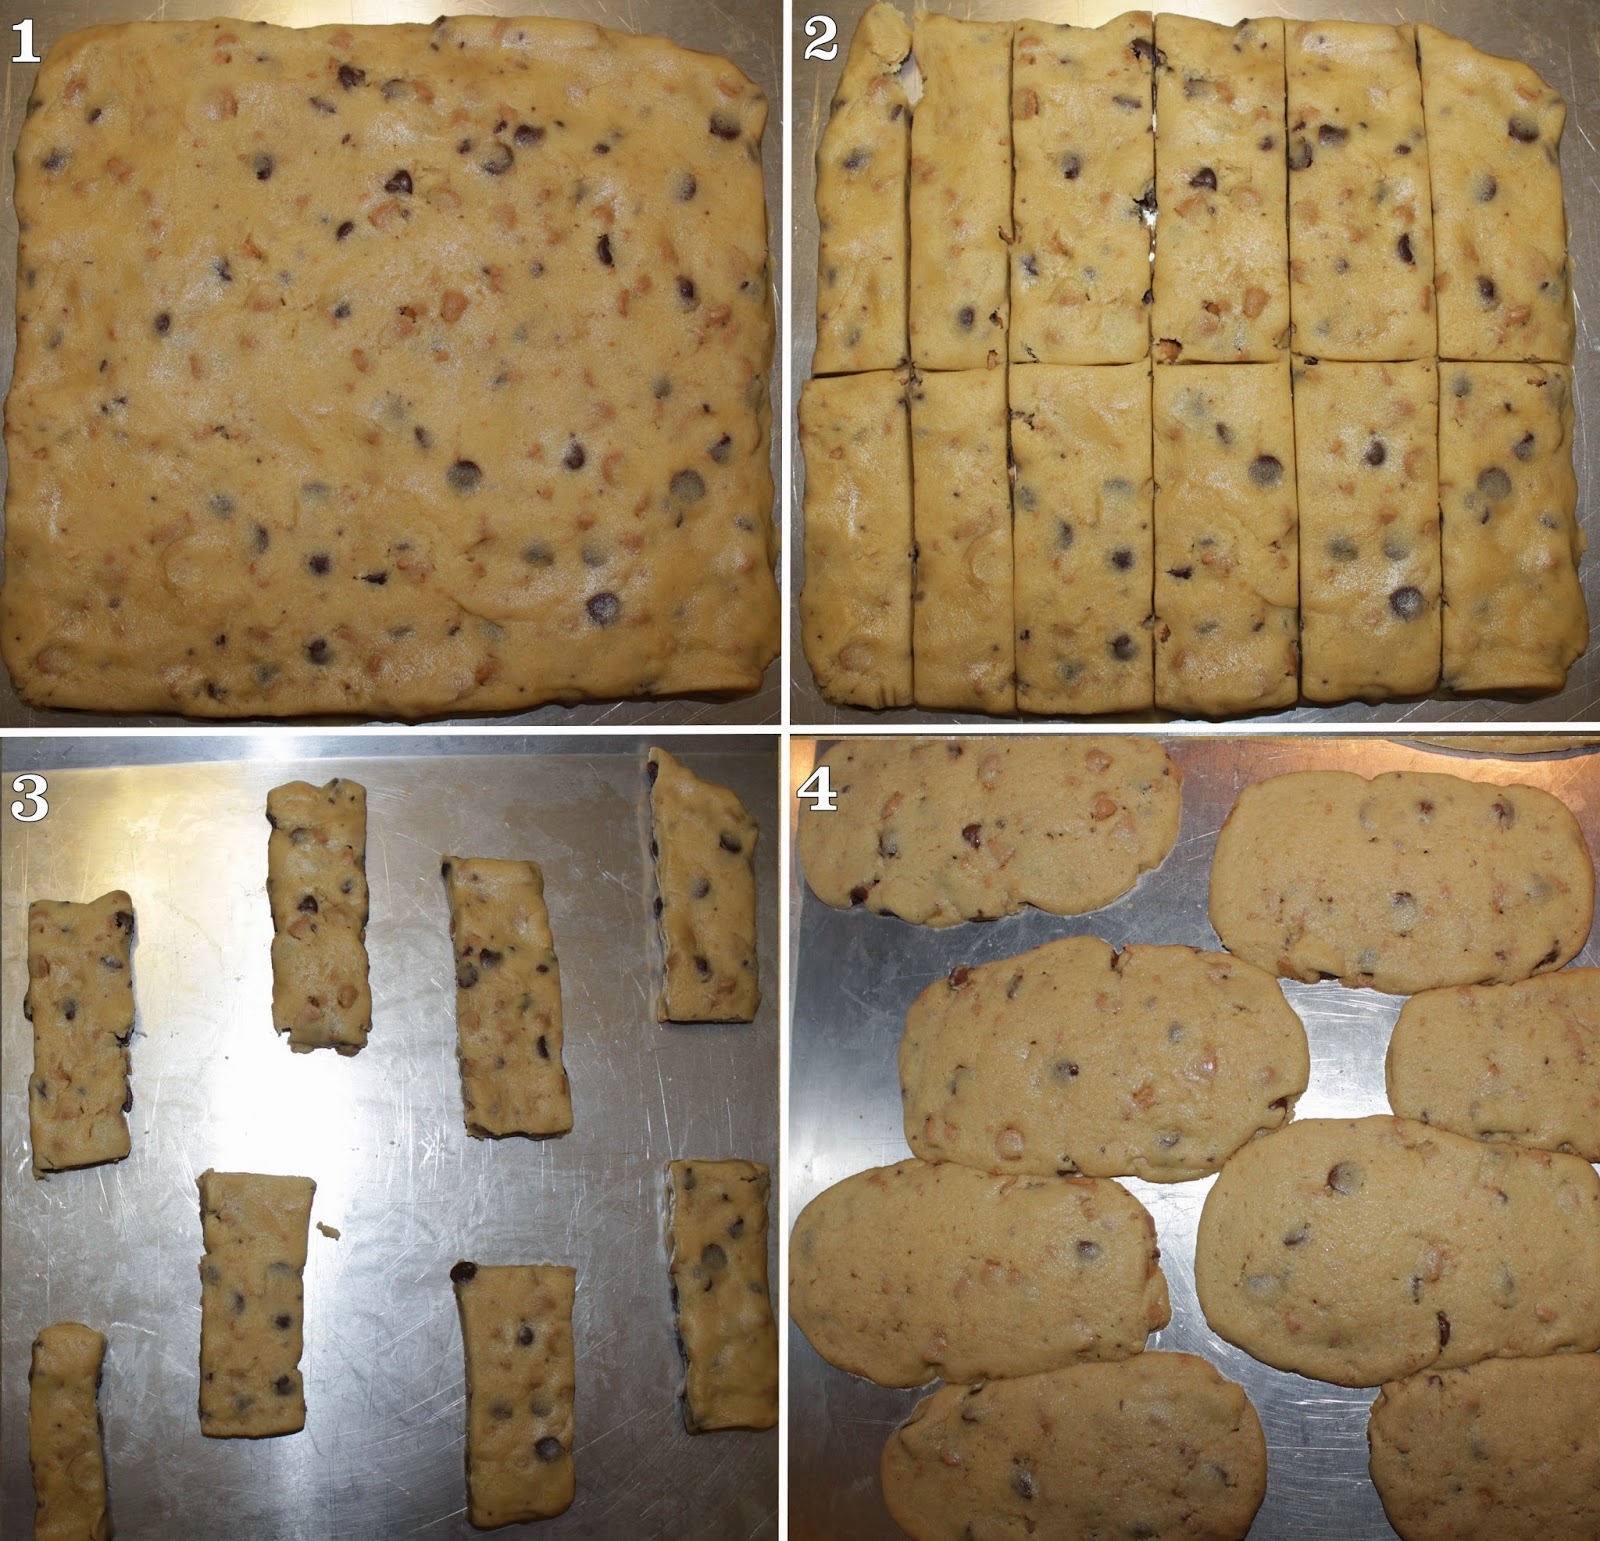
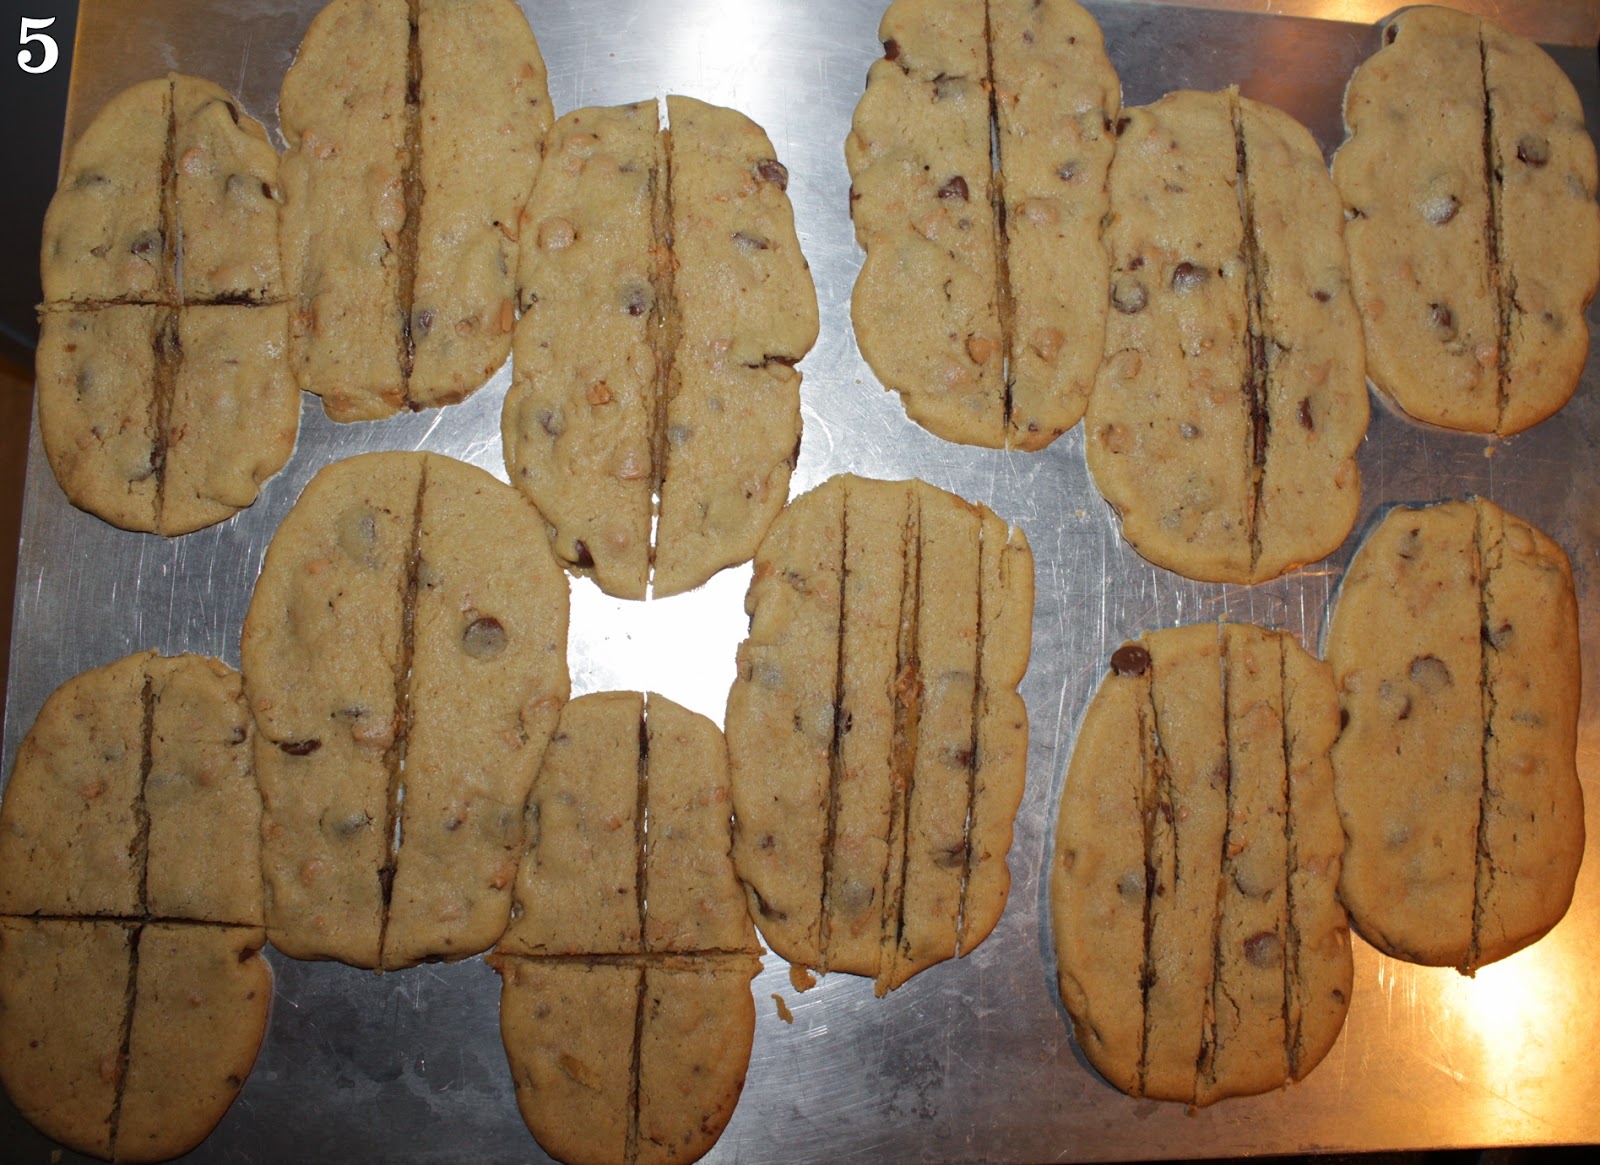
These turned out so-so. Once they were out I cut some of them even more before they completely cooled. It was much easier to cut them after they baked!

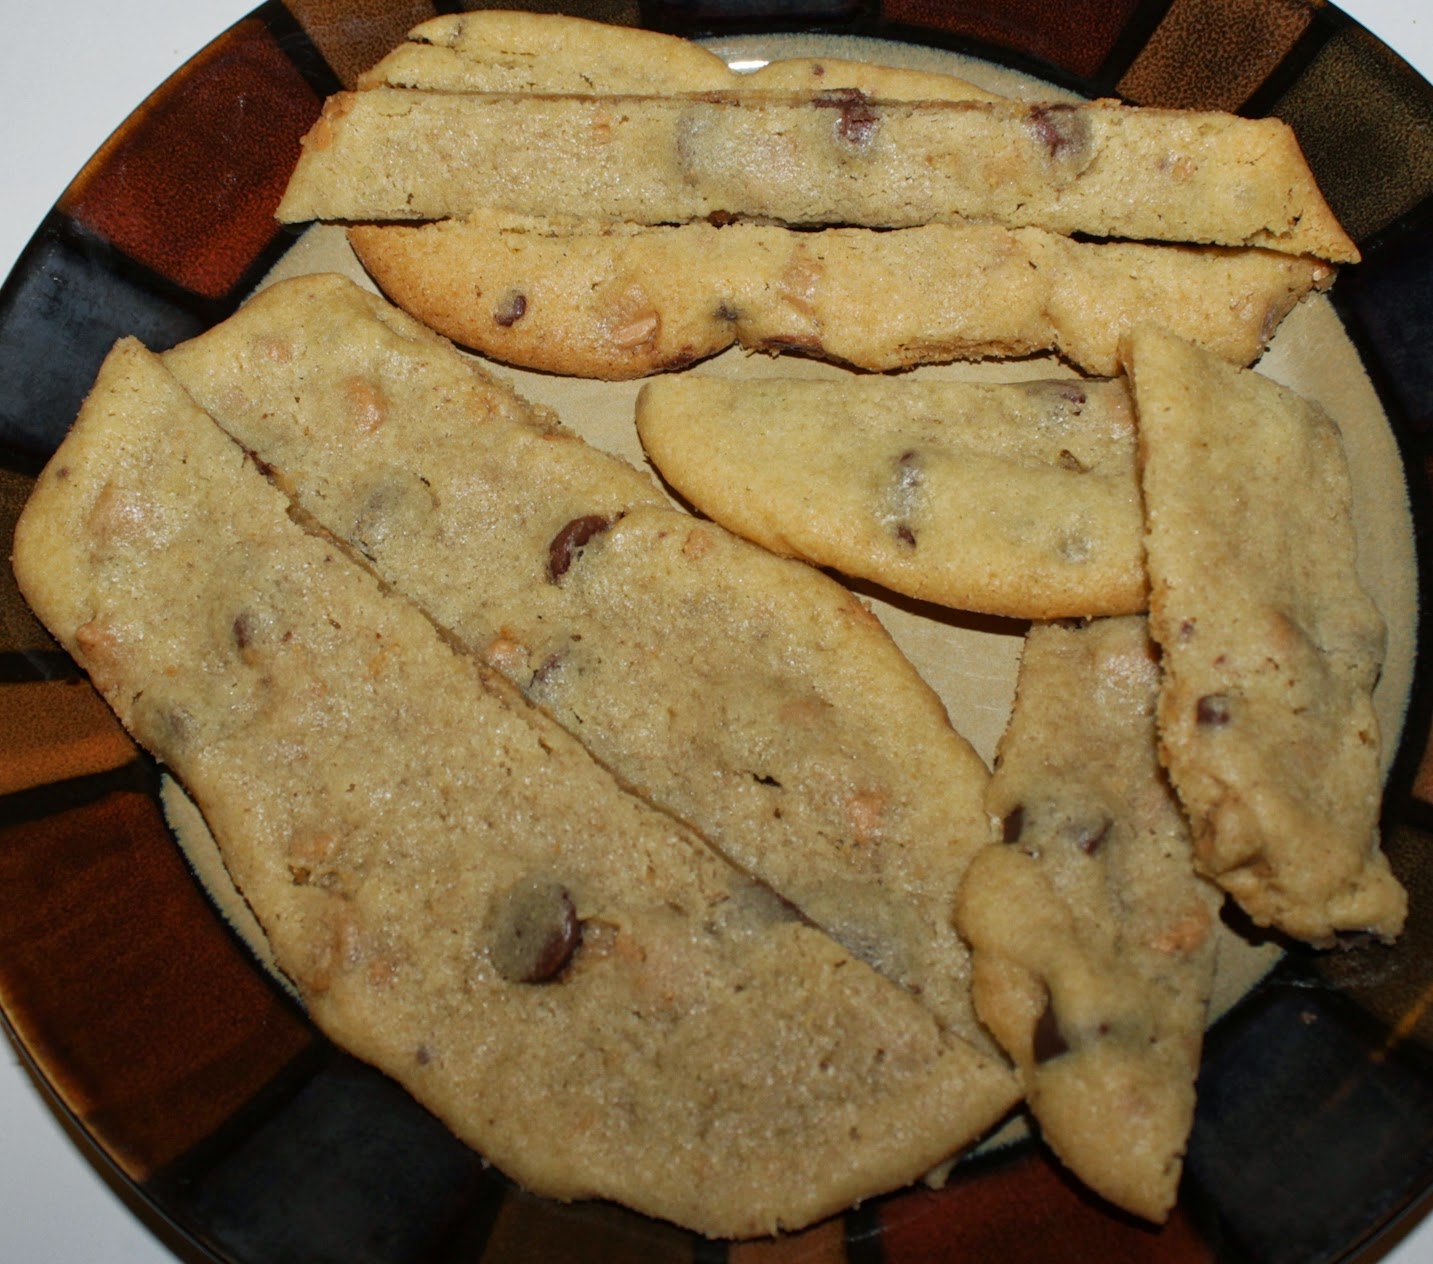
Here’s the plate of oval cookies!

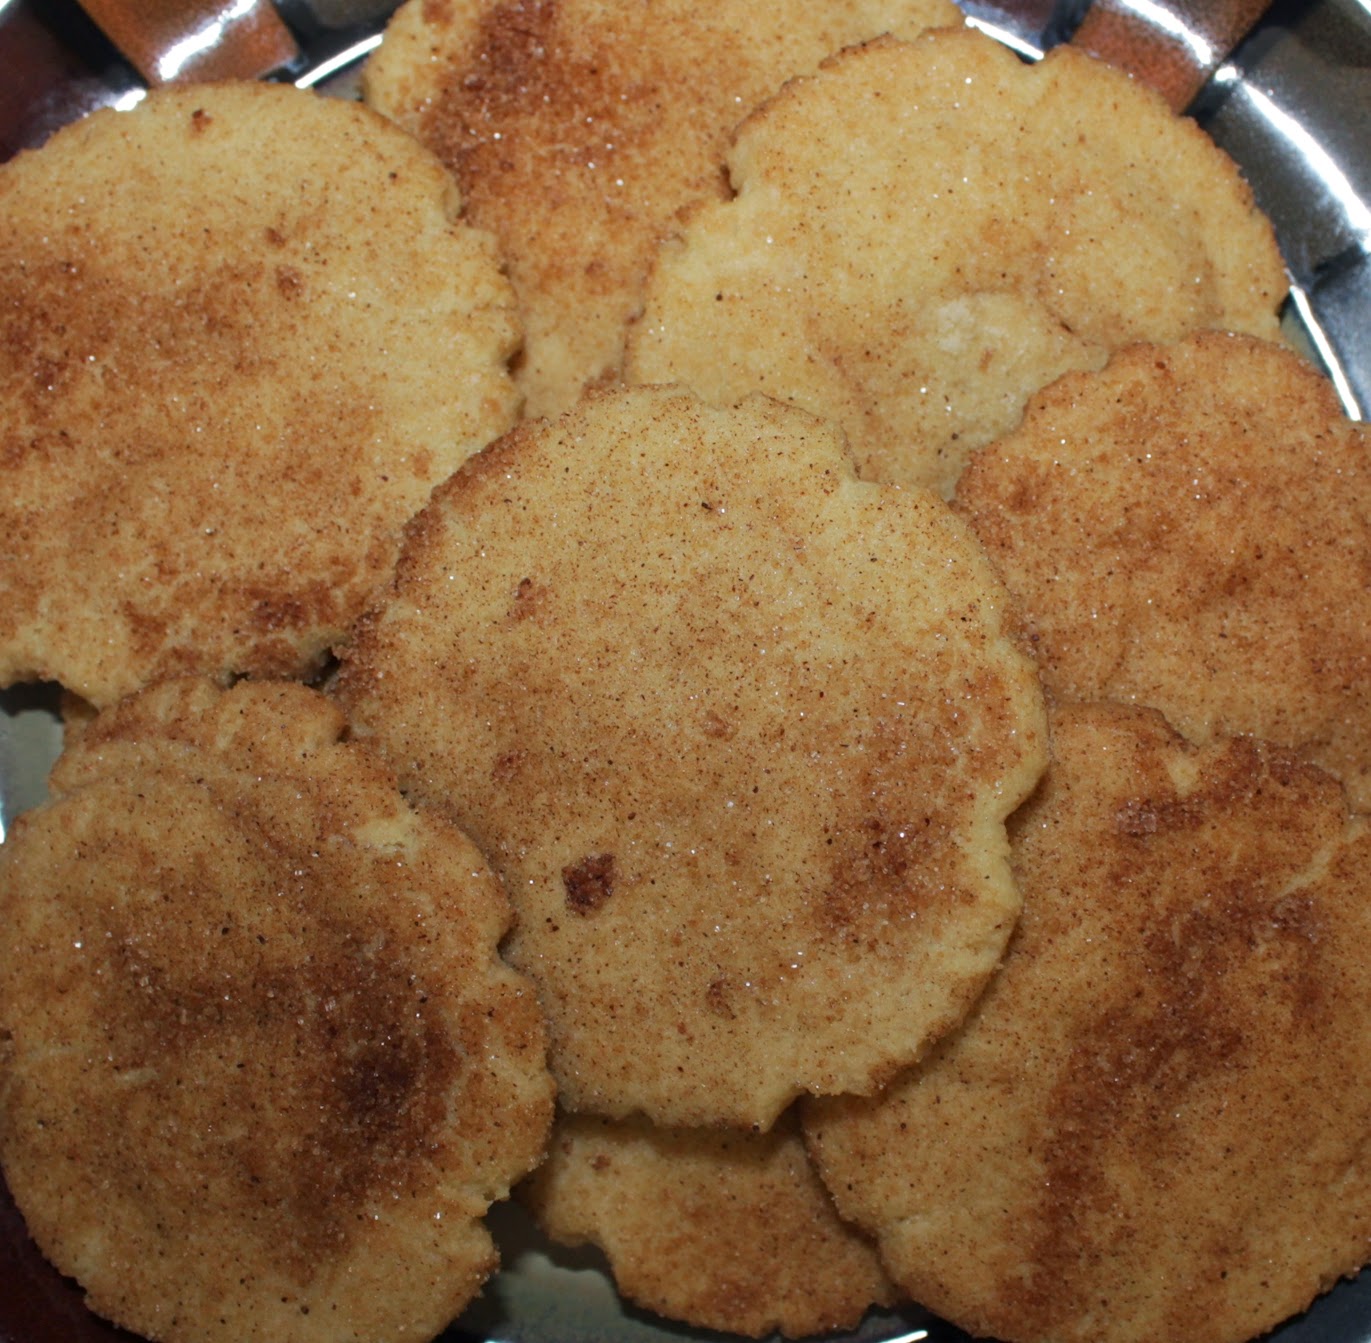
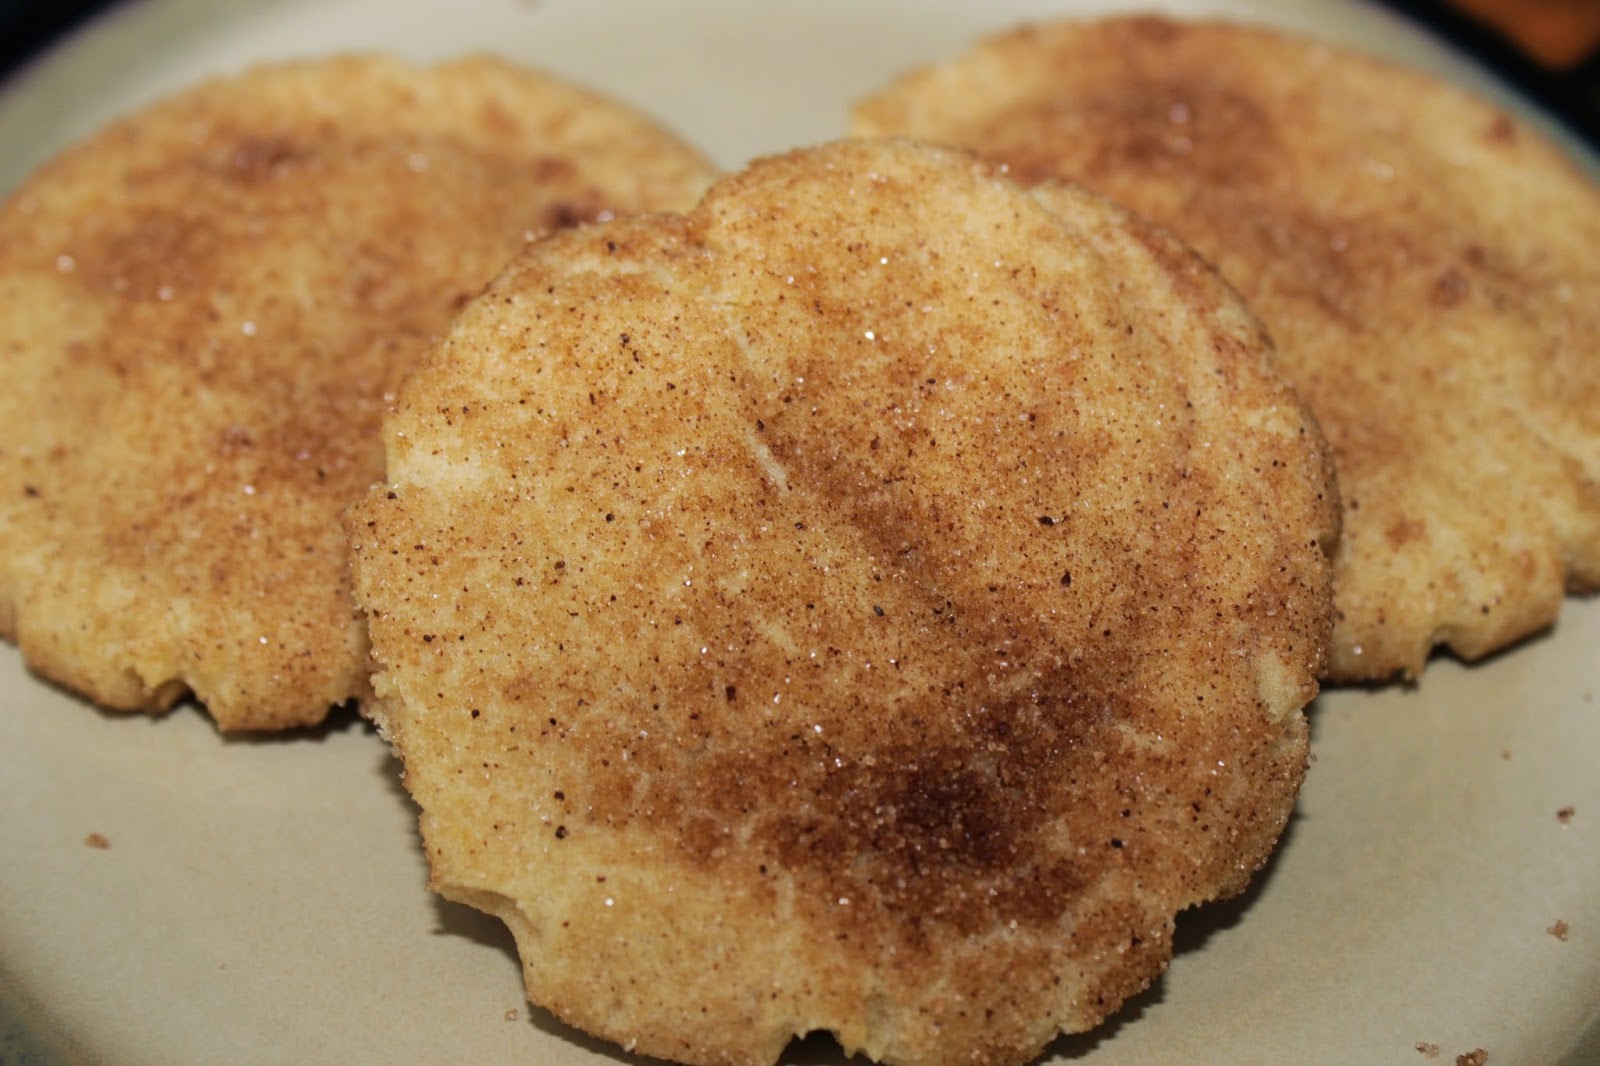
Here’s the plate of the pizza cutter cookies! The most stick-like ones I ended up with were from slicing a cookie blob into four.

The recipe is great, but I think I’ll just stick to forming the cookies normally from now on! Or into ovals. 🙂 Tomorrow’s project is a Kawasaki Rose!

    Discovering 2014: Marshmallow Fluff

    Discovering 2014 is a personal goal to complete a daily project throughout the year!

    Today’s project was Marshmallow Fluff, using this recipe by Cinammon Spice and Everything Nice.

    It’s been a very long work day, so I’m just going to post the pictures tonight and will update with commentary tomorrow!

    Egg whites
    With sugar

    Syrup mix pre-boil

    Syrup mix partly boiled

    Syrup mix at 240F

    Partway through mixing it all together

    Marshmallow Fluff when done

    In container to store in the fridge.. surprise, it’s sticky! 😉

    Tomorrow’s project is a WigJig Barrette!

    Discovering 2014: Apple Vanilla Buttercream Frosting

    Discovering 2014 is a personal goal to complete a daily project throughout the year!

    Yesterday I ended up working over eight hours, so I completely failed at doing any projects. I do still plan on squeezing the Spike Bow into another day this week because it looks really fun to make! Just.. not today… too busy!

    Today is my eldest son’s birthday, and realizing that I was the only one available to make a cake today, I decided to do a switch-up and change today’s project to homemade frosting. I looked up several recipes before settling on a buttercream frosting recipe by Savory Sweet Life, which I modified slightly. My eldest had asked for apple flavoring, so I worked that into the recipe as well.

    Apple Vanilla Buttercream Frosting

    Ingredients

    • 1 cup (2 sticks) of unsalted butter, softened
    • 3 cups of confectioners sugar, sifted
    • 1/4 tsp table salt
    • 1 tbsp vanilla extract
    • 1/2 tsp apple flavoring oil
    • 2 tbsp heavy cream
    • food coloring (optional)

    Beat the softened unsalted butter with your mixer on medium for about 1-2 minutes. Turn the mixer to low and slowly begin adding in your sifted confectioners sugar. Once it is mixed into the butter turn your mixer back up to medium-high and beat it for another 1-2 minutes, stopping to scrape the sides and bottom of the bowl.

    Turn the mixer to medium-low and add the vanilla extract, apple oil and salt. Mix about 30 seconds, scrape the bowl and mix for about 30 more seconds.

    If you are adding in food coloring this would be a good time. I added four drops of cyan from the Wilton neon gel coloring pack with the mixer set to low. Turn your mixer up to medium-high and mix, scrape, mix, repeat until well-blended.

    Turn the mixer down to low while you add the heavy cream. Turn it slowly back up to medium high. Beat for 2-3 minutes. The texture should be thick and creamy.. my husband likened it to the texture of soft-serve ice cream.

    My youngest son wanted to help spread the frosting onto the cake!

    Here’s the completed cake. I wasn’t ambitious enough to try making the cake from scratch as well.. that’s something for the future!

    The apple and vanilla flavorings are not overpowering and play well together. Ten thumbs up from the whole family!

    Tomorrow’s project is Marshmallow Fluff!

    Discovering 2014: Brown Sugar Snickerdoodle Cookies

    Discovering 2014 is a personal goal to complete a daily project throughout the year!

    Today’s project was Snickerdoodle Sugar Cookies. I followed this recipe by Mommy’s Sweet Confessions, which in turn was adapted from this Better Homes and Gardens Cookbook.

    This follows a normal sugar cookie recipe pretty closely, but also uses brown sugar, cream of tartar, and is rolled in sugar and cinnamon. Since I’ve covered making sugar cookies before I didn’t take pictures throughout the entire process this time, but the full recipe can be found at the end!

    Here is the dough after it was chilled for about 75 minutes:

    The mix of granulated sugar and ground cinammon:

    My father-in-law’s birthday was today so I used my new dragon cookie cutter to make him his own special cookie. The cutter was a lot bigger that I thought it would be… almost 1/2 the length of my baking pan!

    It’ll be fun to use that cutter with dough that doesn’t balloon out. 😉

    Here is the before and after of the normal cookies:

    They’re very tasty and we made some maple flavored Whipped Cream Frosting to enjoy with them! For maple we used about 1 tbsp plus 1 tsp of 100% pure maple syrup for the flavoring, which is quite delicious.

    Tomorrow’s project is a Spike Bow!


    Brown Sugar Snickerdoodle Cookies

    Ingredients

    • 1 cup unsalted butter, softened
    • 1 cup granulated sugar
    • 1 cup brown sugar
    • 1/2 teaspoon baking soda
    • 1/2 teaspoon cream of tartar
    • 2 large eggs
    • 1 tsp vanilla extract
    • 3 cups all purpose flour

    Coating

    • 1/2 cup granulated sugar
    • 1.5 tsp ground cinnamon

    Instructions

    1. In a mixing bowl beat butter on medium high for 30 seconds
    2. Add the 1 cup granulated sugar, brown sugar, baking soda and cream of tartar. Beat until combined, scraping down sides occasionally.
    3. Beat in eggs and vanilla until combined well
    4. Beat in the flour until well combined
    5. Cover the dough and refrigerate for 1-2 hours
    6. Preheat oven to 375° F
    7. Mix the remaining granulated sugar and the ground cinnamon in a small bowl
    8. Roll dough into 1 inch balls and then roll them around in the cinnamon-sugar mix until coated
    9. Place on cookie sheet spaced about 1″ apart. Partially flatten the balls.
    10. Bake for 10-12 minutes, or until the edges start to brown
    11. Let cool a few minutes before transferring to a cooling rack
    Recipe adapted from Mommy’s Sweet Confessions