Discovering 2014: Flavored Salts

Discovering 2014 is a personal goal to complete a daily project throughout the year!

Today’s project was Flavored Salts. This one I looped in the husband on, since cooking is generally his domain. A couple of the blends we made you can find in most grocery stores, but at a much higher price than buying the spices separately and blending them on your own!

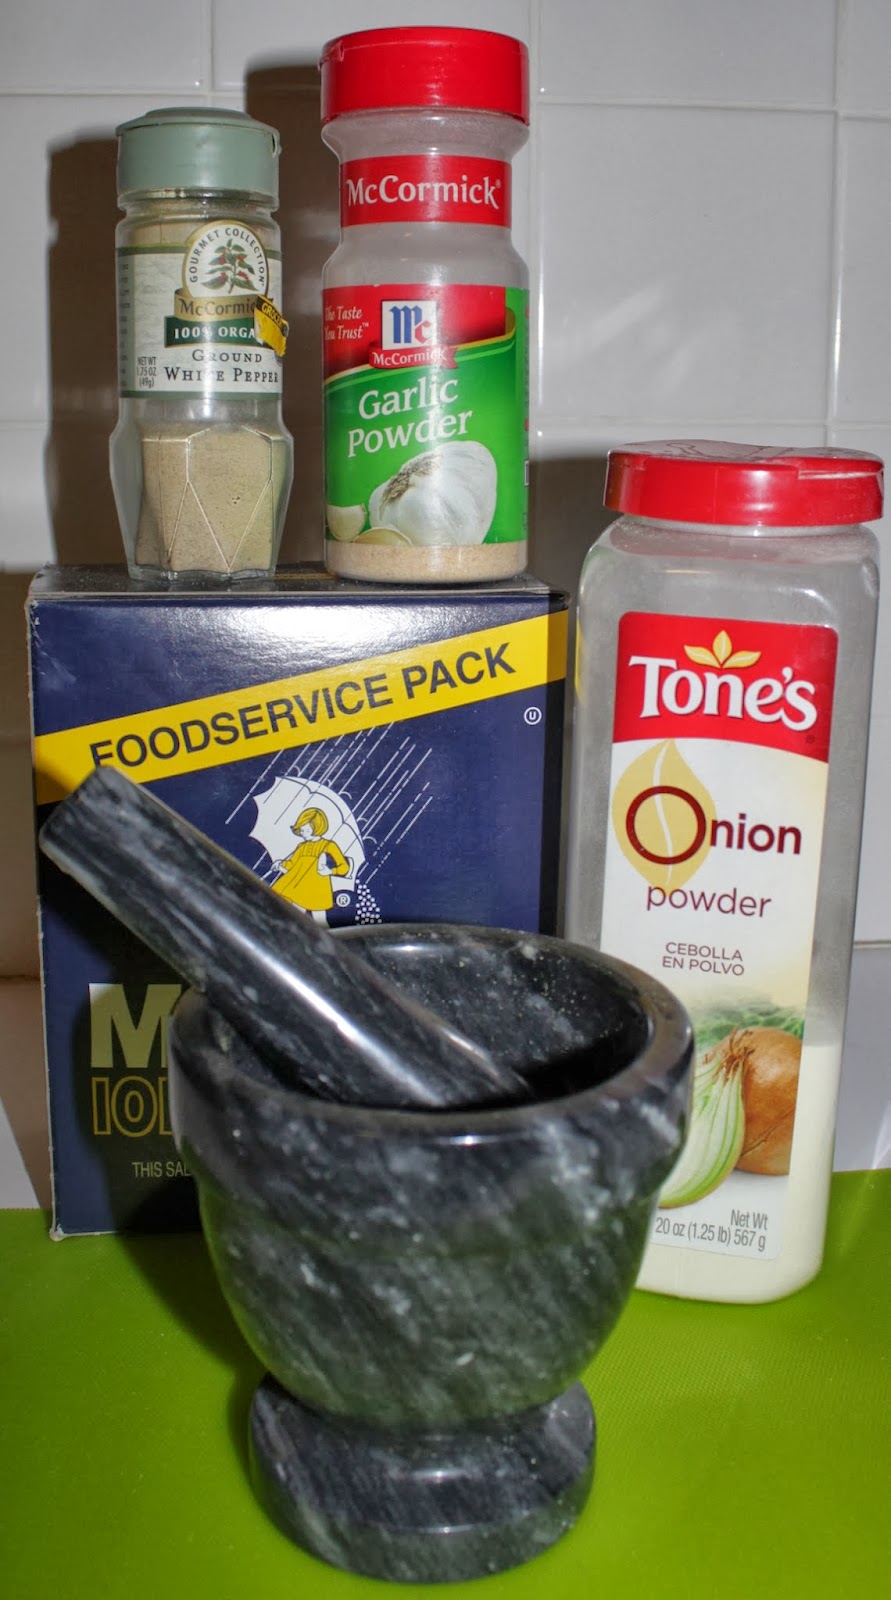
For this project you need some empty bottles, measuring spoons, a funnel, spices, salt, and optionally a mortar and pestle. We chose to use Garlic Powder, Onion Powder, and White Pepper.

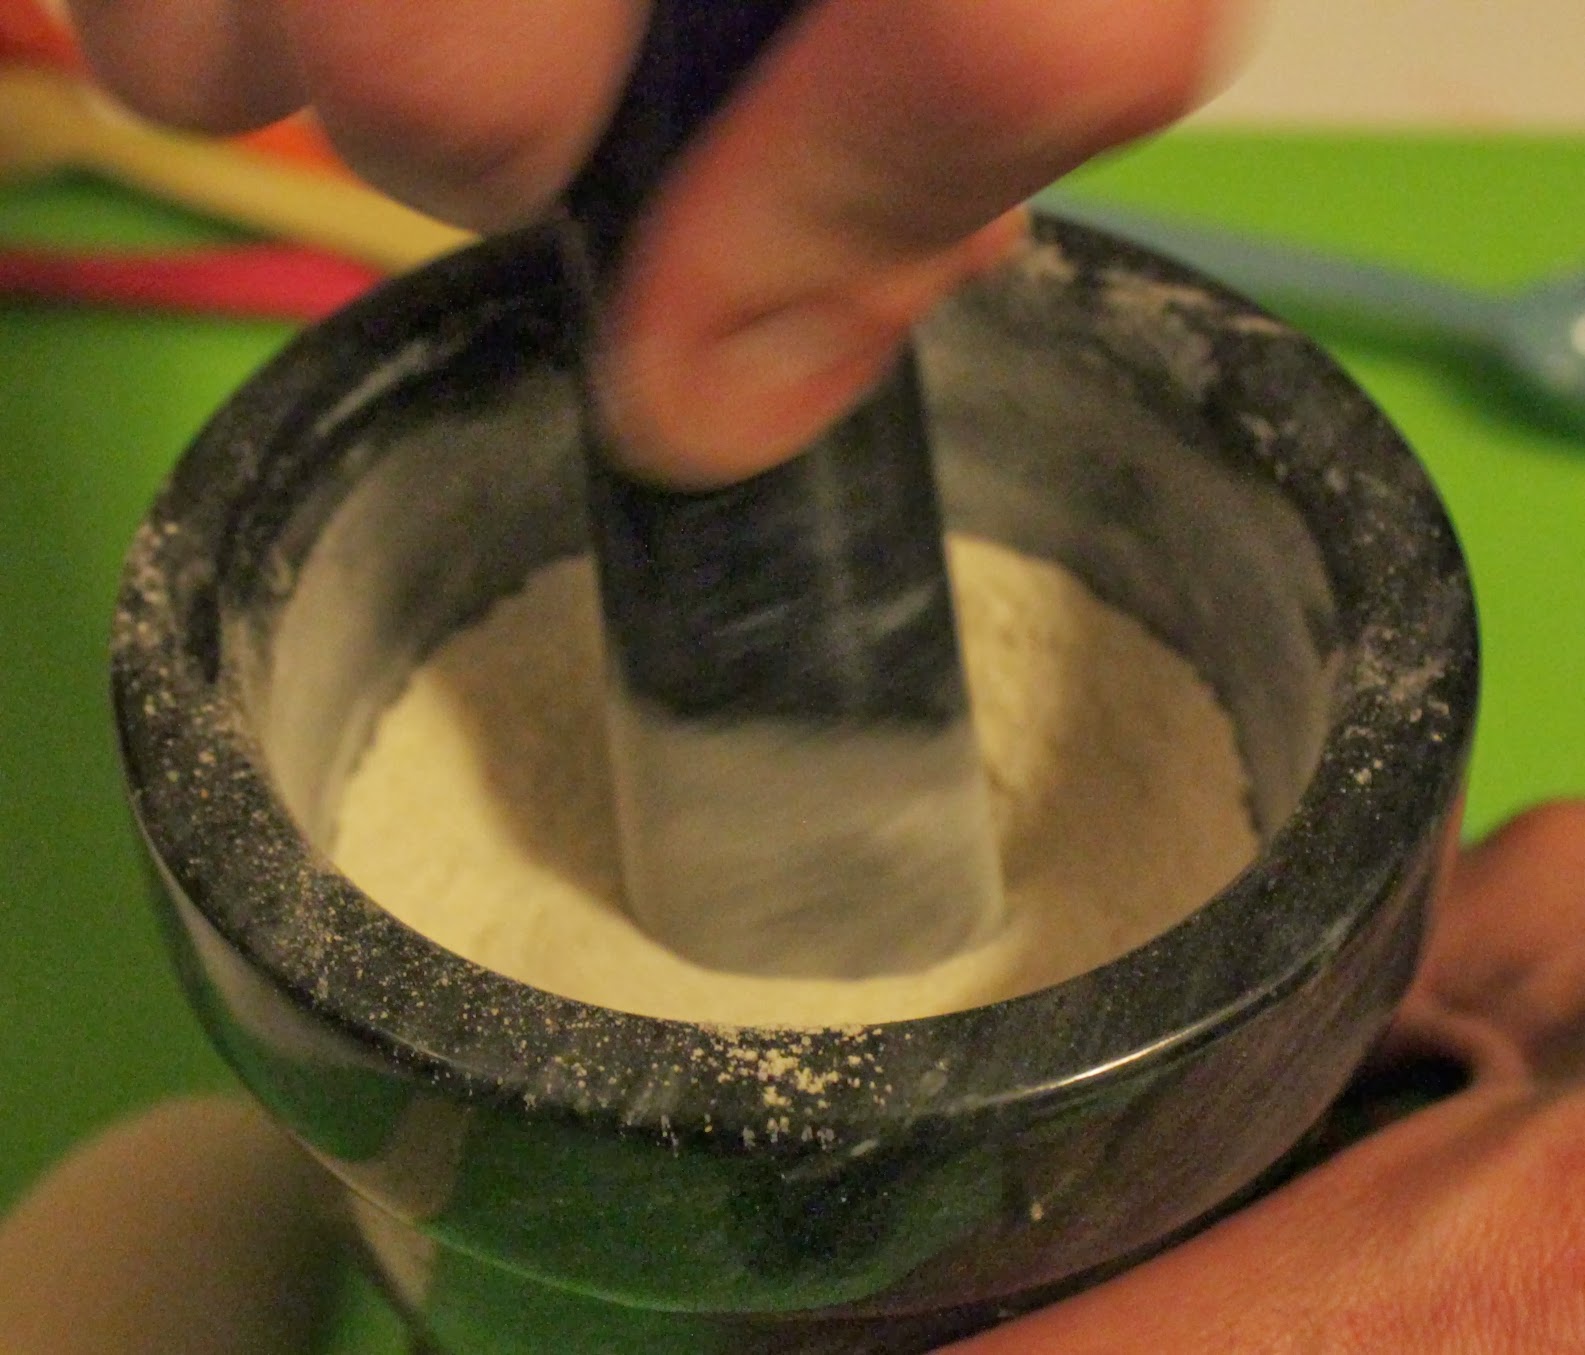
The husband stirred and lightly grinded the spices and salt together in our mortar and pestle. The only one we didn’t grind was the garlic salt, since both are granulated so they simply mixed together nicely. Here are the ratios we used (salt to spice):

  • Onion Salt – 1.5:1
  • Garlic Salt – 1:1
  • White Pepper Salt – 3:1

This means we used 3 tablespoons of salt to one tablespoon of white pepper, and so on. The stronger your spice, the more salt you’ll want to stop it from overpowering the blend.

The Onion Salt we figure will taste great on steak; the Garlic Salt is much more versatile and would be great not only on fish, poultry and a variety of meat, but also potatoes and probably snacks like popcorn. The White Pepper Salt would be a nice touch on chicken, pork, and fish.

If you make any of your own blends be sure to comment and let us know how they turned out! If you’re looking for some more food related posts, my friend Amy blogged about “Ridiculously Easy Soft Breadsticks” today!

Discovering 2014: Whipped Cream Dollops

Discovering 2014 is a personal goal to complete a daily project throughout the year!

My day 19 project was Whipped Cream Dollops. This is one I actually started a few days ago to ensure everything was done in time. The idea came from this pin by The Creative Mama. Her dollops turned out much nicer in appearance than mine (it was only my second time using a icing bag) and she made the whipped cream from scratch, but the end result is the same. =)

This was actually supposed to be a February project, but when we ended up with a partially used whipped cream container, I decided to bump it up by swapping it with the Paper Bag Booklet day. The supplies are: whipped cream (store-bought or handmade), wax paper, decorating/icing bag, something to set your dollops on while they freeze, space in your freezer (pretty sure that’s a commodity), and a container to transplant the dollops to after they’re done.

The icing bag probably isn’t a necessity, but you certainly get a nicer appearance than just chucking some whipped cream on a pan. Whipped cream inside an icing bag is much more difficult and messy to deal with than icing in an icing bag, because it’s so much lighter. Even while trying to be careful and neat, my dollops were far from beautiful.

Then I played Tetris in order to fit the pan in one of my freezer shelves:

After a few hours they should be able to be transplanted into your container. I will warn you that they are not completely frozen at this point and can be squished if you’re not gentle pulling them off the wax paper. My husband tried to help and overestimated his finger strength.

A couple of days went by before we used them in hot chocolate. I made some for the kids after they shoveled snow yesterday and had the camera at the ready.

At that point my six year old got very annoyed at me taking pictures, but as you can see they worked wonderfully!

Tomorrow’s project is Countertop Pendants!