Discovering 2014: Button Bookmarks

Discovering 2014 is a personal goal to complete a daily project throughout the year!

My day 14 project was Button Bookmarks. The project came from this pin by the I Heart Nap Time blog. This is a simple craft that you involve the kids in (well, excluding the hot glue part!).

The supply list for this is simple: large paper clips, buttons, hot glue and a bit of felt.

Basically, you glue to button to the paperclip, and then also attach a little piece of felt as a backing to ensure the bond. Let the glue dry and you have a bookmark!

Yup, that’s it. =)

Come back tomorrow for the Beaded Bobby Pins project!

Discovering 2014: Decorative Mason Jar Lights

Discovering 2014 is a personal goal to complete a daily project throughout the year!

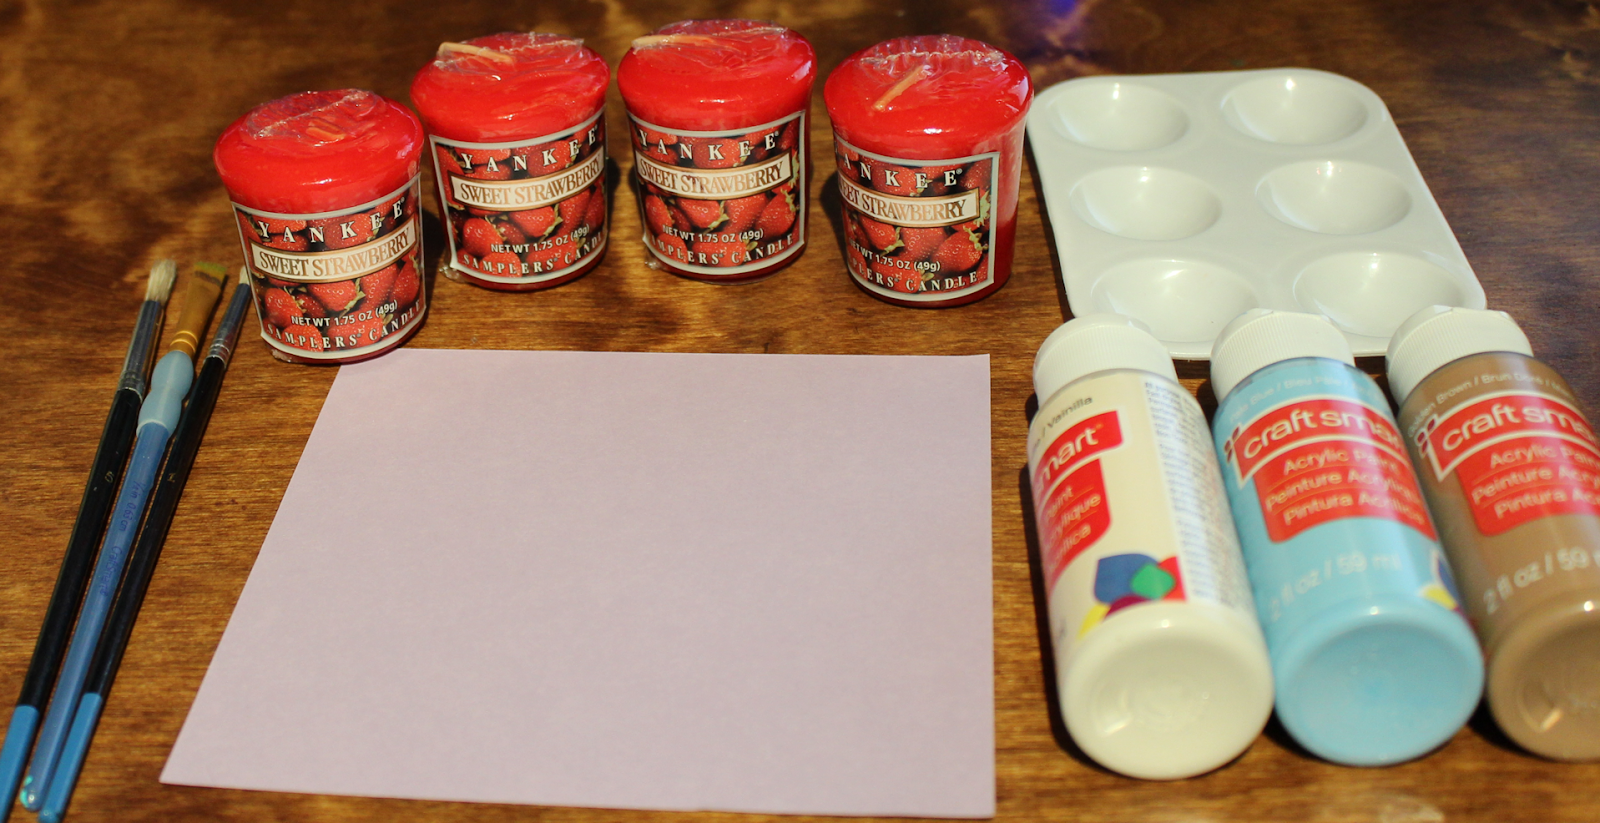
My day eleven project was Decorative Mason Jar Lights. The idea came from this pin by the Mod Podge Rocks Blog. Supplies are fairly simple: an empty jar (I used upcycled jars from spaghetti sauce and pickles), tissue paper, Mod Podge (or other craft glue), a paint brush, and some flameless lights. Chances are, you have a lot, if not all, of these supplies somewhere in your home already!

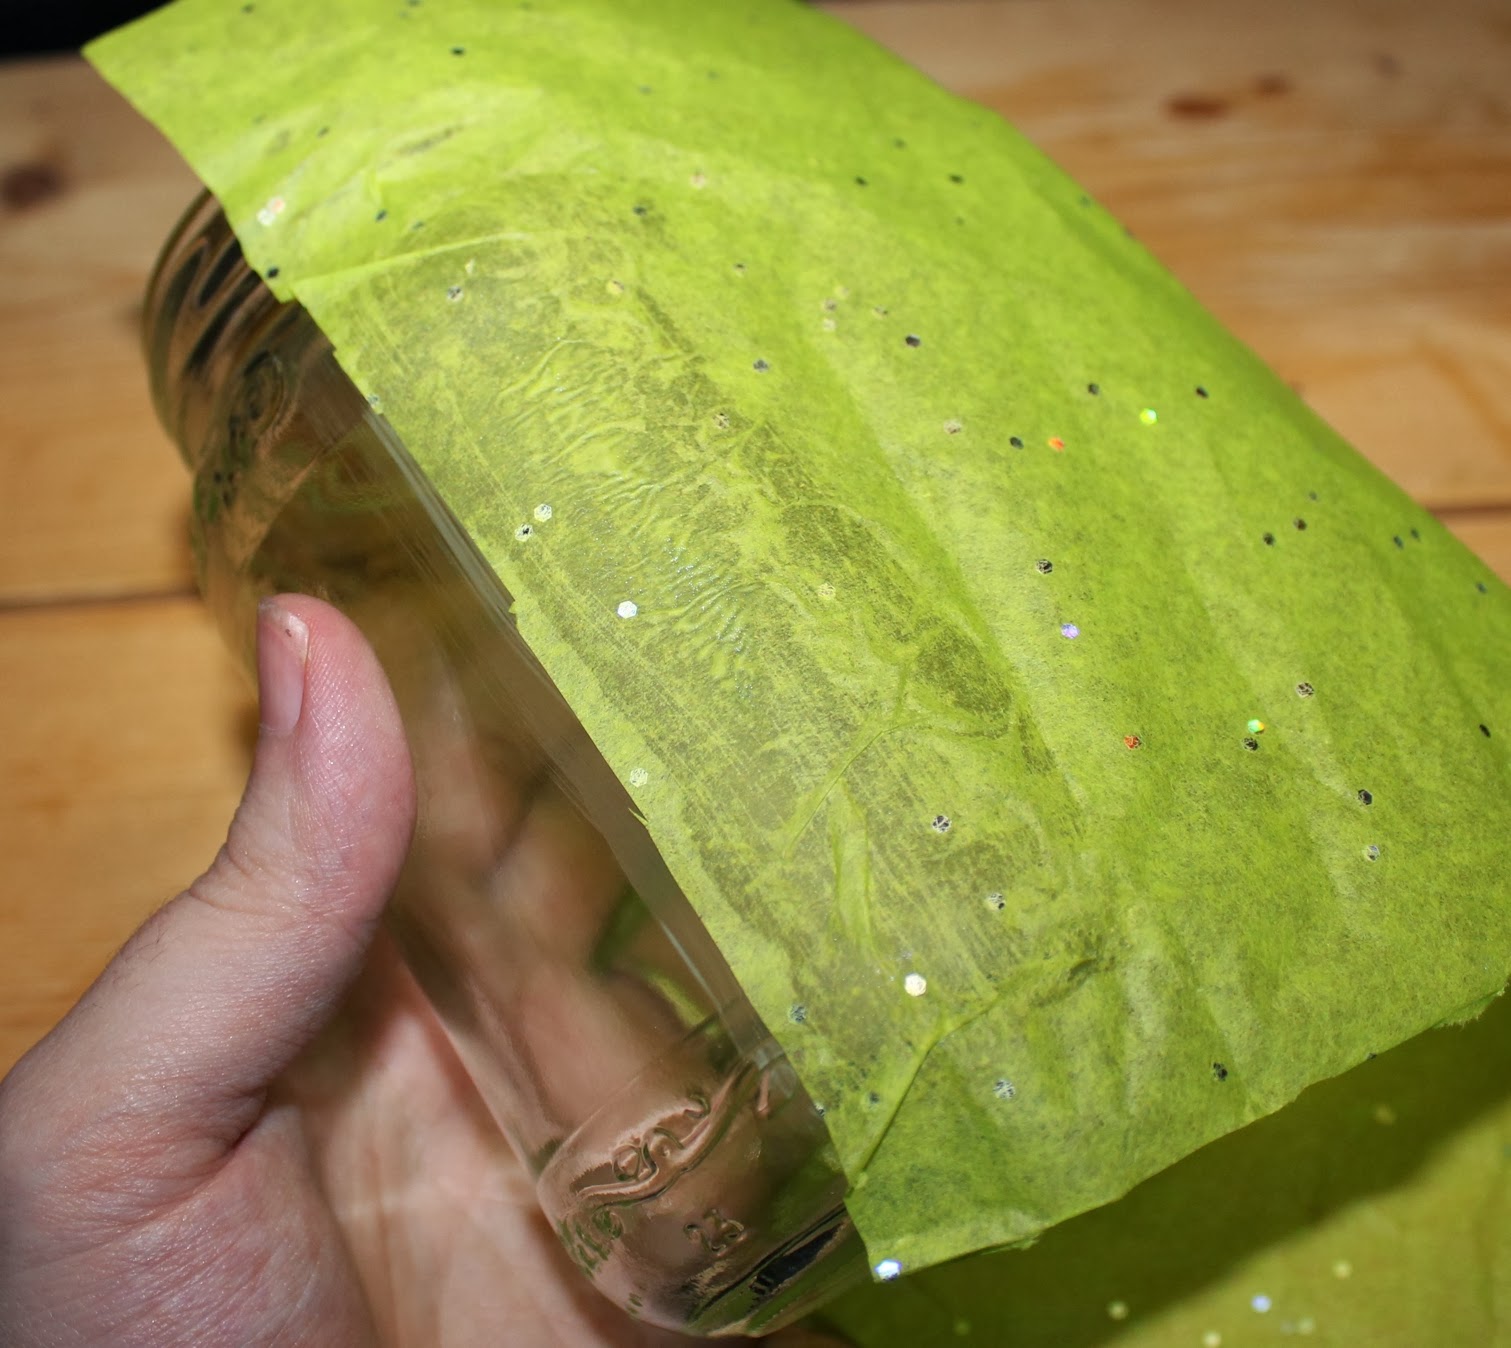
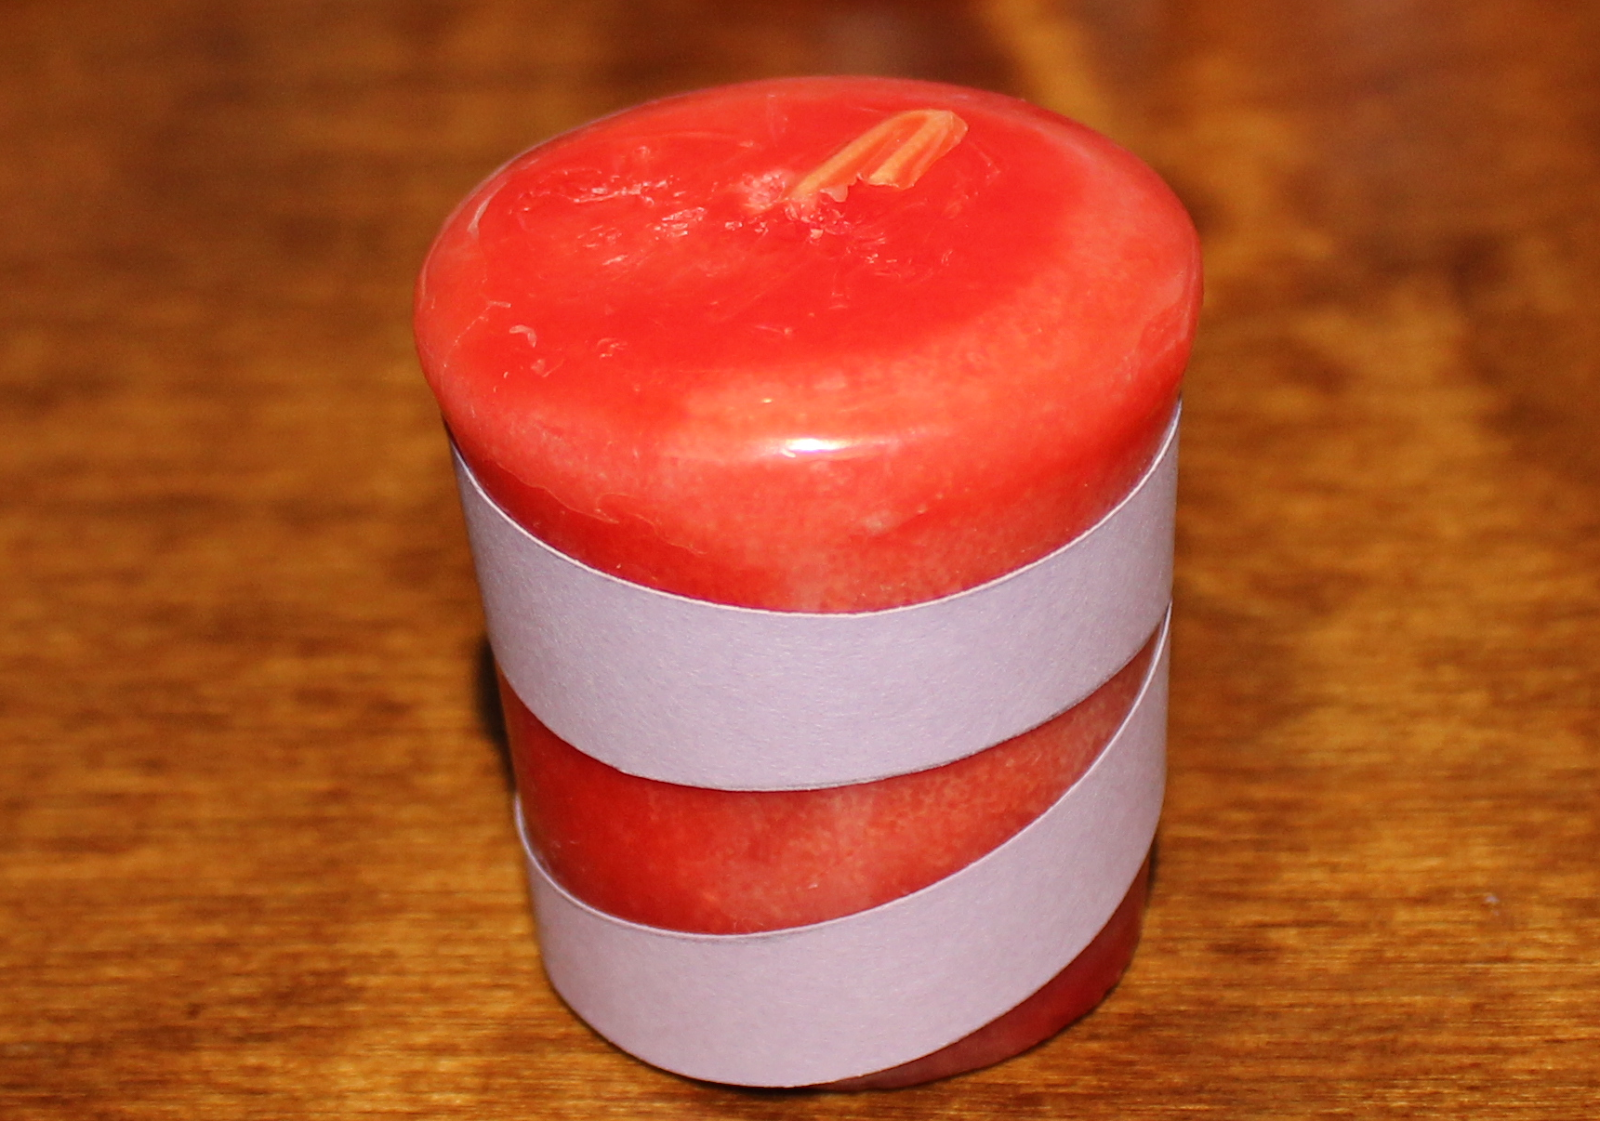
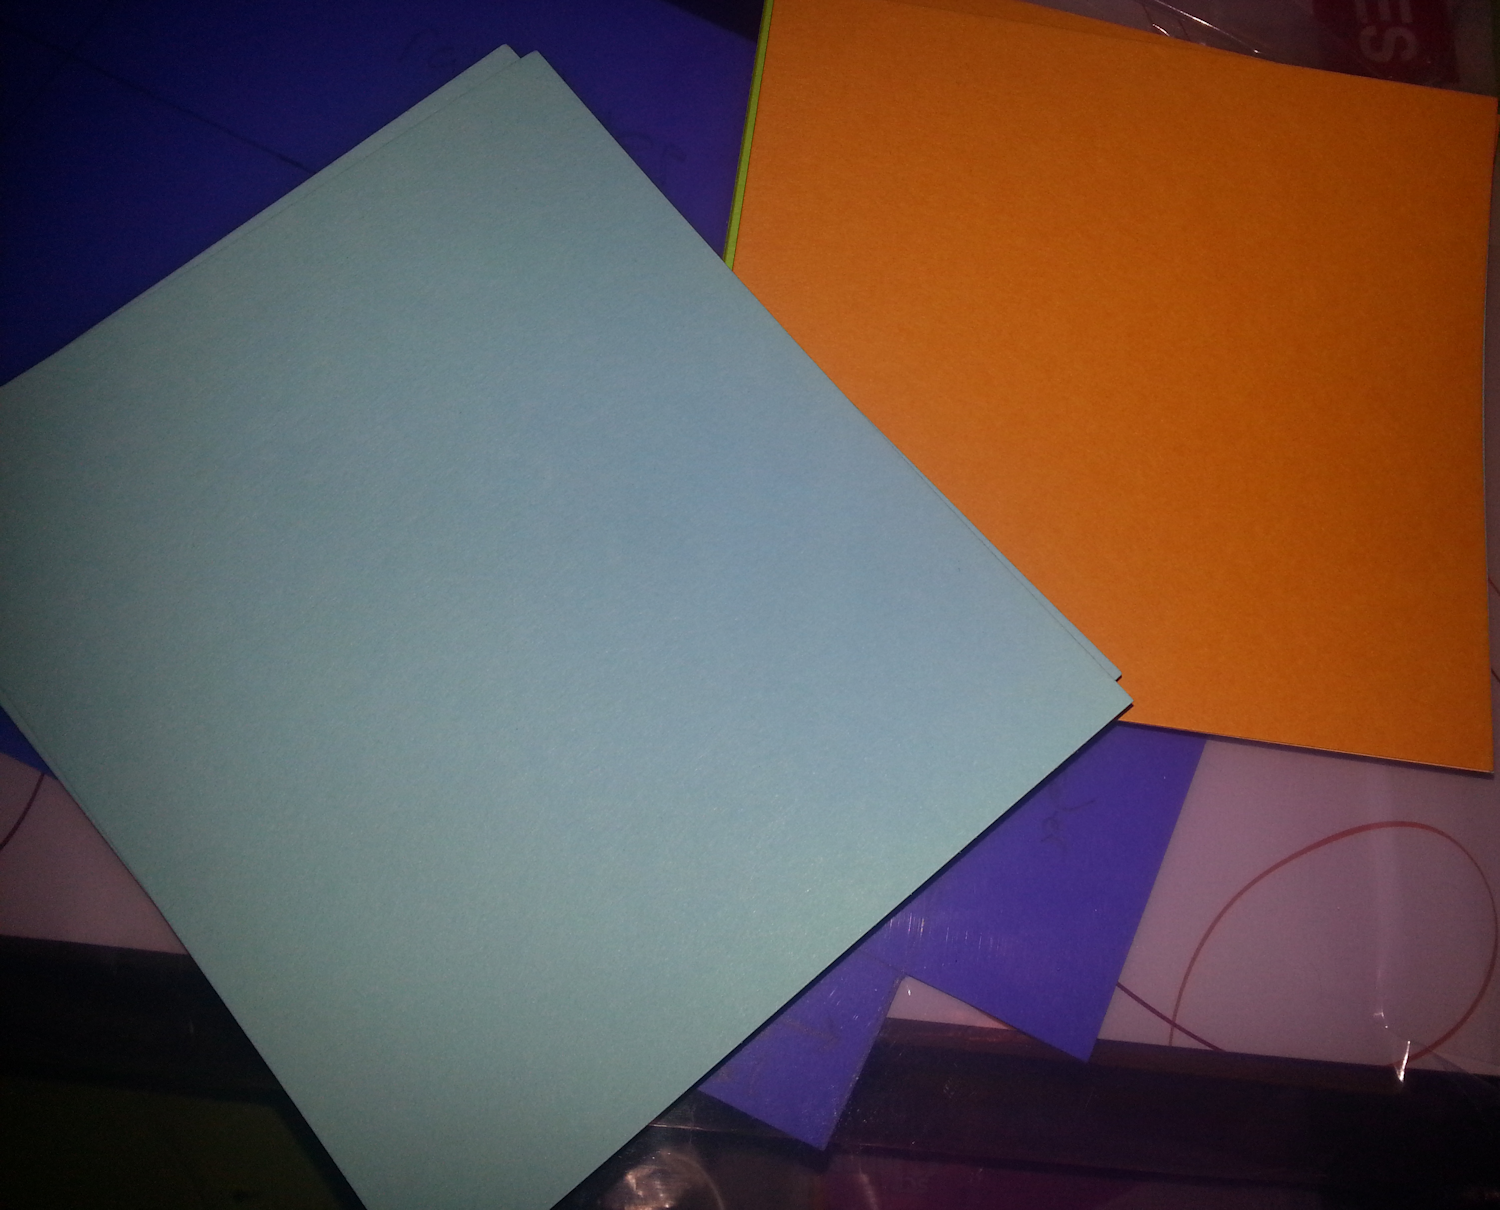
Size the tissue paper to the jar, leaving a bit of extra on the top and bottom to wrap over and under.

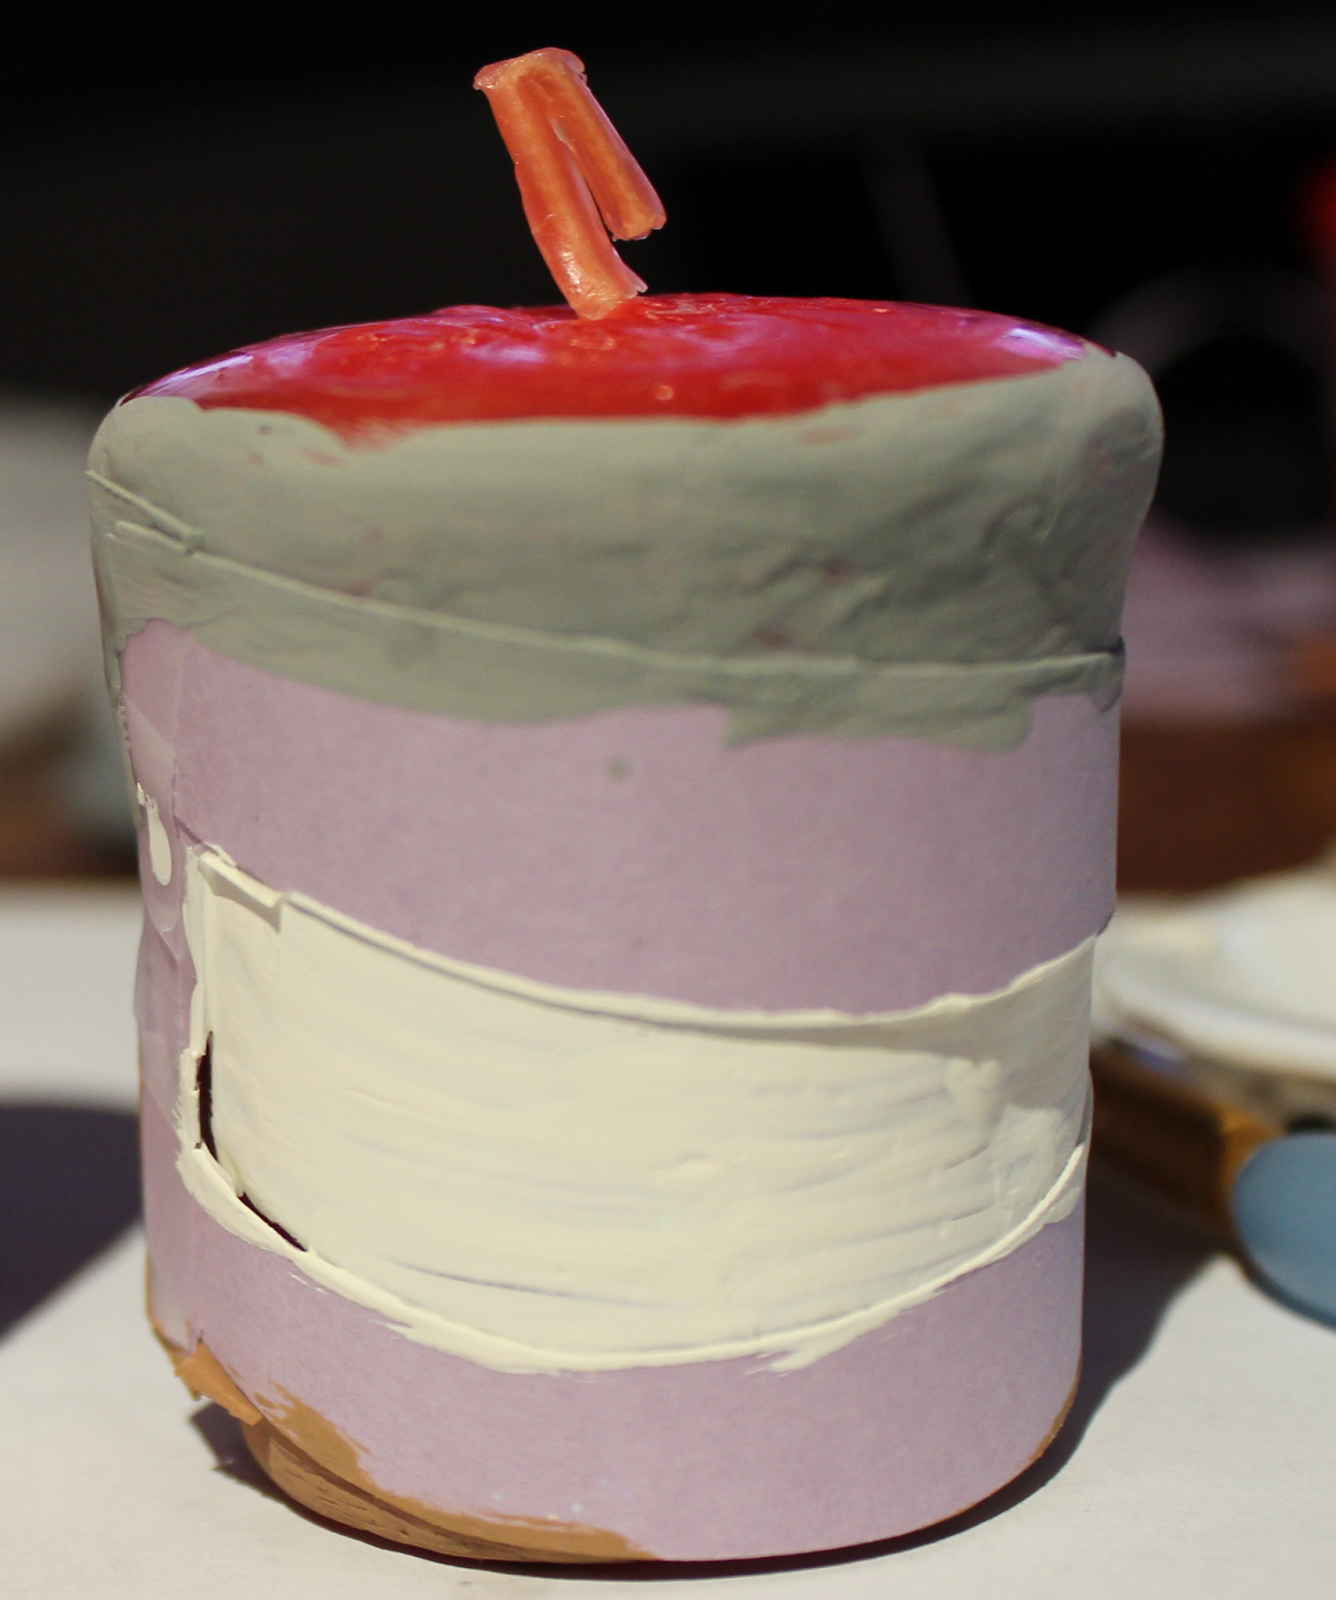
Apply a thin coat Mod Podge to the jar, working the tissue paper onto the jar as you work your way around. Try to keep it smoothed out, but remember that tissue paper tears very easily so once it’s glued, it’s glued!


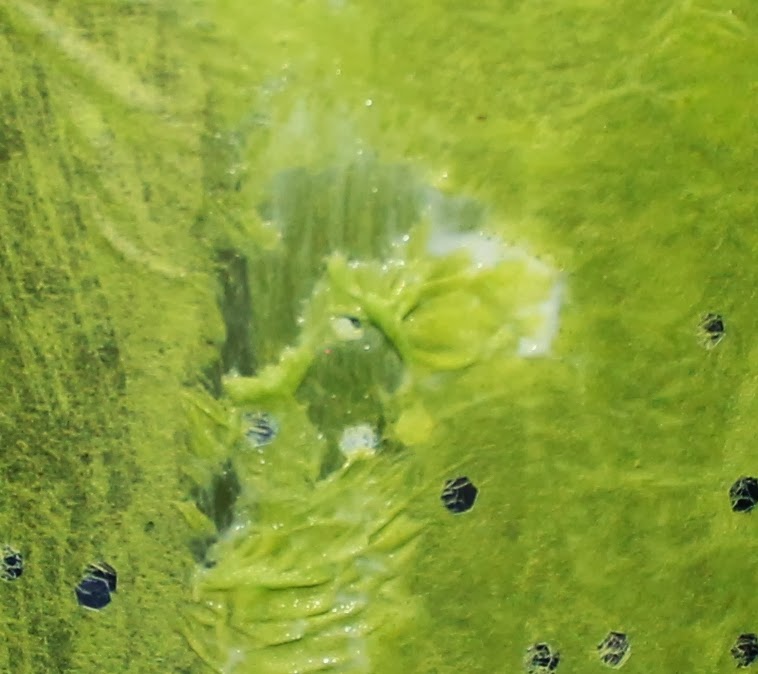
Don’t use too much Mod Podge either, or this happens (same goes for sticky fingers).

Apply a thin coat of Mod Podge on the inside lip and tuck the excess over.

Now tuck the excess underneath the bottom and leave the jar sitting upside down to dry.

After I did the first jar I had a gee-whiz moment.. why was I gluing the entire jar? So the last three I applied glue only at the beginning and end of the paper wrap. Both looked equally attractive once dry, I think.

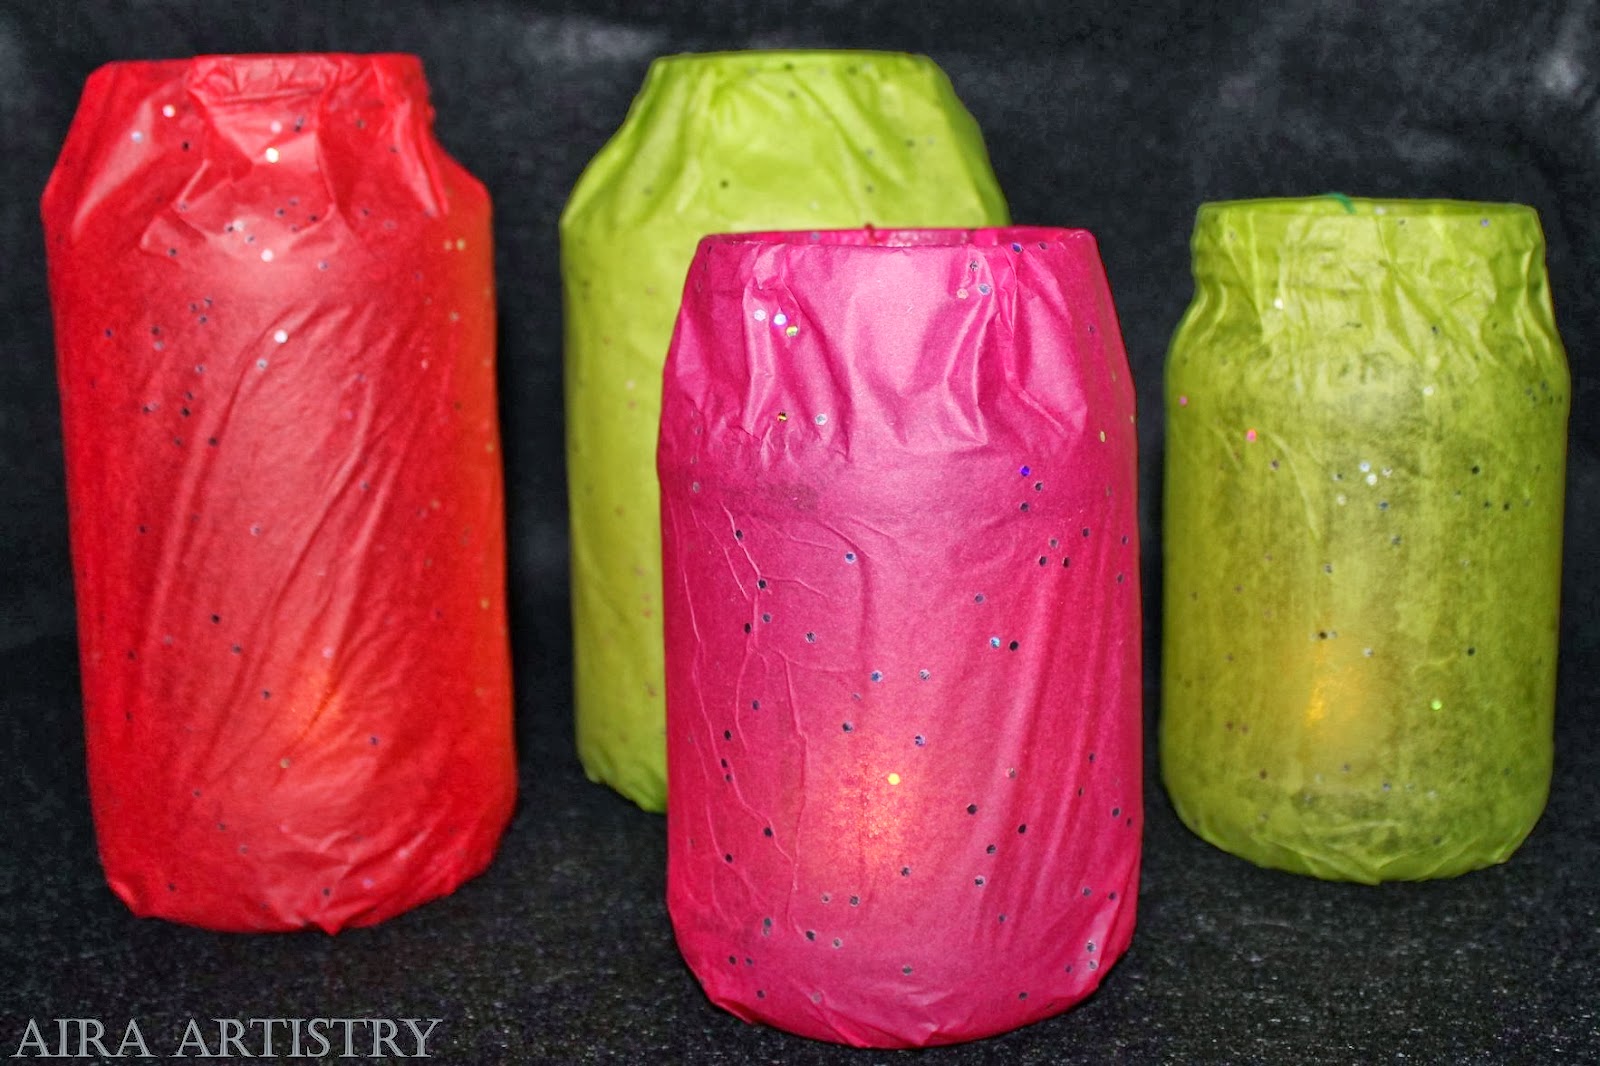
Once the tissue paper is all dry, you just add a light and you’re done! I had a pack of LED candles I got on clearance at K-Mart that work great for this. Since my jars are deep I decided to attach a length of embroidery floss to the lights so I can lift them in and out easier.

If you’re interested in the difference, the green jar on the far right is the one that had glue applied to the entire jar, whereas the other three did not. It’s most obvious around the neck, where the latter are looser.

These jars would look great inside or out and could also make fun gifts.

Come back tomorrow for the Incense Cone project!

… oh yes, and if you have a cat, expect them to help out with selecting the tissue paper!

Discovering 2014: Personalized Candles


Discovering 2014 is a personal goal to complete a daily project throughout the year!

My day nine project was Personalized Candles. The idea was fostered when I saw this pin a few months ago and thought that it might be nice to put a more personalized touch on them for a gift.

The first challenge was finding some candles to use! After unearthing several that were enclosed in glass containers, I finally recalled seeing some votives when we had changed out our office desks last year.

I didn’t have any fancy stick-on letters or numbers like what was used in the pin, so I grabbed a piece of cardstock and cut out a design on that. I also used some acrylic paint, just a small bit from $1 Craft Smart bottles.

I discovered that scotch tape doesn’t hold onto candles very well, so I had to make sure the paper wrapped far enough to be taped onto itself.

I painted the side areas not covered by paper, and then let it dry.

I had to do some minor touch-ups on the wavy line candle after the paper was removed, but that was fairly easy.  I also tried free-handing letters onto another candle, which turned out functional, though not attractive (added a bit of glitter paint over it as well). I may apply a thin coat of matte Mod Podge later tonight to give it a nice finish.

If you’re gifted with drawing or have something you can sketch with, this can be a fun project. These would probably make nice stocking stuffers for that person that seems to have everything. I don’t think I’d try lettering again but I’m happy with how the wavy line candle came out!

Tune in tomorrow when we tackle Tulle Bows! An update on the delayed Incense Cones: the base ingredient arrived this afternoon as well as the sandalwood powder, so it’s a go for Sunday!

Discovering 2014: Cardstock Notepad

Discovering 2014 is a personal goal to complete a daily project every day throughout the year!

 
My day five project was a Cardstock Notepad. This was a simple venture, but one I thought of while jotting down a list of potential January ideas on the backside of a receipt. You can easily do this project with children so they can have their own notepads or write a short story!

The basic supplies you need for this project are cardstock, a hole puncher and something to bind the papers together (such as jump rings, lock washers, ribbon, twine, etc).

The cardstock pieces I used were from a mixed-size value pack of cardstock I got at Michaels and were about one-quarter the size of a standard 8.5×11 piece. I picked out two pieces that were slightly bigger than the others to be a front and back cover, though that’s not necessary.

I also used a three-hole puncher; a one-hole puncher would be fine as well, though more tedious. Because the sheets were smaller than standard sheets I had to adjust the hole placements on my 3-hole puncher. I ended up with about 20 sheets inside and the two cover sheets, which can be easily expanded.

I then decided to use a couple of stamps to decorate the front and back covers, and also used hole reinforcements on the cover sheets (all optional!). I’ve had some 3/4″ oversized jump rings around for years that I rarely have a use for, so they finally saw the light of day again for this project.

I added on the sheets about five at a time. You can use other materials such as ribbon, twine, cord, etc instead of the jump rings, of course. Just be sure to not tie them too tightly so the pages can turn!

I closed my jump rings and now have a notepad I can keep by my bedside for those midnight brainstorms!

Tomorrow’s project is a Fabric Hair Bow!

Discovering 2014: Paper Bows

Discovering 2014 is a personal goal to complete a daily project every day throughout the year!

My day three project was Paper Bows. This was a much shorter project, only taking about 10-15 minutes for my first try. It’s pretty simple and I see it as a nice way to add a personalized touch to a present. This could also be a nice craft to do with your kids!

The directions to create the bow are easy to follow.

I ended up printing out the template pictured above, which was generated from this pin by ThriftyJinxy over on Pinterest. Since the paper I was using started as a 12×12 I couldn’t run the paper itself through the printer, so just cut out the shapes, traced them onto the back of my scrapbook paper and then cut those out.

Once you have your cut-outs you take the bikini-looking shape and gently curve each oval until the two side tabs touch in the center back. Glue the tabs together (I used Mod Podge but regular glue would work too), but don’t worry about gluing them to the center back (the little wrap-around one ends up holding it in place). Then glue the center of the no-longer-bikini-shaped piece to the center of the wing-shaped piece. Now take the tiny tab piece, wrap it around the center of all of that, and glue it on the backside. The result should look like this:

That’s it! Let the glue finish drying and you have a paper bow. I used scrapbook paper, which will hold its shape well as long as it isn’t outright crushed, but I imagine any paper would work fine for this. The finished product is about the length of my index finger.

Tomorrow’s project is Paint Chip Jewelry!