Spring keeps creeping closer and the “You Are My Sunshine” bracelet is here to get the party started! It features translucent yellow 6/0 czech seed beads (similar) paired up with 8mm yellow acrylic druk beads (similar).


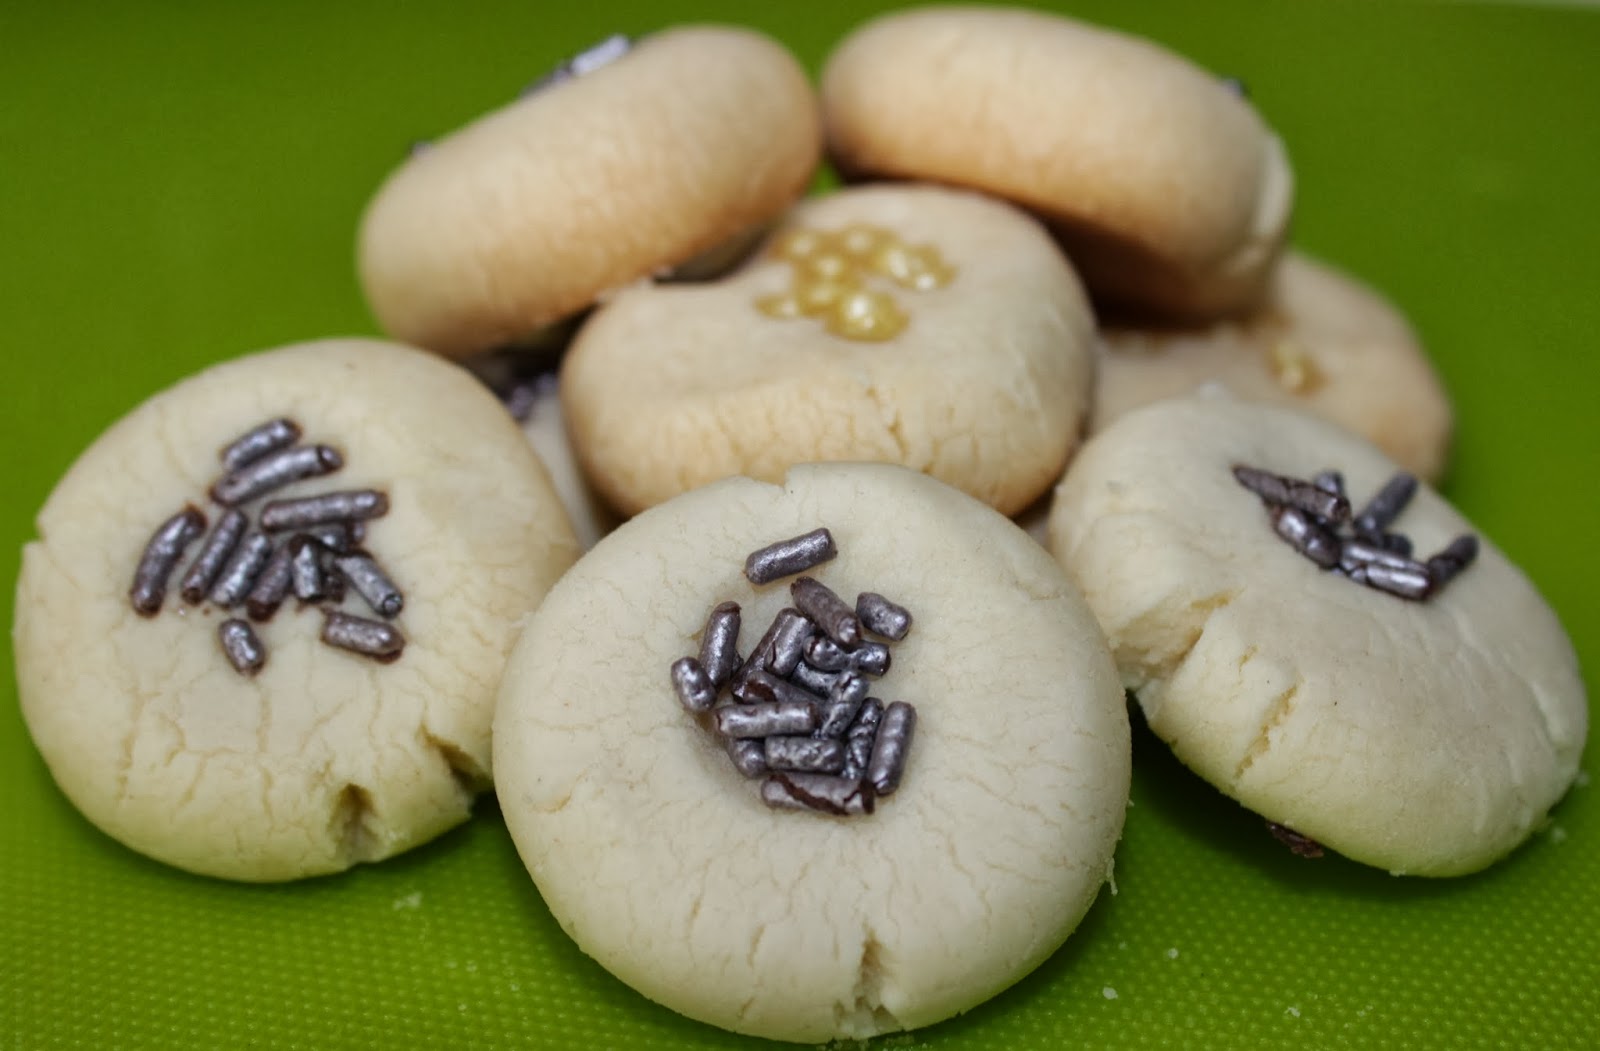
Today’s project was Whipped Shortbread, using this recipe from Taste of Home. My suggestion, if you decide to use their recipe, is to drop the cornstarch ingredient because these come out with an overly powdery taste. They’re okay, but they could be better. Next time we do these we’ll probably try this recipe from Food.com instead.
The husband and I decided to halve the recipe since we really didn’t want over 100 cookies. Even with halving it we still ended up with nearly 75 cookies.
Our modified ingredients were:
Pre-heat your oven to 300°F. Cream together the butter and confectioners sugar until they’re light and fluffy. Slowly add in your flour (and if you’re using it, the cornstarch, too). Continue mixing until it is fully blended.
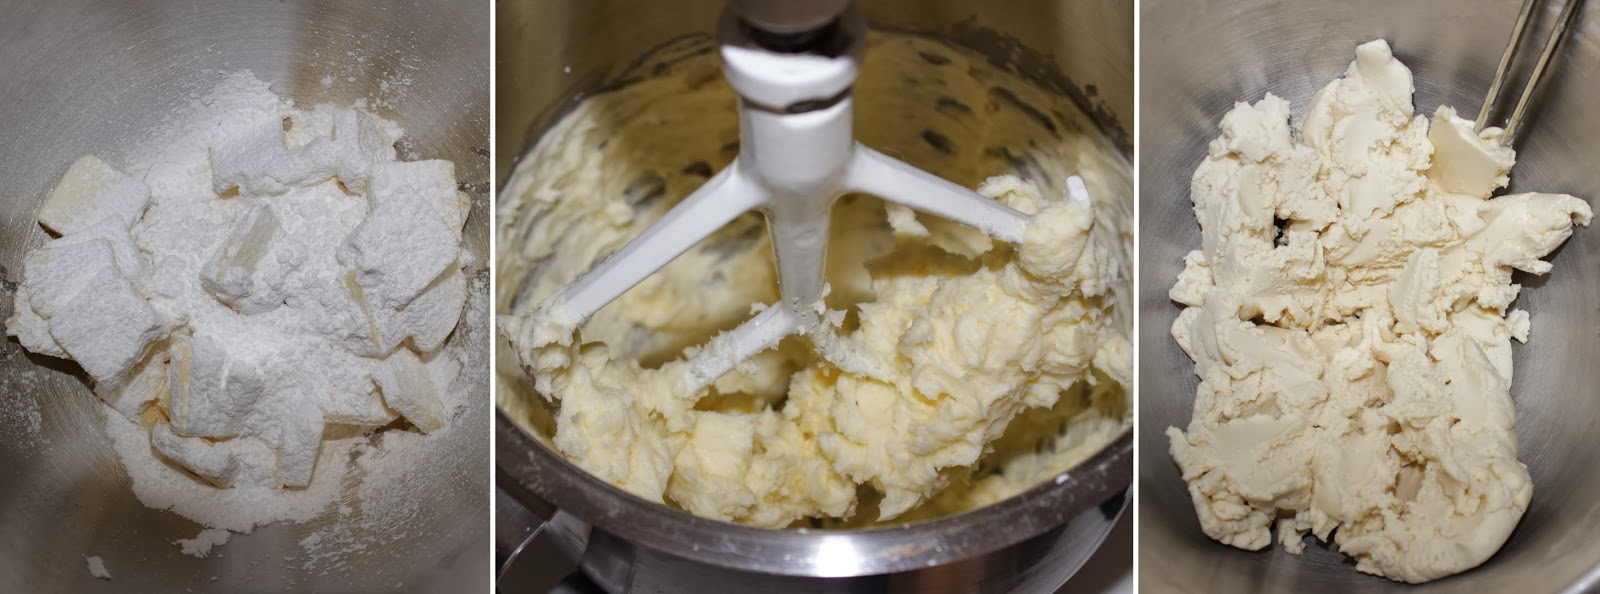 |
| Left to right: butter and sugar prior to mixing; fluffy butter/sugar mix; fully mixed dough |
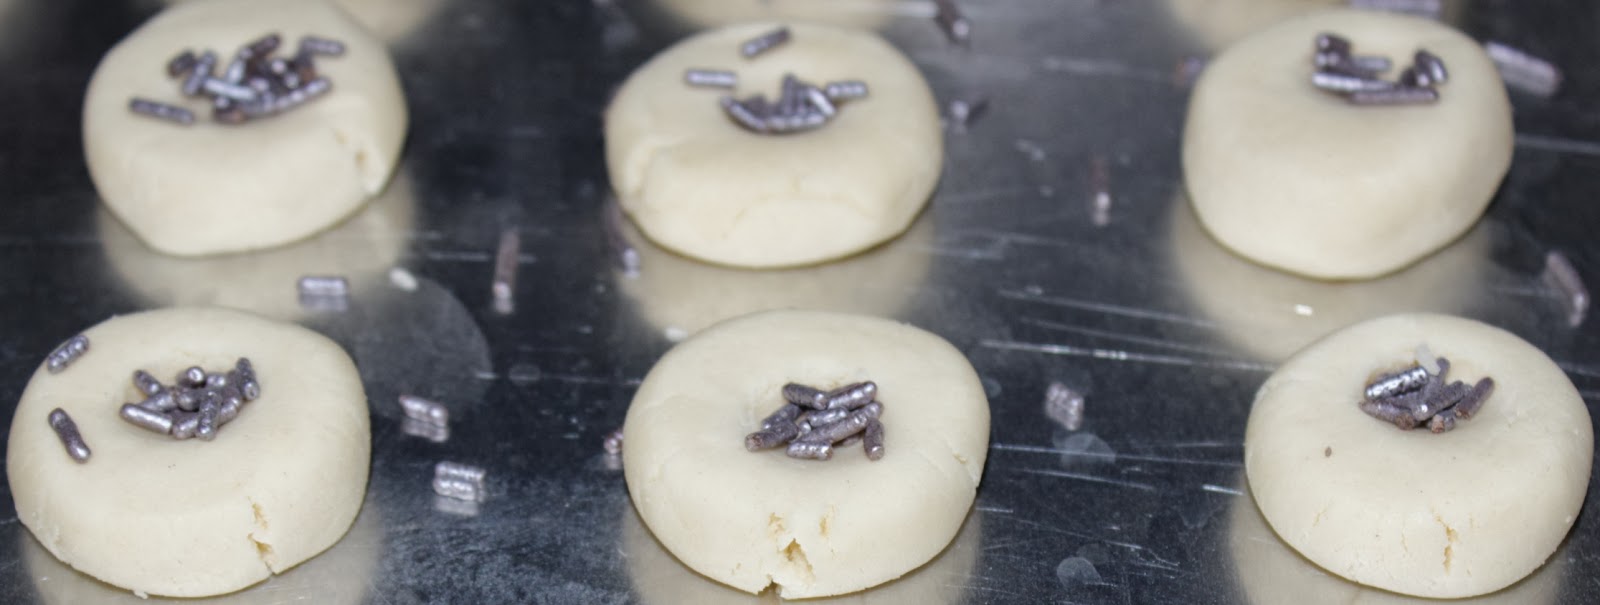
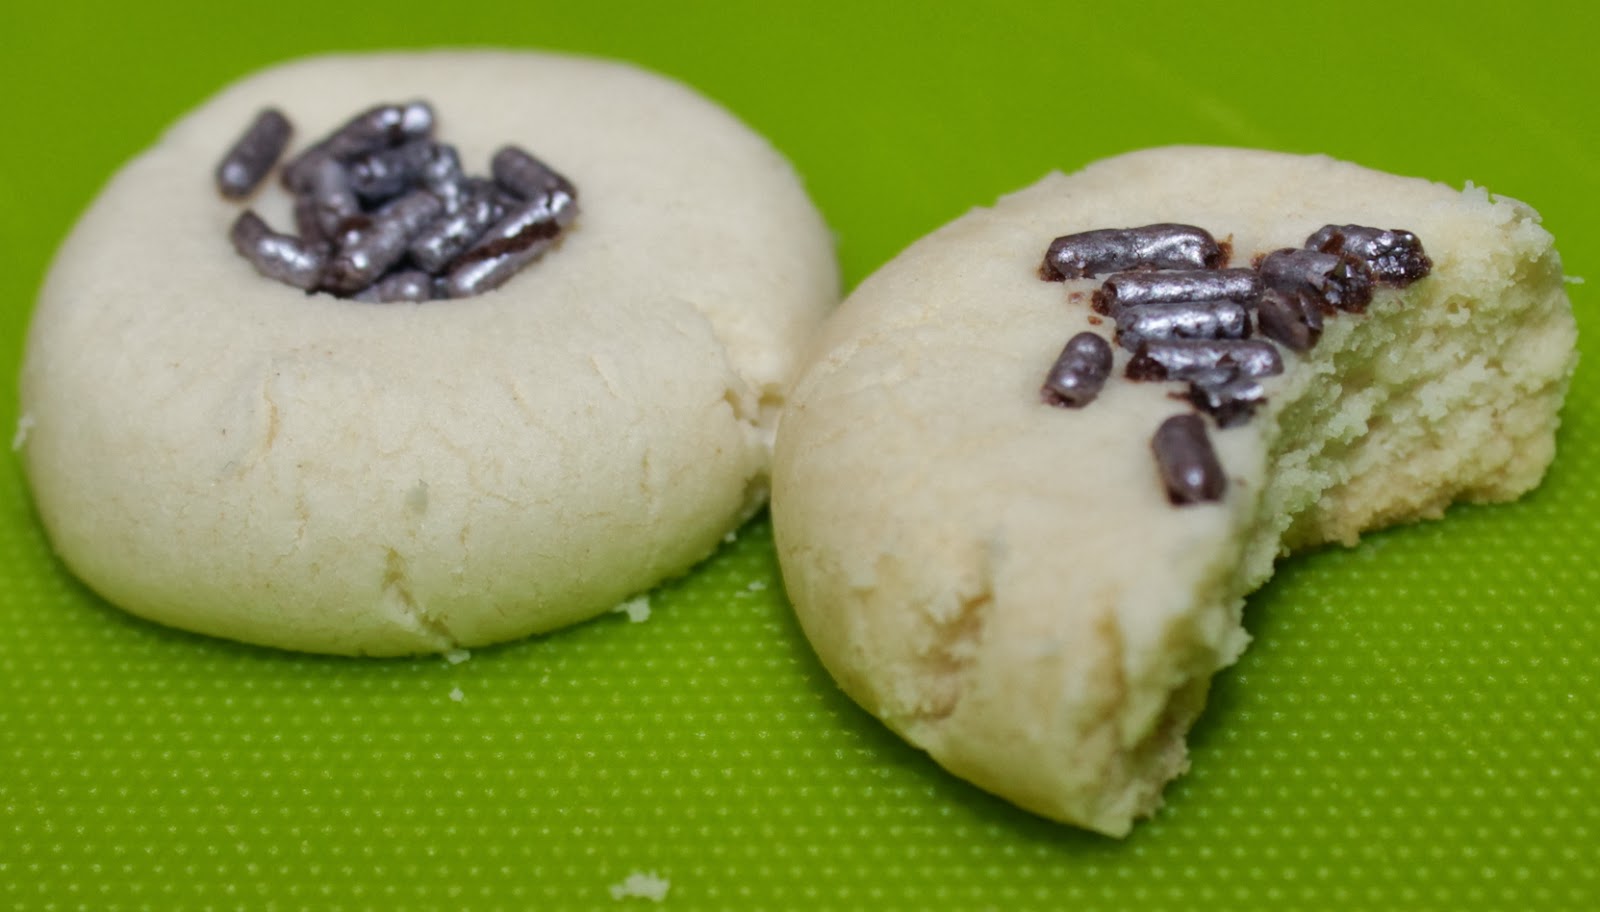
Roll the dough into 1″ balls and place about 1″ apart on ungreased baking sheets. We used our thumbs and the small spatula to partially flatten the balls, and left a small divet in the center for the sprinkles.
Next the shortbread goes into the 300°F oven for about 22-25 minutes. The bottoms should be very lightly browned, but don’t overbake these. Let cool a few minutes on the pan before moving to your cooling rack. Should yield about 75 cookies, which you could even give out as gifts during the holidays!
Tomorrow’s project are Cherry Clippies!


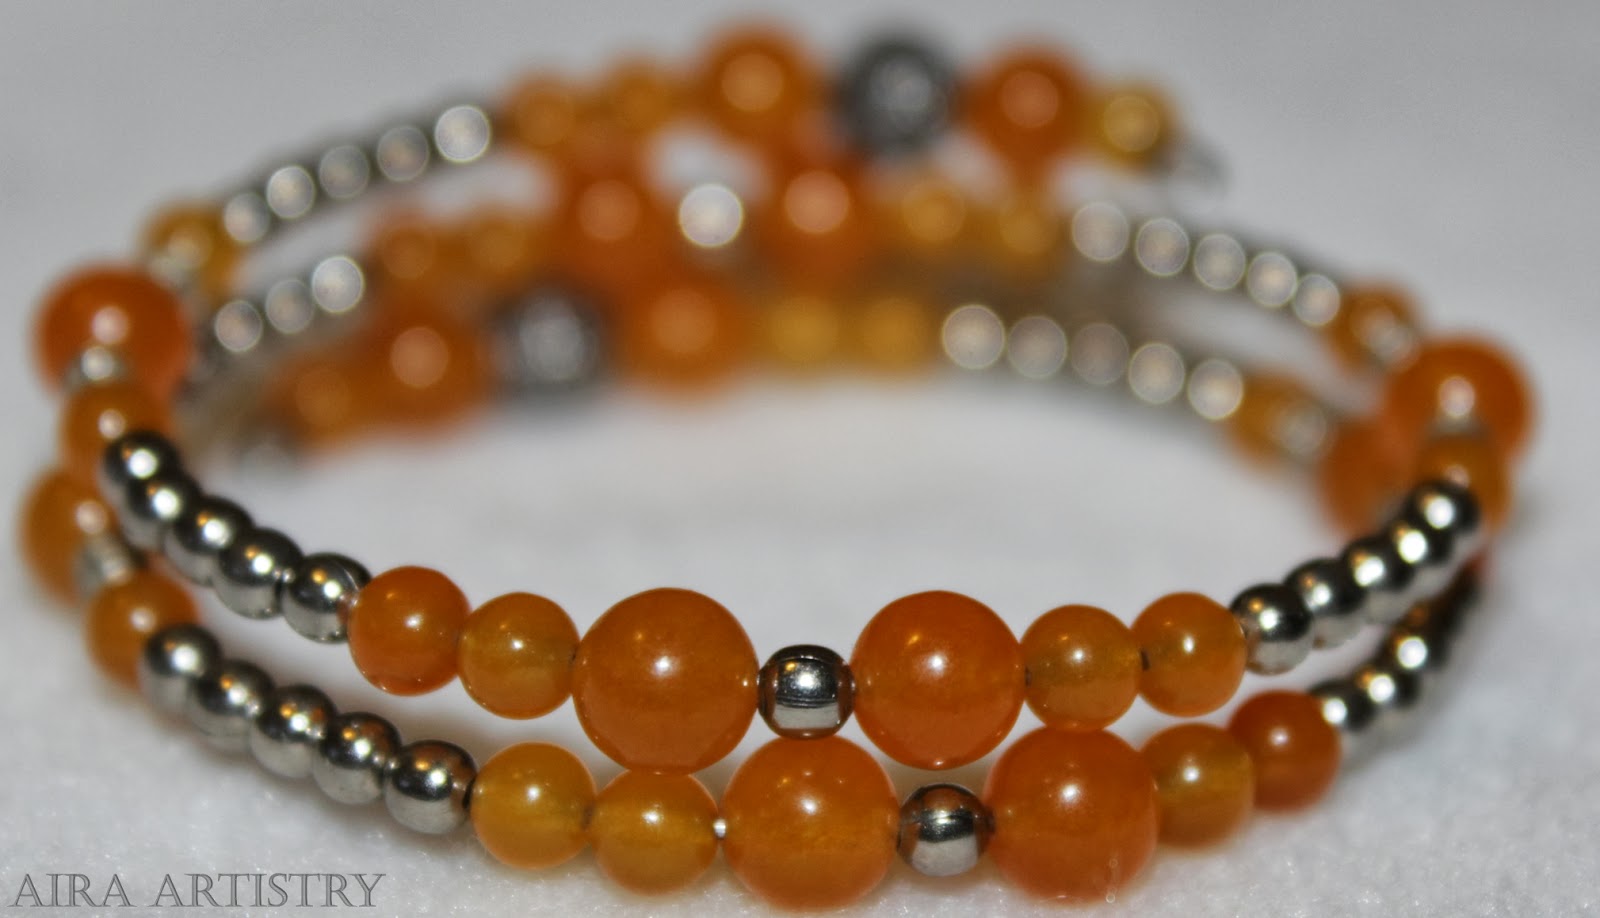
Today’s “Hematite Delight” bracelet is a tri-wrap memory wire featuring a mix of Czech druk hematite beads and dusky-gold-toned Bead Gallery window beads from Michaels.


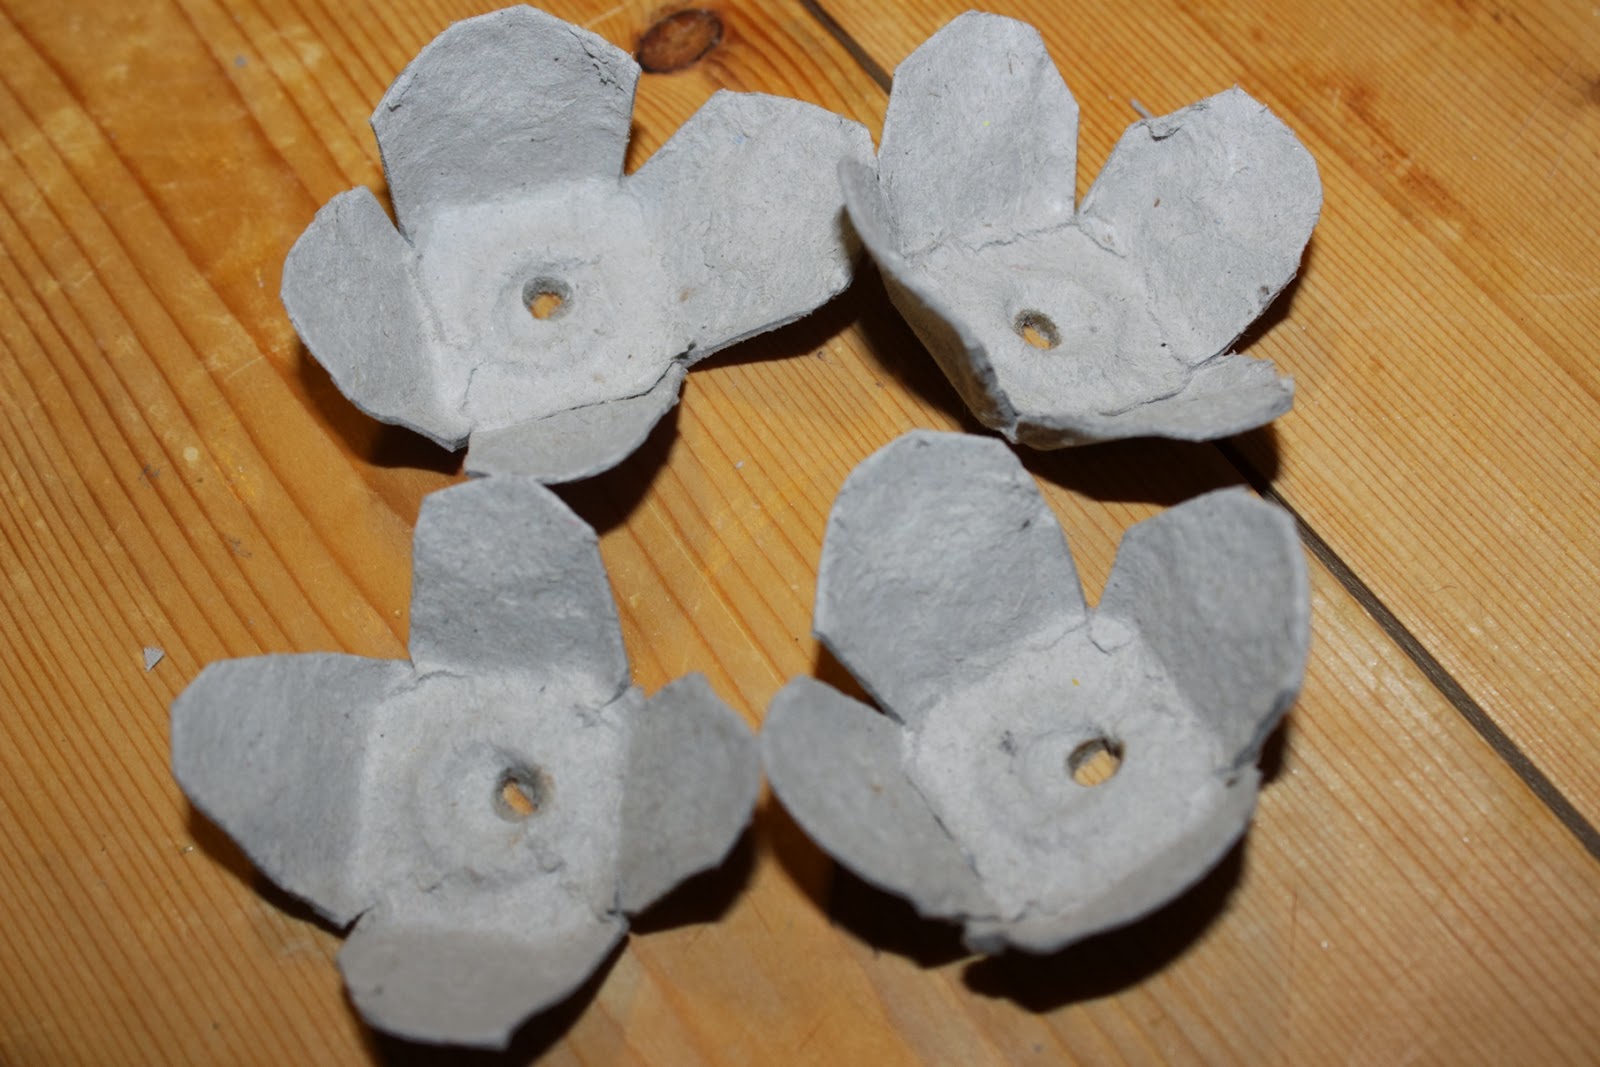
Today’s project was Egg Carton Flowers, inspired by this pin. When I started this we had an internet outage, so I had to go off of months-old memory for this one. This is a kid-friendly project, though depending on age you may want to pre-cut the cartons.
Before diving in though, I’d like to take a brief moment to celebrate blog post #100! Wooooo! *throws around confetti*
All you need for this is an egg carton, scissors, paint and pipe cleaners (optional).

I cut out some egg cups and went for four simple, rounded petals on each. For the center hole I used an awl, but scissors should work fine as well.
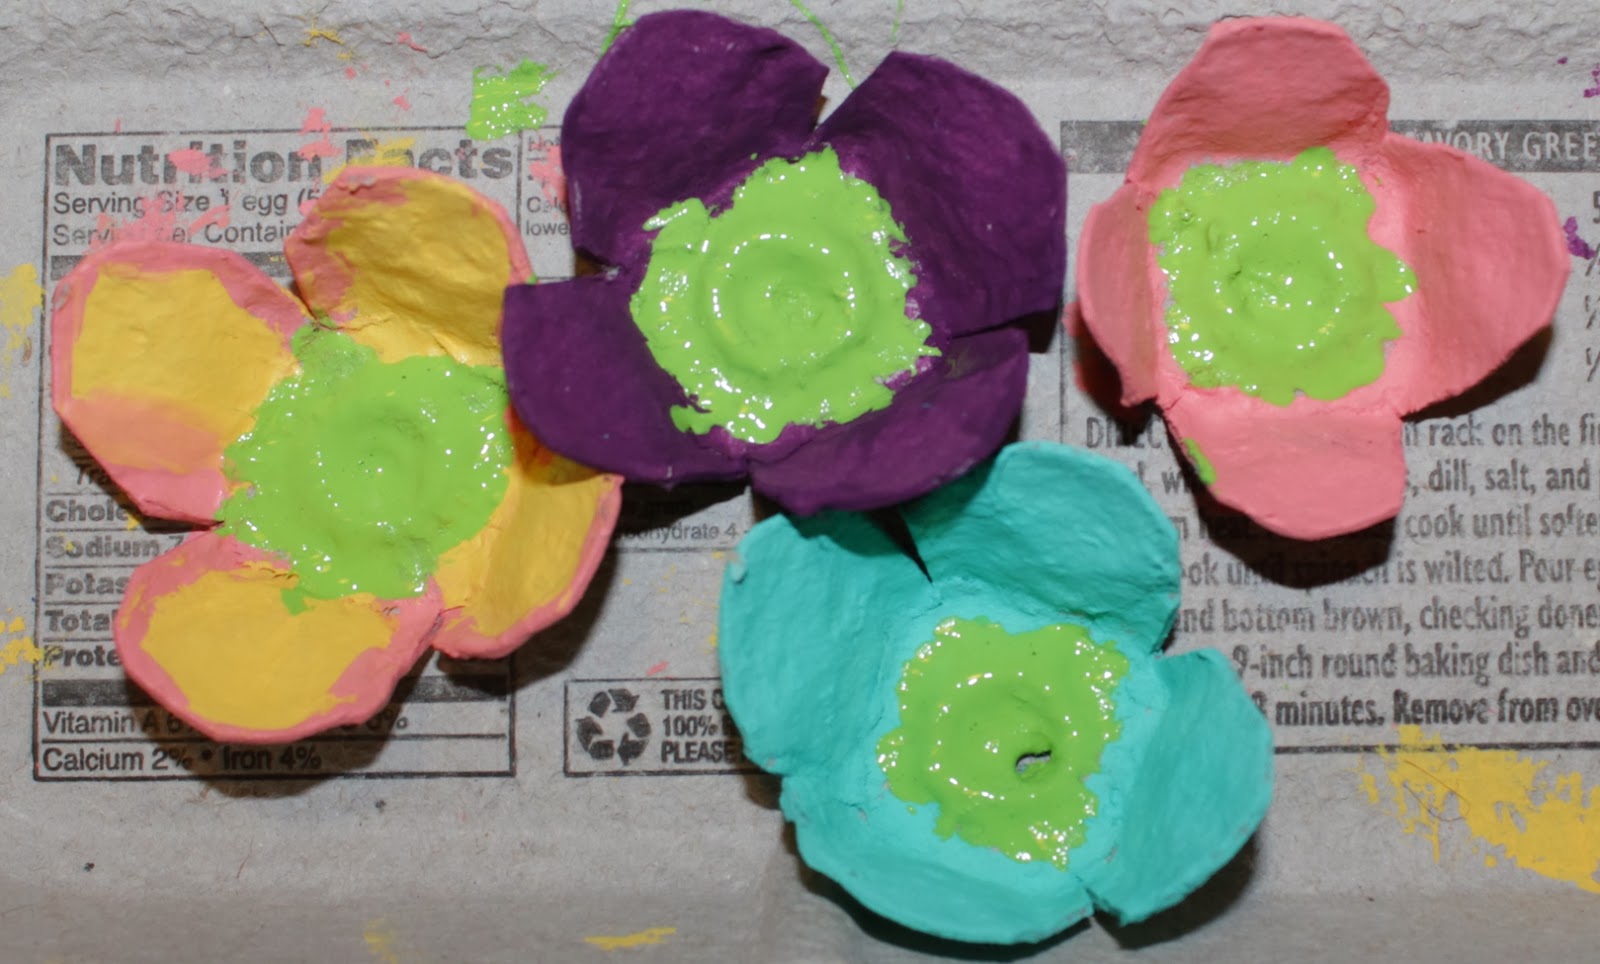
Then the painting began! This took a good part of the day while waiting for it to dry.

After the petals dried, I painted in some center color.

I only had to gently reopen the holes after it all dried, then my six year old and I got the pipe cleaners on the flowers.
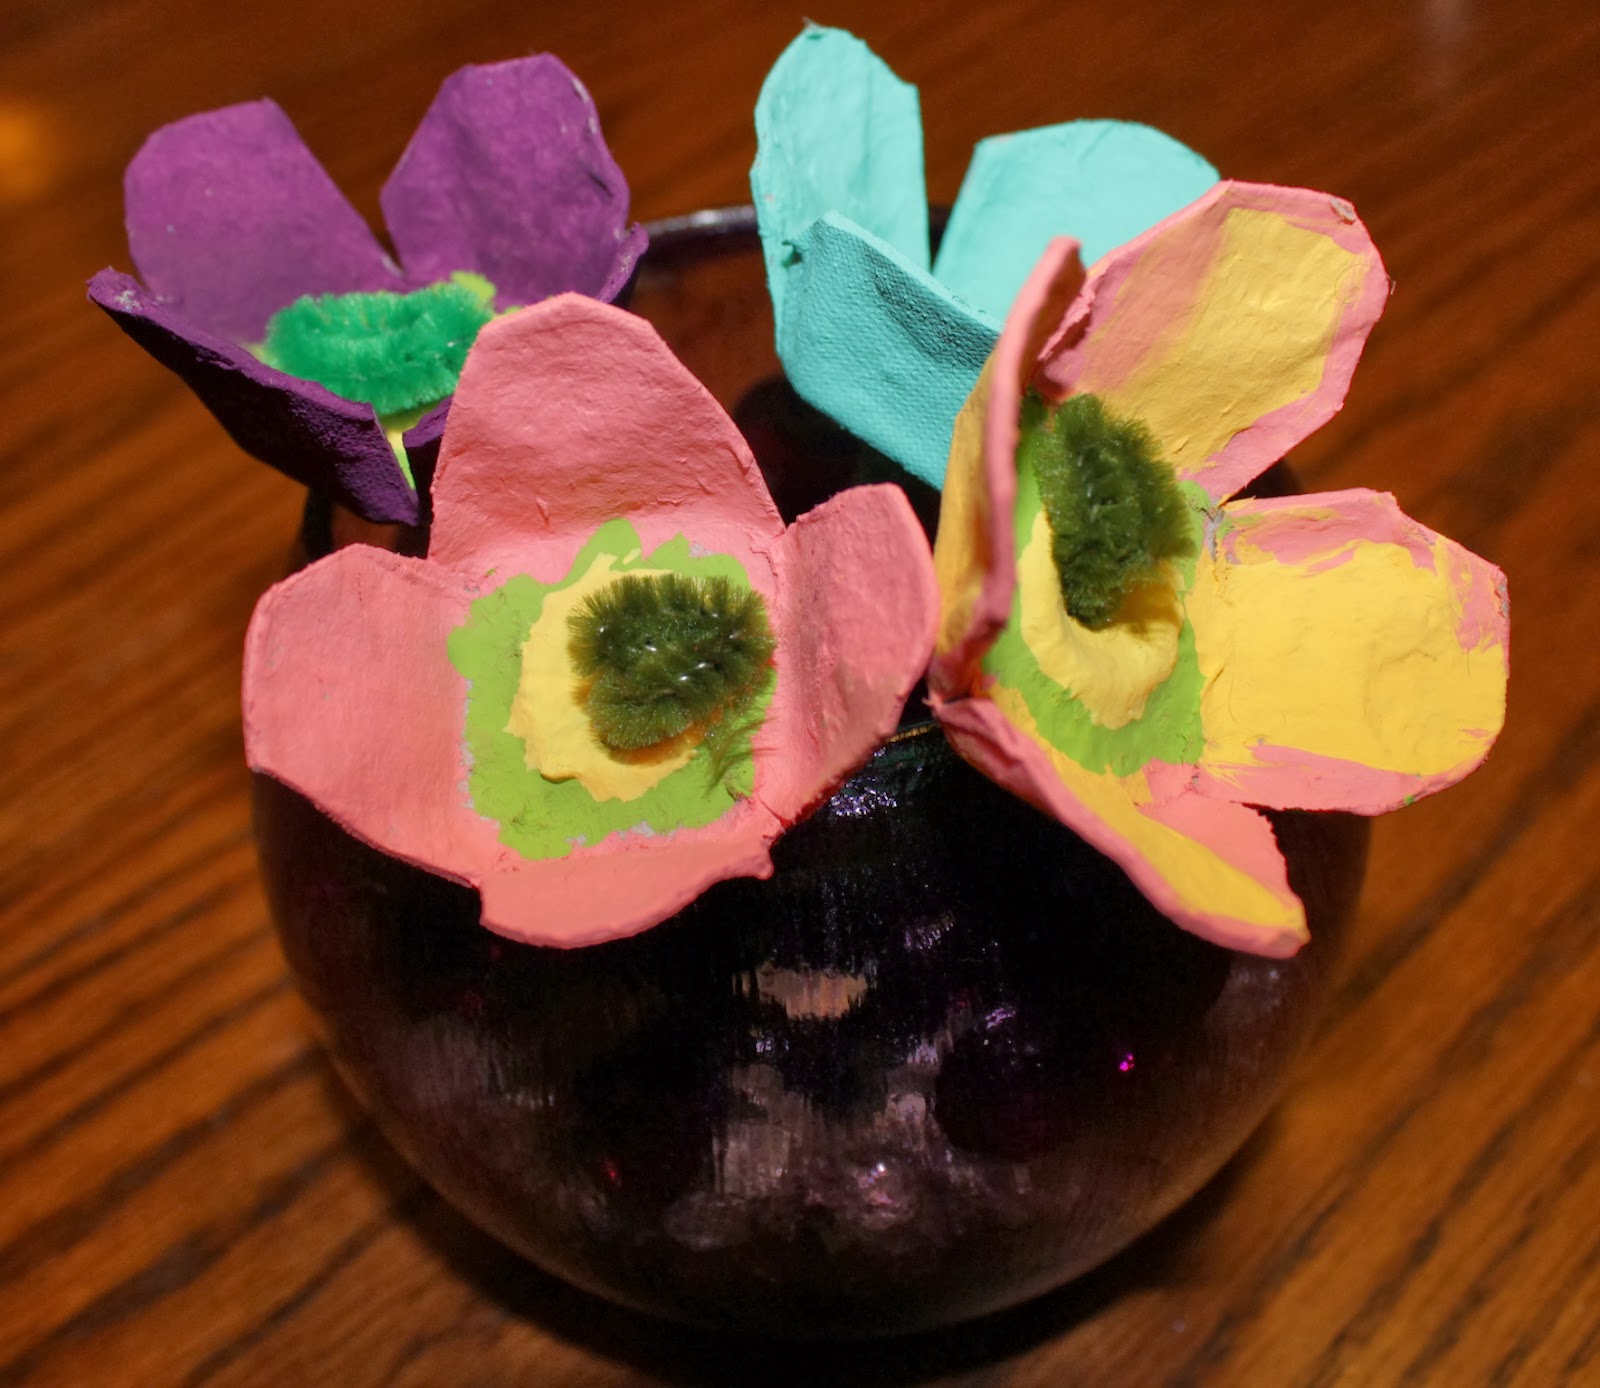
Does that vase look familiar? It’s from my Mod Podge experiment during the Faux Sea Glass project. After sitting around an extra day, the second coat had ended up drying clear!
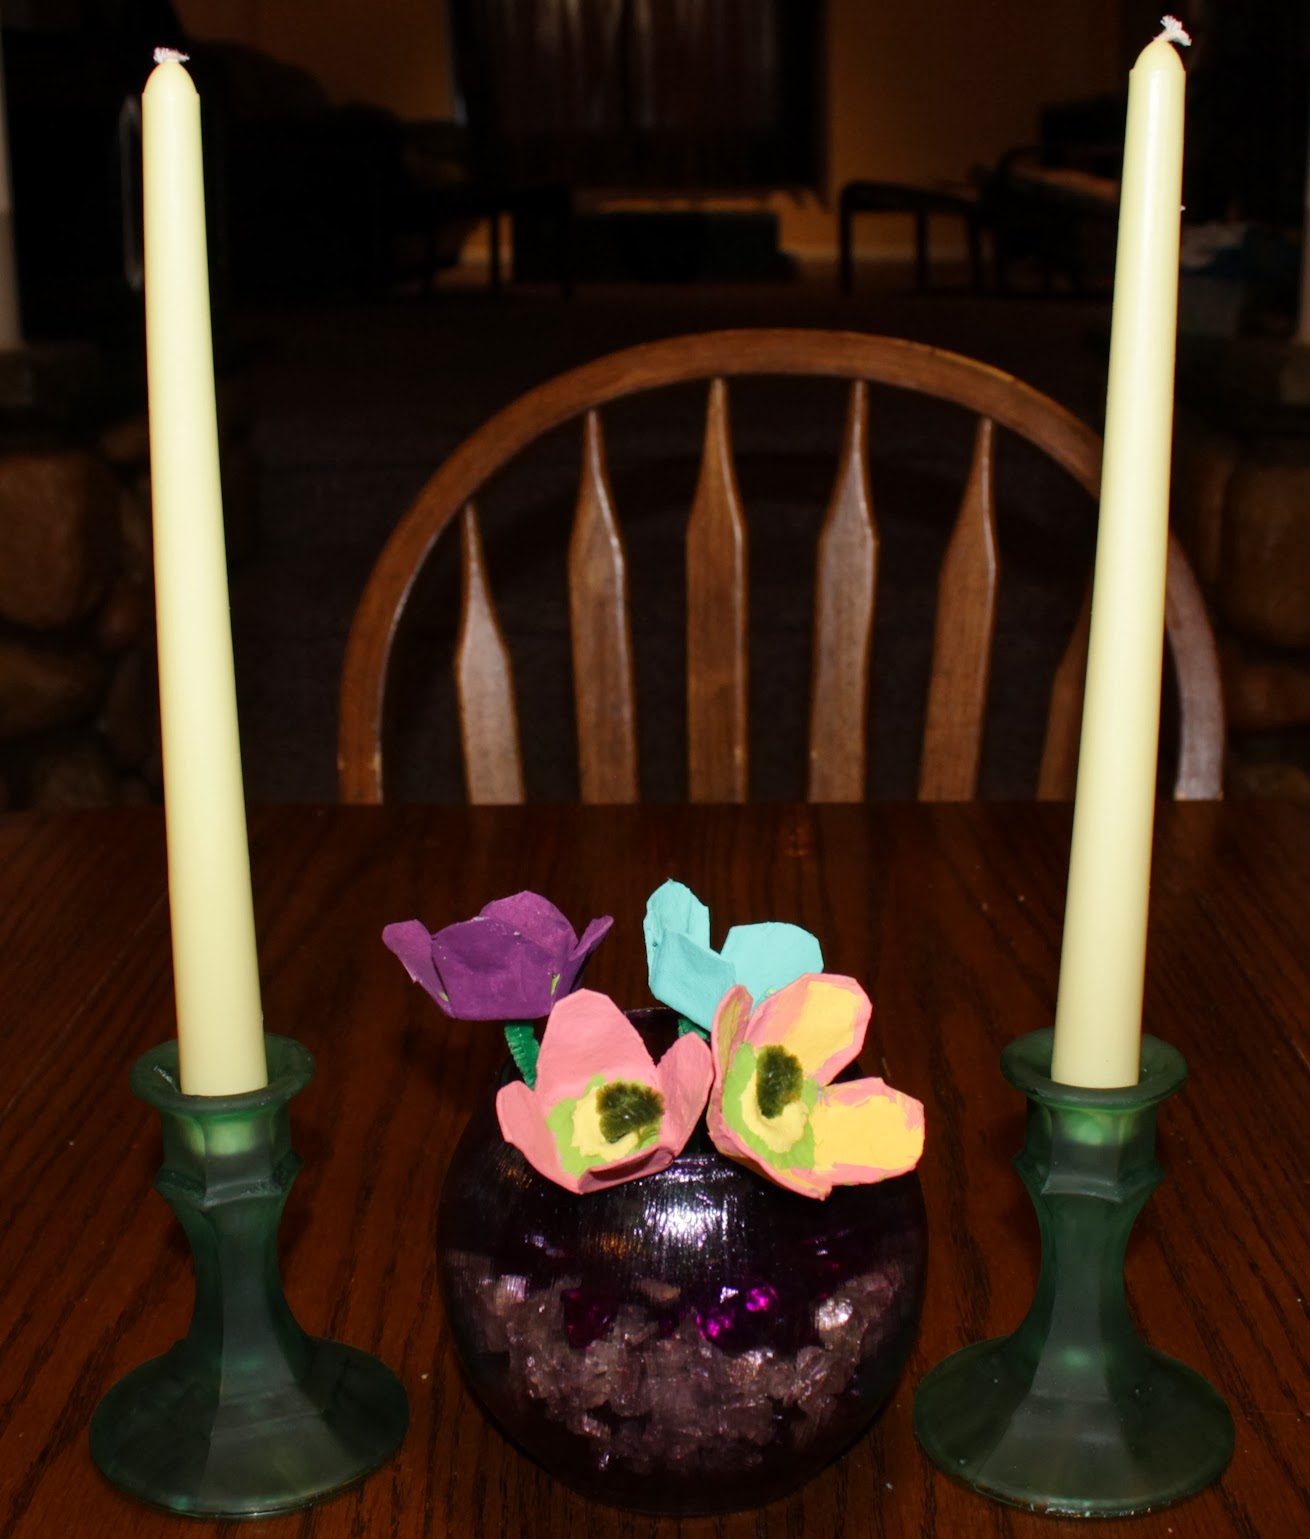
Now we have some flowers on our dining room table while thinking warm thoughts of spring…
Tomorrow’s project is Whipped Shortbread!