February 13: No Project Today!

I thought I’d have time today for the Love Pendant, but between several real life errands, work, meetings, and more work, the one hour left in my day leaves me to resign myself to not doing my project. However, I really wanted to do this one in time for Valentine’s Day, so I’m going to see if I can double-project it up tomorrow!

So tomorrow’s plans: Love Pendant, Crockpot Ranch Pork Chops, and Garlic Cheddar Biscuits!

Discovering 2014: Bubble Wands

Discovering 2014 is a personal goal to complete a daily project throughout the year!

Today’s project was Bubble Wands, fashioned after this picture found on Pinterest. This is a pretty quick craft that you could do for or with kids. I used about a foot or so of 18-gauge wire and some chunky beads. 20-gauge wire would likely work just fine as well, and the length you can vary depending on what you want

I made the purple by looping and wrapping the top then having a single wire at the bottom, and the brown by folding the wire in half, wrapping a few times, then having a double pronged bottom. Both I curled in after the beads were on; the purple with a flat spiral and the brown spiral curling outward.

I ran into the problem of being unable to take a picture while blowing bubbles, so once again my husband kindly obliged.

Tomorrow’s project is Whipped Cream Frosting!

Discovering 2014: Bottlecap Candles

Discovering 2014 is a personal goal to complete a daily project throughout the year!

Today’s project was Bottlecap Candles, inspired by this pin. The instructions want you to get microwavable wax, etc, which seemed silly to me when I can burn a normal candle and re-use the wax from that just as easily.

To start, I grabbed a wick (came in a five-pack and I just trimmed tiny lengths off of it), bottlecaps, a candle, and a bit of aluminum foil (to hold the wick upright).

I ripped off a small amount of foil and squeezed it around the base of the wick, making sure it could stand up in the bottlecap. I carefully poured some of the wax into the cap–it doesn’t take much at all!

Then I let them dry and harden.

Finally, I tested the claim that they could burn for an hour and a half. I got 50 minutes out of the one I tried before the wax ran out. Not quite the 90 advertised (and maybe my aluminum foil was an issue there) but still quite respectable!

Tomorrow’s project is Edible Glitter!

Discovering 2014: Flower Clippies

Discovering 2014 is a personal goal to complete a daily project throughout the year!

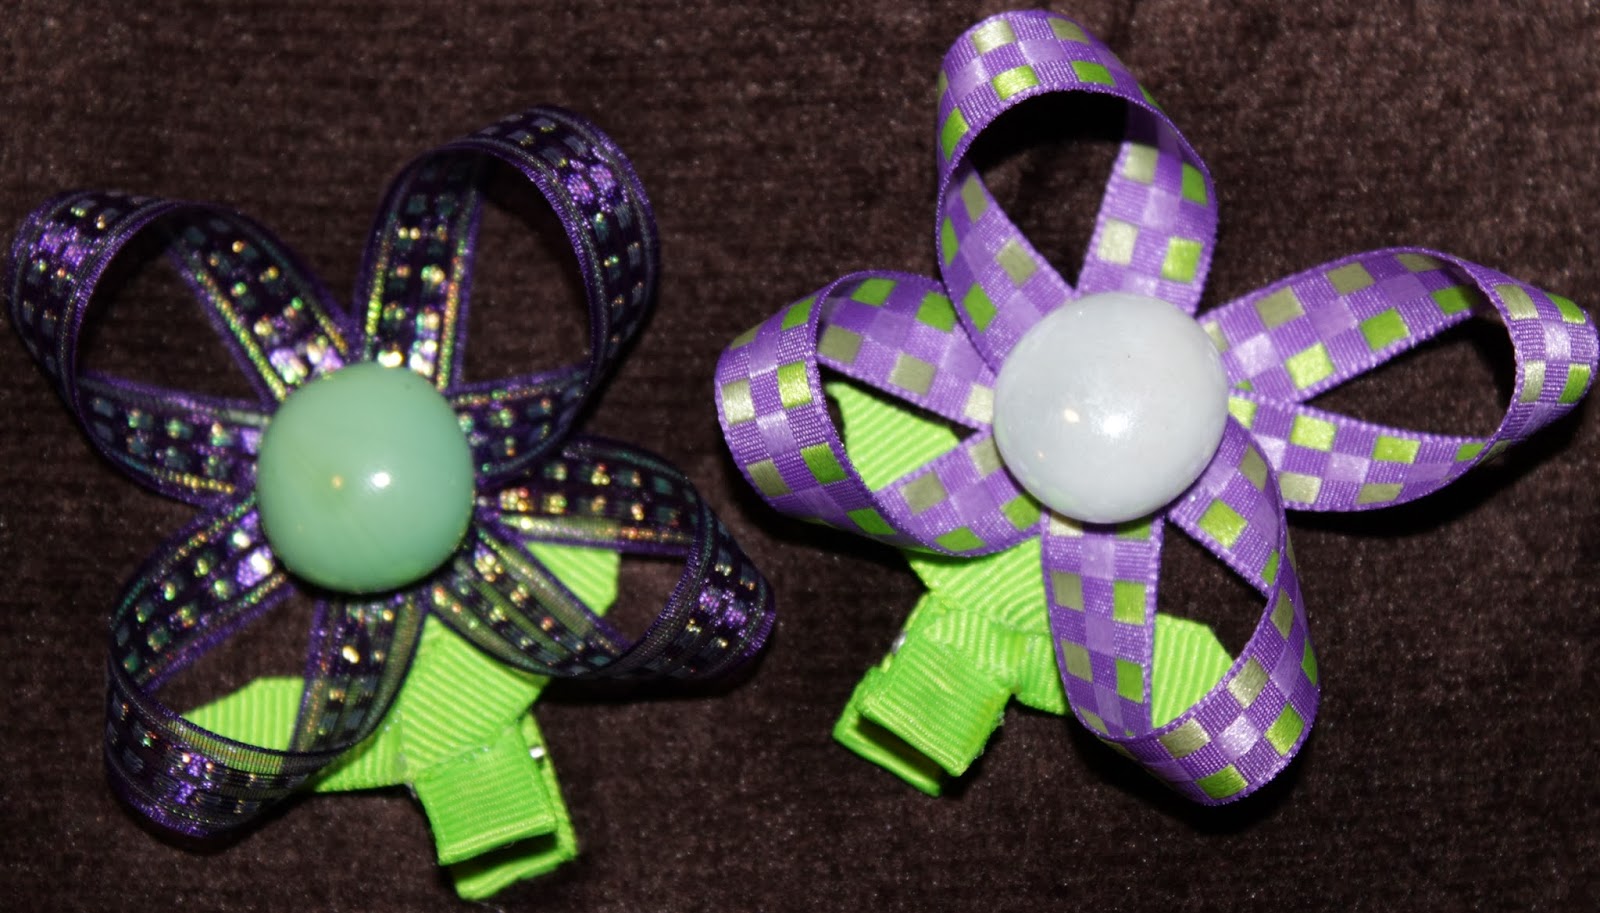
Today’s project was Flower Clippies, inspired by The Laughy Giraffy’s Posie Hair Clippies on Etsy.

To start I got a couple different double-sided ribbons, green covered hair clips, one extra length of green ribbon (for the leaves) and embellishments for the center of the flowers (I used decorative stones for this but many things would work fine here). A hot glue gun (not pictured) is also needed!

Next I made two figure eights for each flower.

I then glued the centers of the figure eights together with them perpendicular to each other.

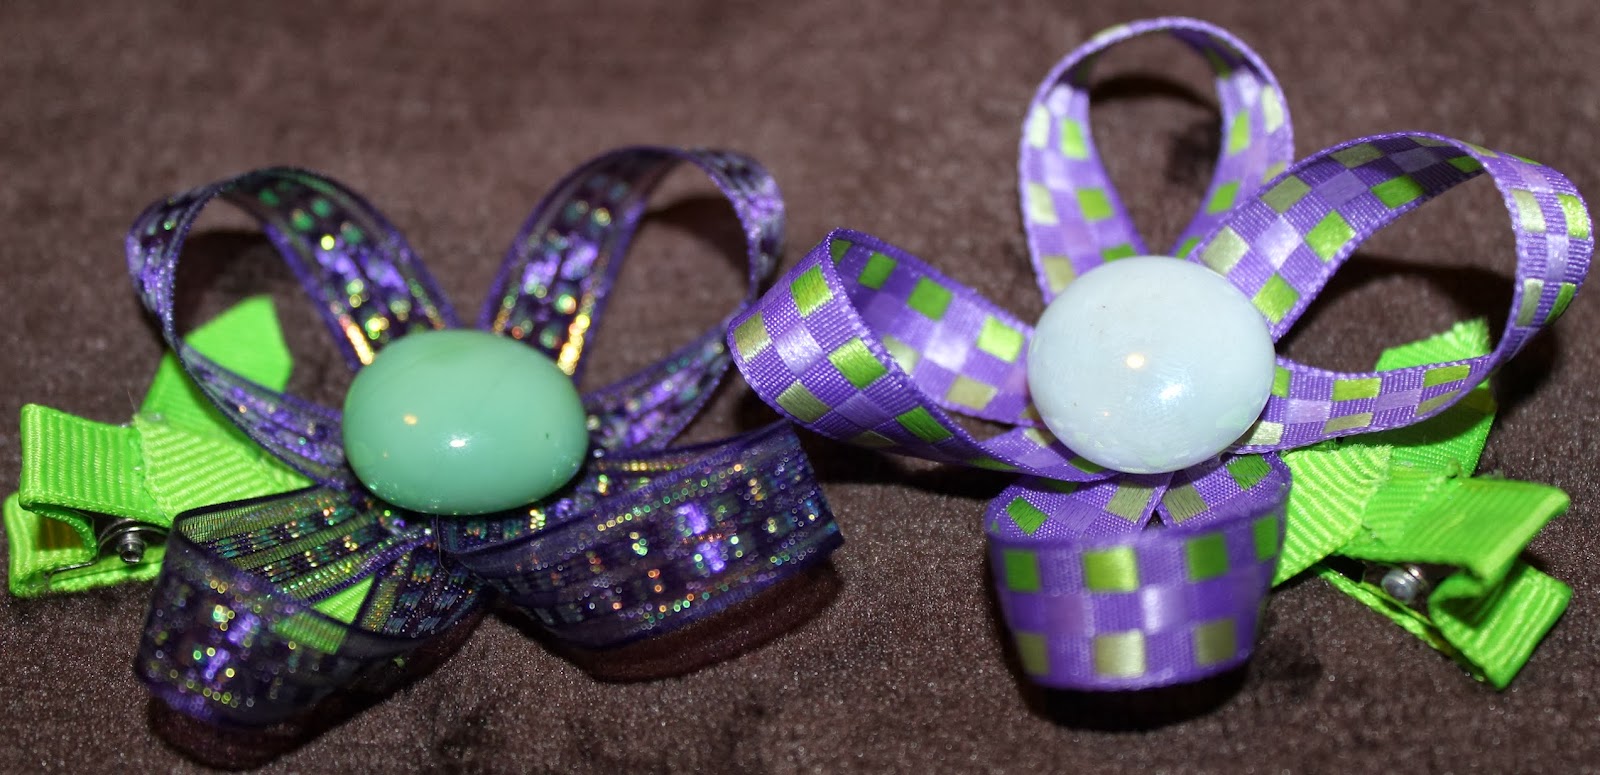
Then it was time to glue the flowers onto the clips.

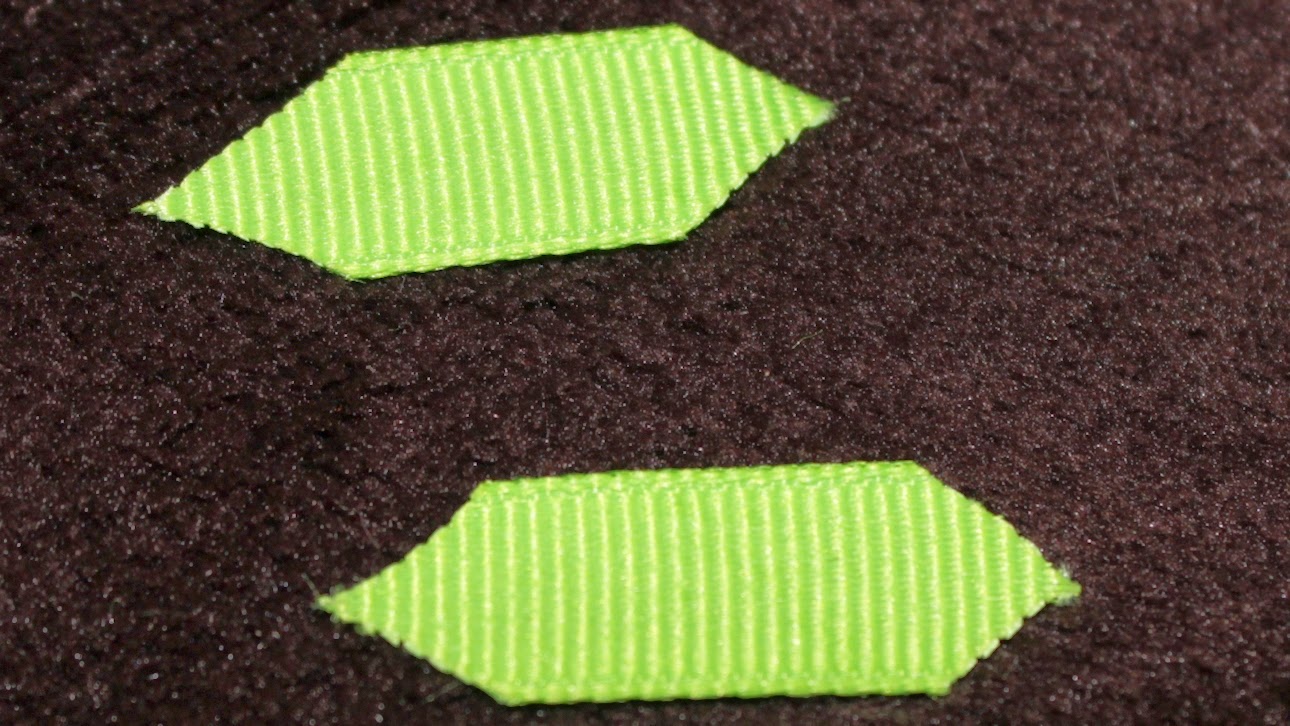
After this I took some time cutting the leaves. I ended up making four with the length of ribbon I had grabbed, and I really don’t think I could have fit much more than two leaves on each clip anyway.

Finally it was time to put the leaves and embellishments on the flower clippie!

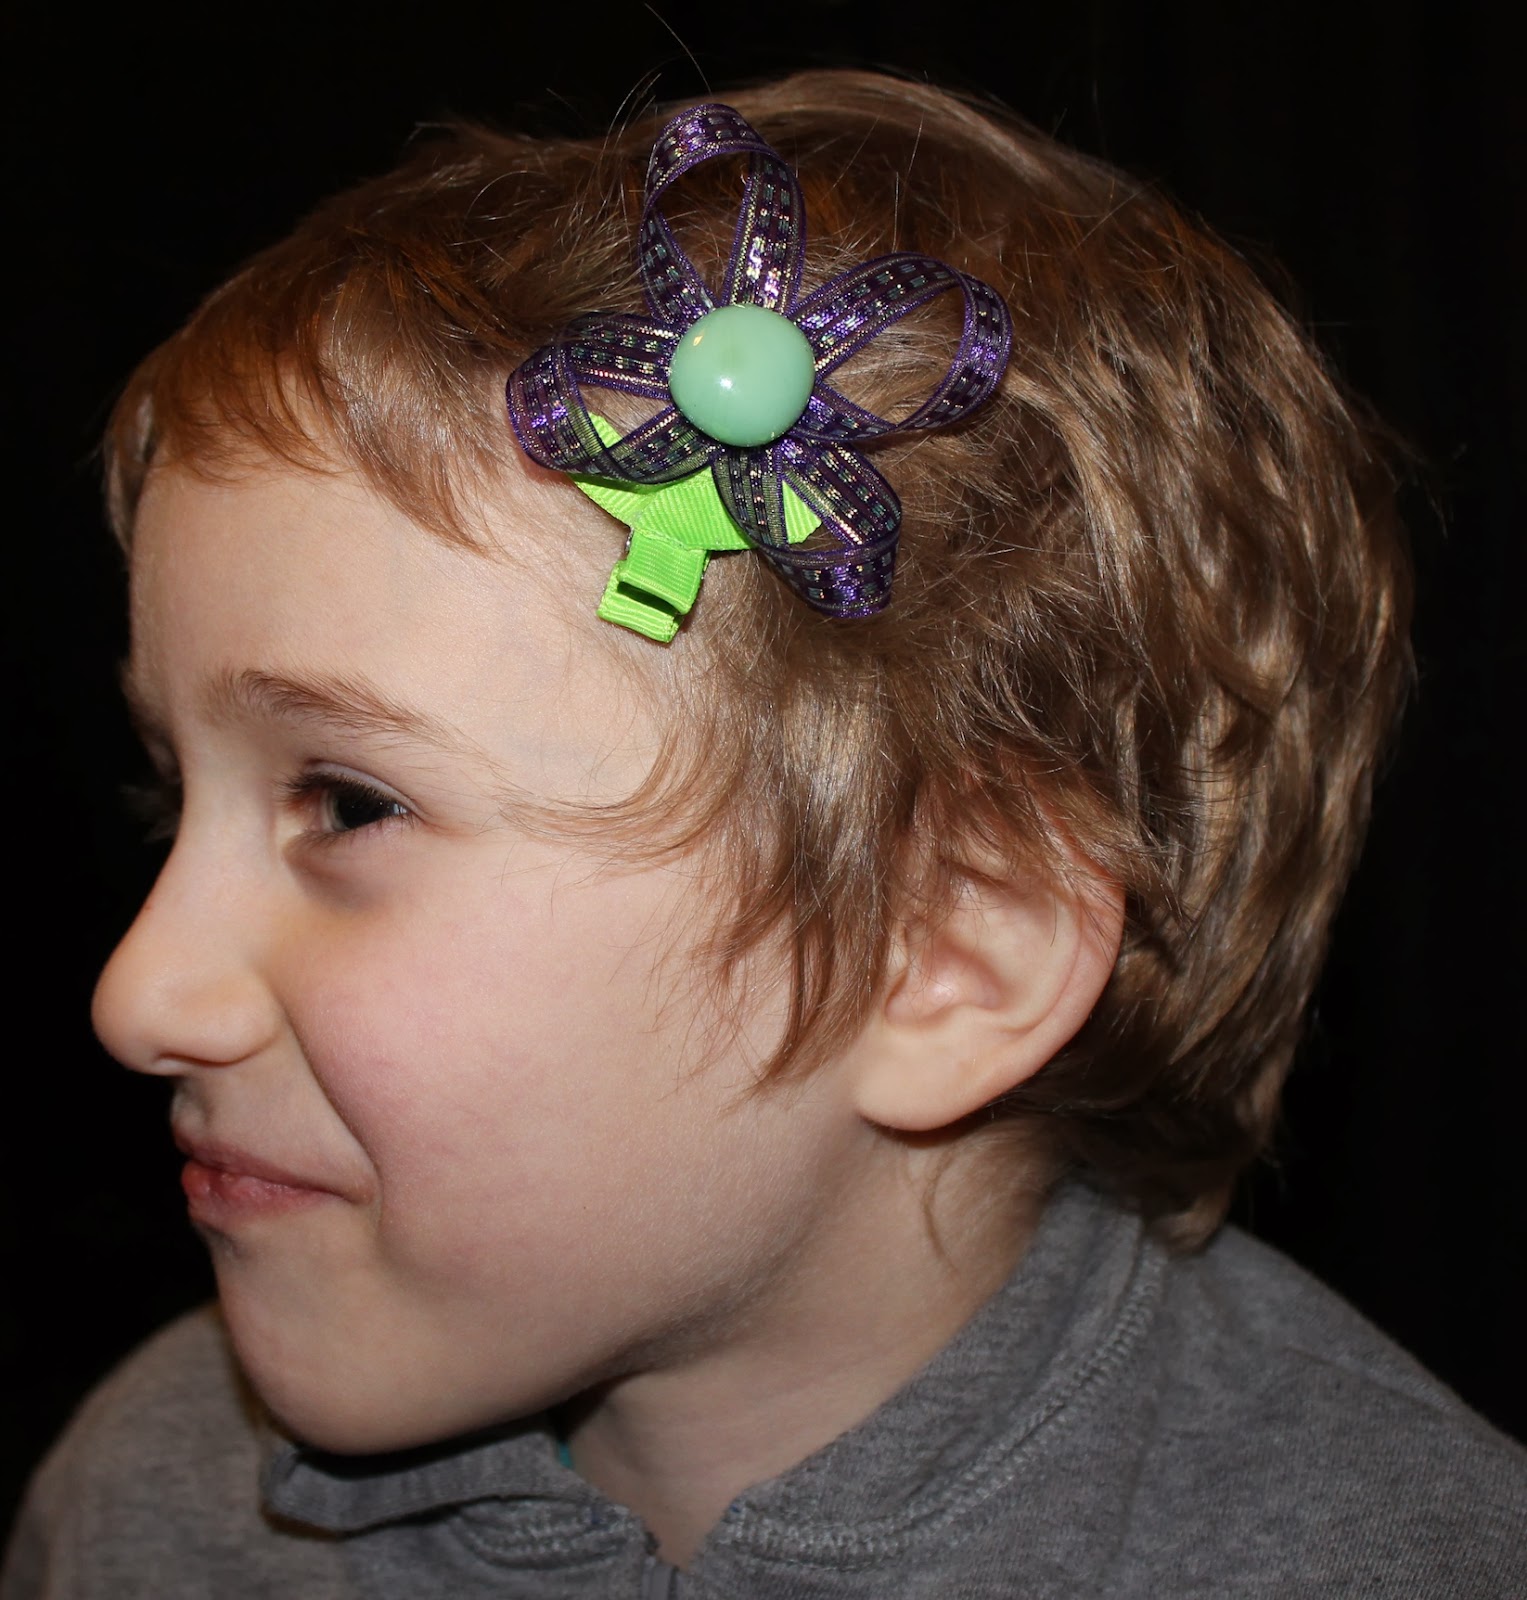
My youngest son spotted them as I was putting everything away and couldn’t resist hamming it up.

Tomorrow’s project is Bottlecap Candles!