Discovering 2014: Egg Carton Fire Starters

Discovering 2014 is a personal goal to complete a daily project every day throughout the year!

My day one project is Egg Carton Fire Starters. It is based on this pin from The Art of Doing Stuff blog that I spotted recently on Pinterest. I honestly didn’t expect it to work very well. Especially after I saw the finished product! It looked far from beautiful. But hey, store-bought fire starters are expensive and I had this huge candle my mom had sent me for the holidays, lots of drier lint and an empty egg carton.

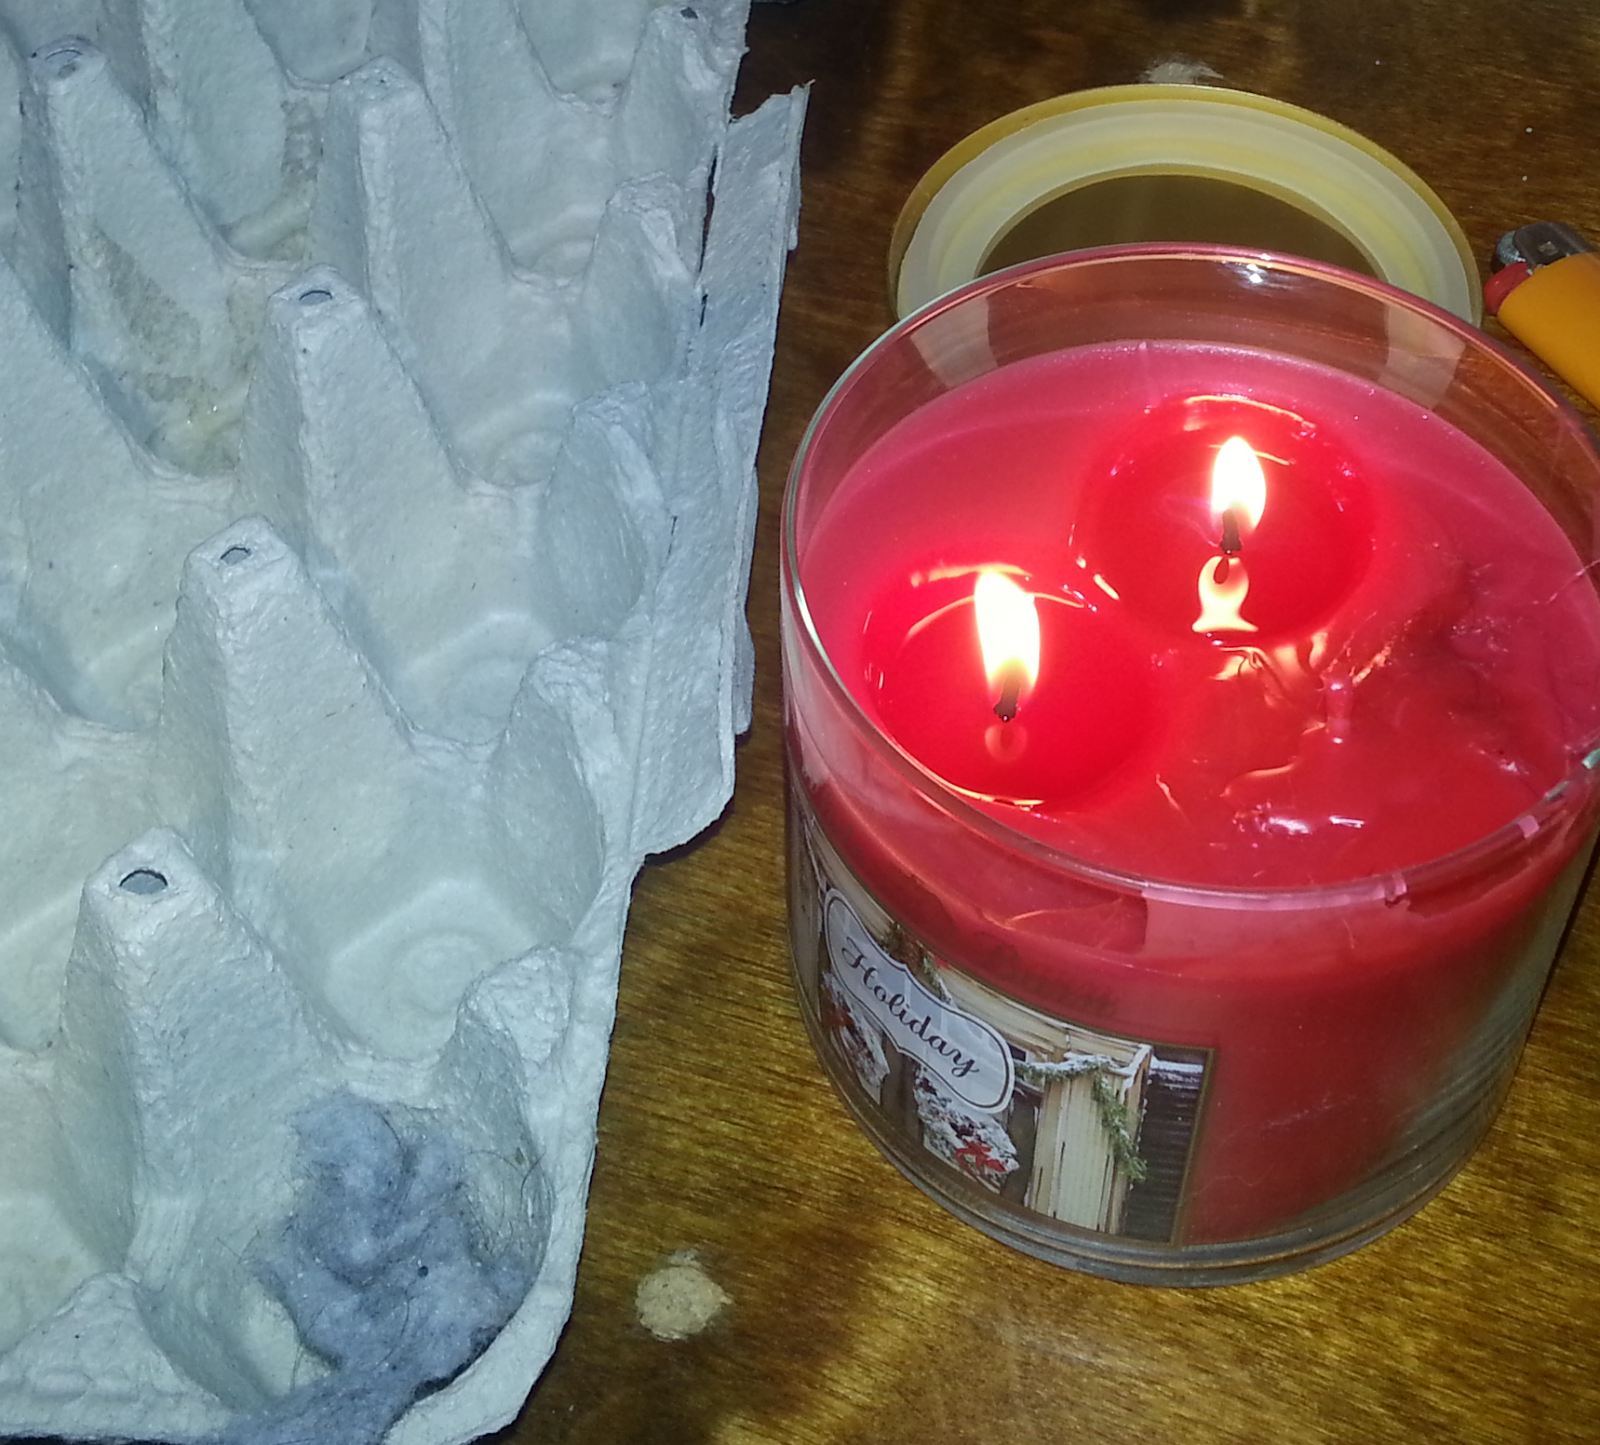
I spent about an hour or so filling up six of the egg cubbies. I learned on the first one to cut off the lid and place it underneath; by the end of the second I put down a silicone mat to save time peeling off the wax drippage, as well as cut apart the cubbies early on.

The end product is far from beautiful, especially when you have four cats that contributed their fur to the drier lint. Good thing these are intended to be lit on fire.

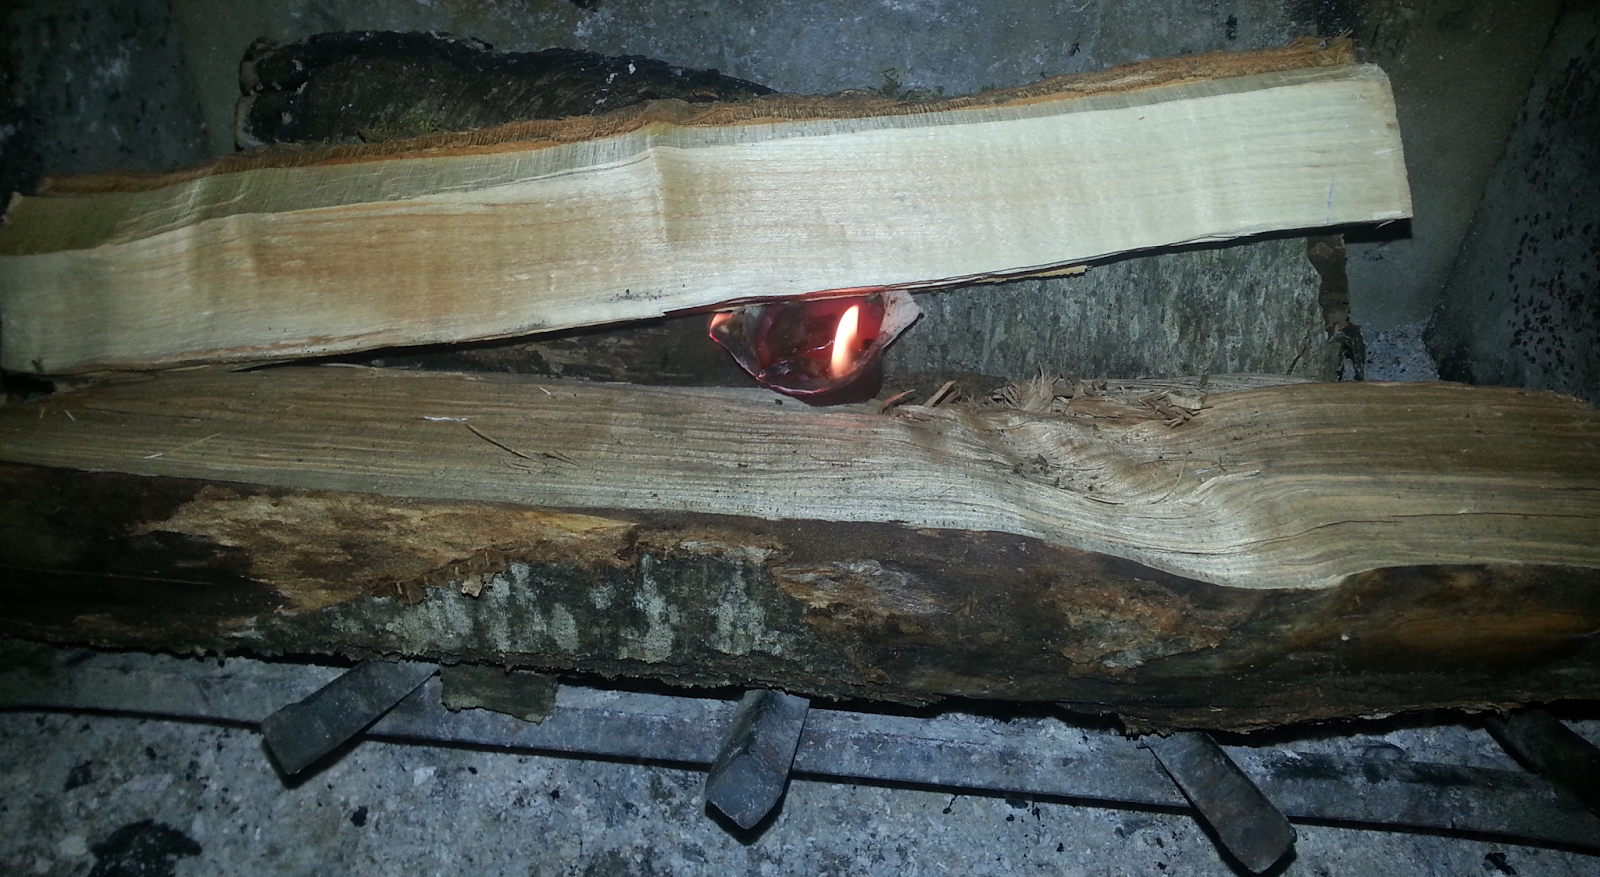
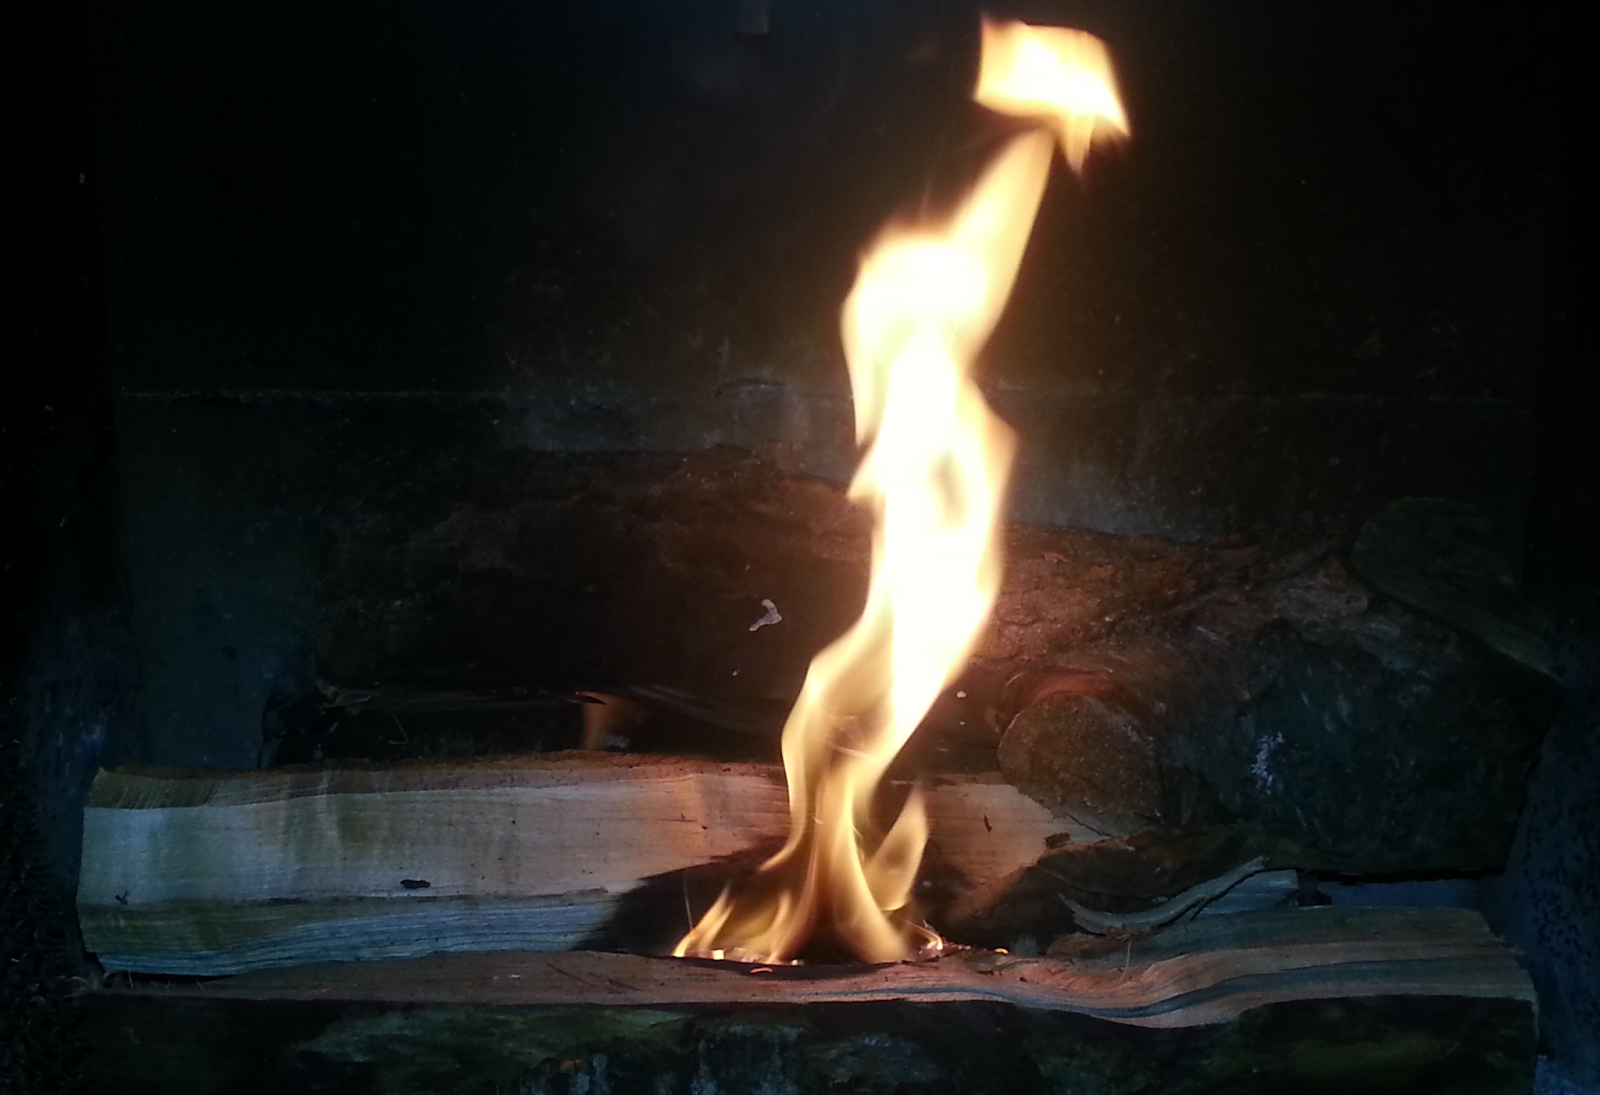
So I threw a few pieces of wood into my fireplace and added in the first fire starter I made. My expectation was that it’d light briefly but peter out fast once the top lint was gone. I was actually surprised when it stayed lit long enough for me to grab my phone and snap this picture.

The fire just continued to grow. This was about 3-5 minutes in. The normal store-bought fire starters we use rarely catch the wood this well this quickly.

I attempted to get one last picture of the egg carton before the flame got too large, but though I was able to discern it with the nakid eye, it didn’t show well on camera. You get the picture (har), I’m sure. 🙂

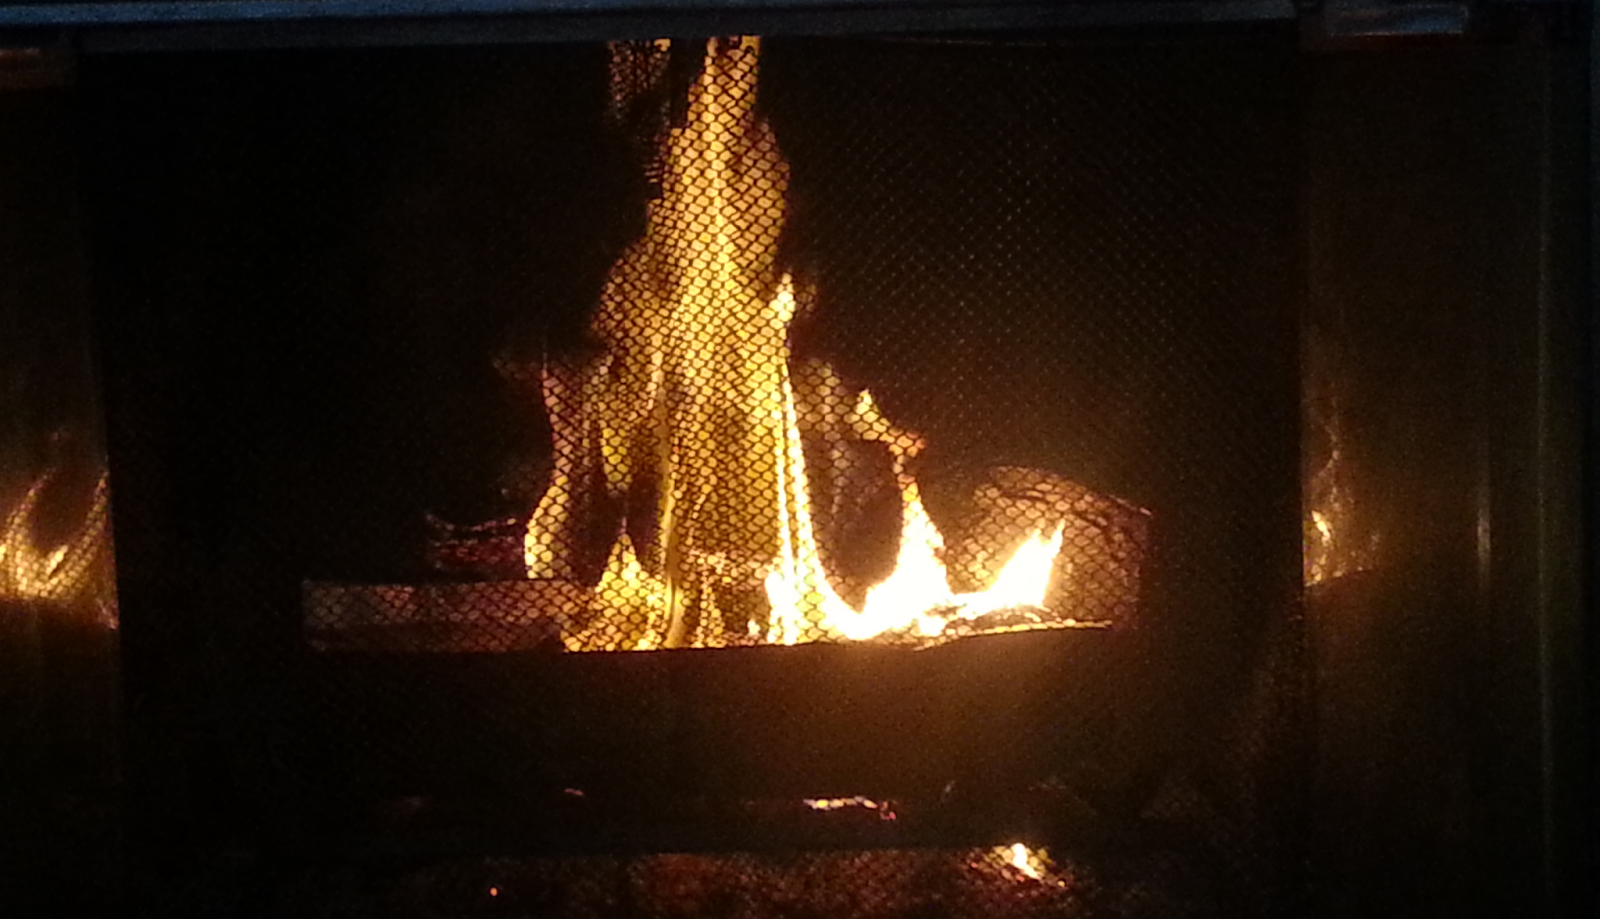
From this point on the fire just got increasingly larger. It’s currently nice and toasty behind me as I type this up. If you have candles, egg cartons and some drier lint (or similar materials) around your home and a need to light a fire, I highly recommend spending the time on this project.


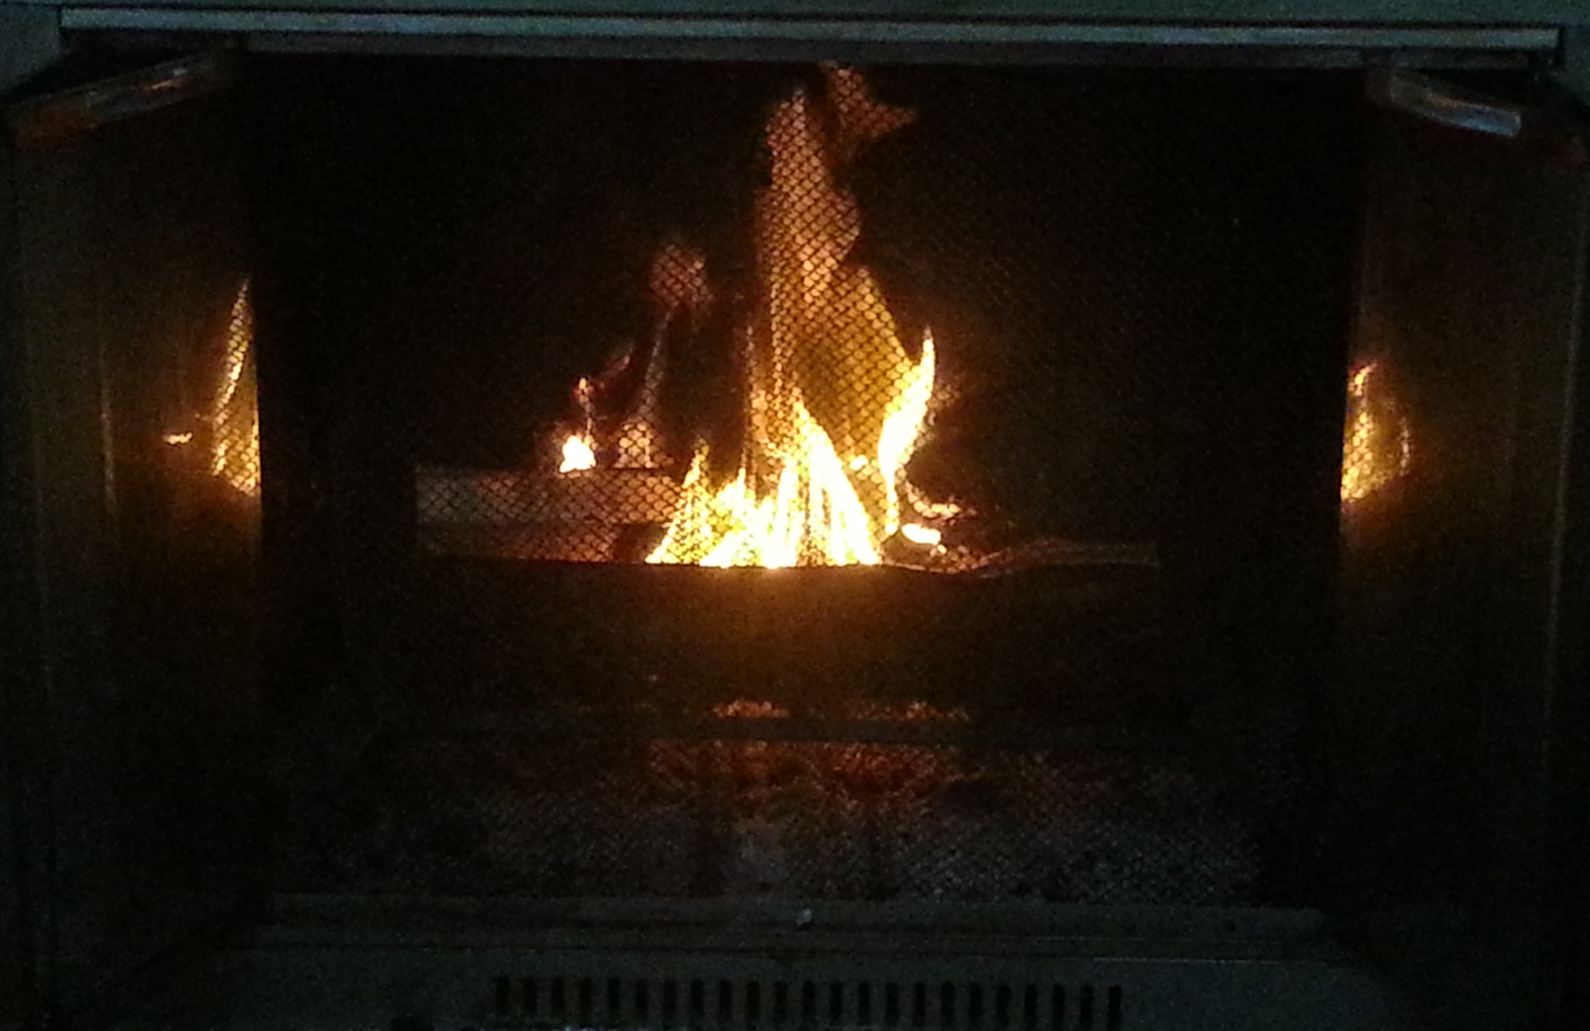
The final picture I took is the one at the top of this post. A toasty fire perfect for a cold day! 🙂

Tomorrow’s project should be paper beads. Happy New Year, everyone!

Discovering 2014: 365 Days of Crafting and DIY

I’m not one for making New Year’s resolutions. I’m either going to do something or I won’t.

A few days ago I was lamenting that I didn’t get as many projects done in 2013 as I wanted, including wanting to give out handmade gifts this year. That made me think of all the pins I’ve re-pinned on Pinterest thinking “what a great idea/inspiration!”, and how few of them I’ve actually done something with. Whether it’s food, DIY, crafts, upcycling, or just fun side-projects, I think having something you can look on and feel a sense of accomplishment is a goal we all should have.

So for 2014 I’m not making a resolution. I know I’m not perfect, that life is not perfect, and that eventually I may miss a day here and there. I’m making a goal to do one project–big or small–each day in 2014, and then make a brief blog post sharing what I did. I call this goal Discovering 2014.

It’s possible I may have to switch up my daily plans depending on supplies/time. I’m definitely going to try my best to stick with this and maybe it can become a permanent trend in my life. Any suggestions on projects would be appreciated!

UPDATE: This year’s completed projects can now be viewed on the 2014 Projects page.

Have a great New Years, everyone!
-Ann

Just a Quick Update!

I don’t have anything in-depth to share, but I do have some pictures of the projects I’ve been squeezing in during my random bouts of spare time lately. I’m also working on a new pegboard display to put my hairclips on at the upcoming craft shows. It’s almost done; can’t wait to share that soon!

More of the wire-wrapped rings I made, plus some large beads-made-pendants.
This is my first attempt at clay beads… sorry, it’s not candy!
Here’s a few pairs of earrings I made from the first batch of clay beads.
This second batch of clay beads are fresh out of the oven today. I used some cutters on this one, though the ball and oblong beads are hand-rolled.

Fun with Wire Wrapping

I’ve done a bit of wire wrapping before, and even made some ear cuffs last year (but still trying to decide if I want to spend more time on that). Since I had so much wire laying around I decided to have fun with a few random baubles today.

Earrings are using 20 and 22 gauge wire; rings are using 20 gauge wire and the blue has a 26 gauge wrap.

Of course one of my felines decided to help out as well! Other cat owners can probably relate quite well to this.

Any questions? 😉

Geek Badges

I’ll be heading out to Las Vegas from July 31 – August 5 for SOE Live, a gaming convention. This is my fifth year attending, and I decided to bring along a craft project to hand out to my friends there. I call them Geek Badges, and they’ve occupied my scarce free time over the past couple of weeks.

There isn’t anything crazy complex to these. I just shrunk down several logos for SOE games I play so that they’d fit a one-inch round cutout and was able to print ten per 4×6 photo sheet. Then I adhered them to the bottlecaps and added a jump ring to each.

I have a bunch of $1 special snap hair clips that I’m never going to use for my normal hair clip projects, so I plan on handing those out with the badges. I already hooked mine to it, and it’ll allow me to easily clip them onto my lanyard, backpack, shirt, or even hair if I’m feeling crazy. I’m also bringing along keychain rings for the guys who likely want nothing to do with a hair clip.

In all I made a bit over 100 of Geek Badges, but not all of them turned out well. It was definitely some trial and error for me at first (I discovered that encasing photo paper in dimensional paint is a BAD idea). When I pack up for Vegas on Tuesday, about 98 of these will be coming along!