Discovering 2014: Brown Sugar Snickerdoodle Cookies

Discovering 2014 is a personal goal to complete a daily project throughout the year!

Today’s project was Snickerdoodle Sugar Cookies. I followed this recipe by Mommy’s Sweet Confessions, which in turn was adapted from this Better Homes and Gardens Cookbook.

This follows a normal sugar cookie recipe pretty closely, but also uses brown sugar, cream of tartar, and is rolled in sugar and cinnamon. Since I’ve covered making sugar cookies before I didn’t take pictures throughout the entire process this time, but the full recipe can be found at the end!

Here is the dough after it was chilled for about 75 minutes:

The mix of granulated sugar and ground cinammon:

My father-in-law’s birthday was today so I used my new dragon cookie cutter to make him his own special cookie. The cutter was a lot bigger that I thought it would be… almost 1/2 the length of my baking pan!

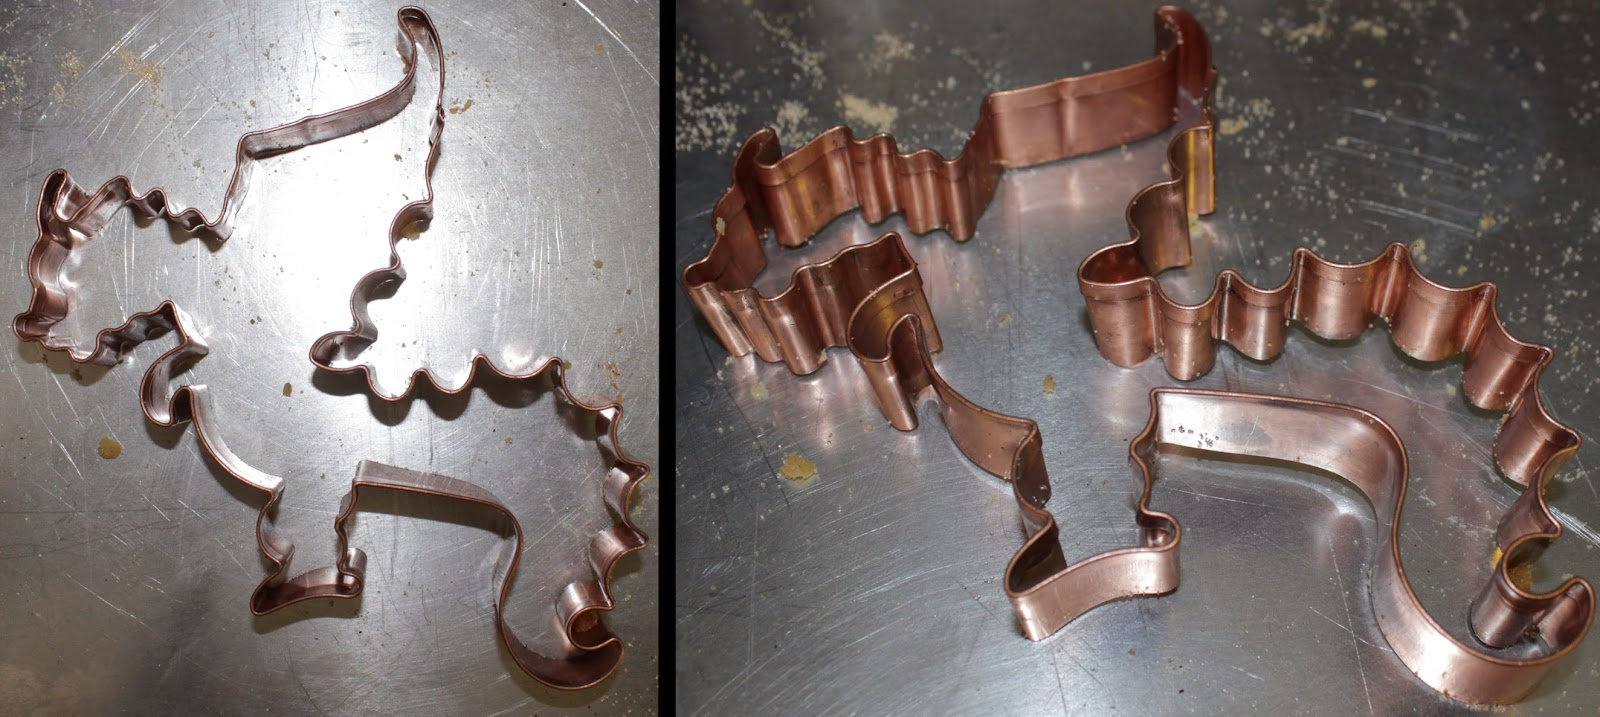
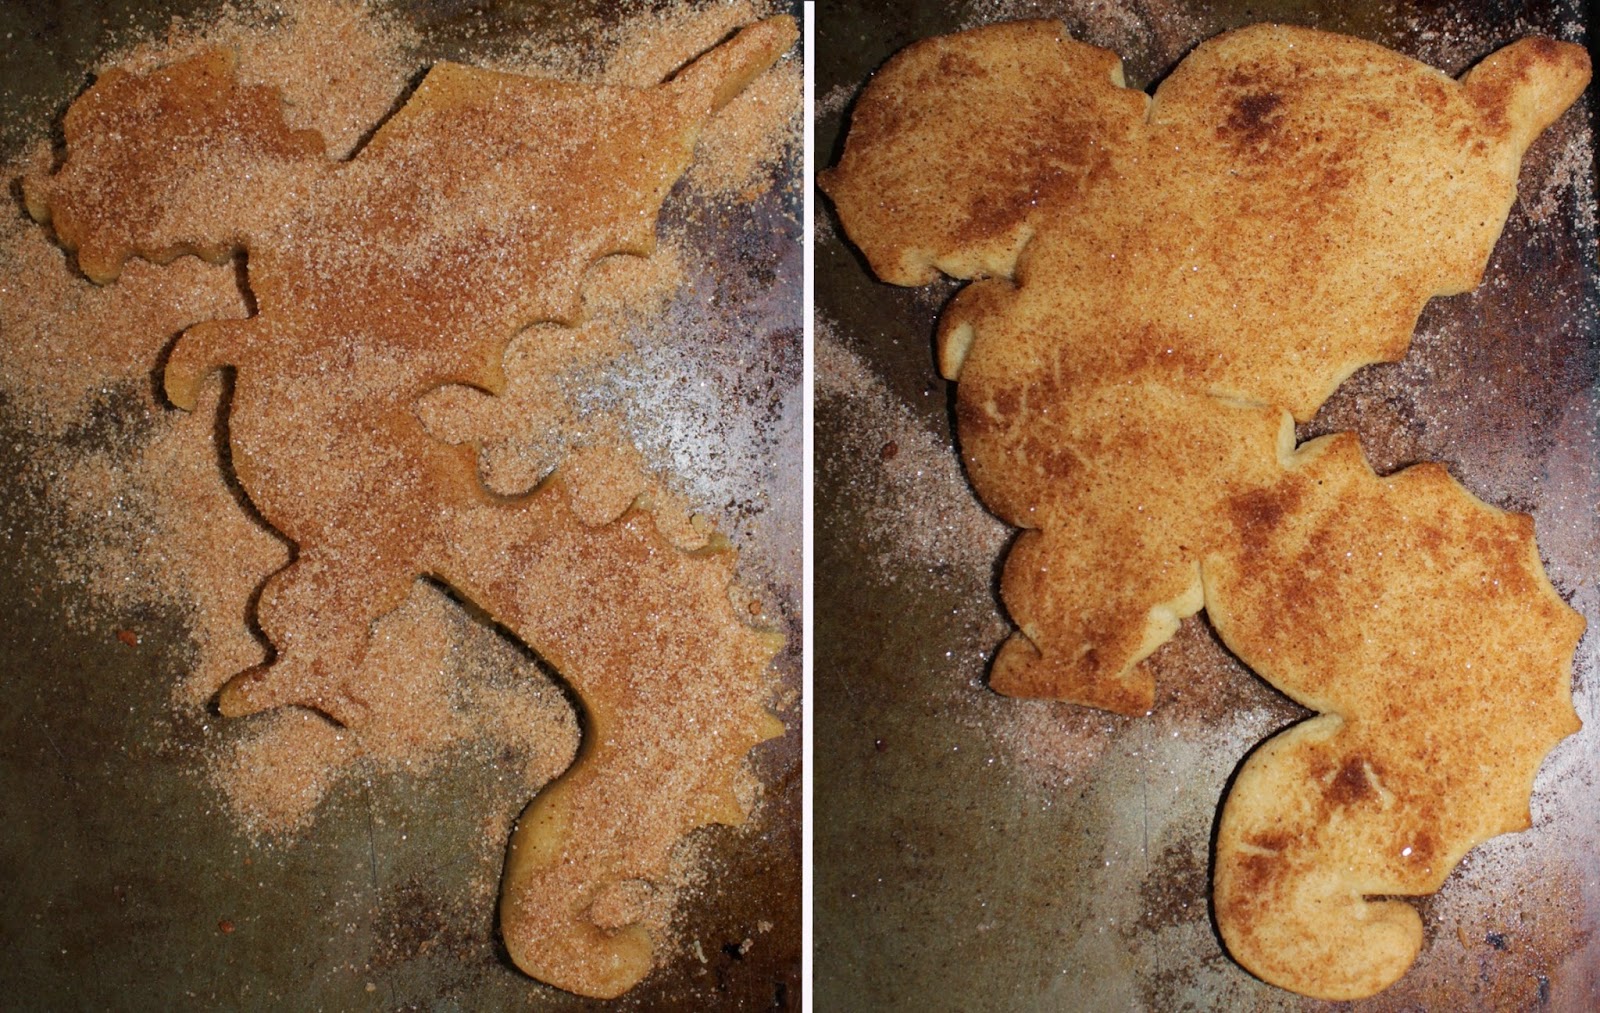
It’ll be fun to use that cutter with dough that doesn’t balloon out. 😉

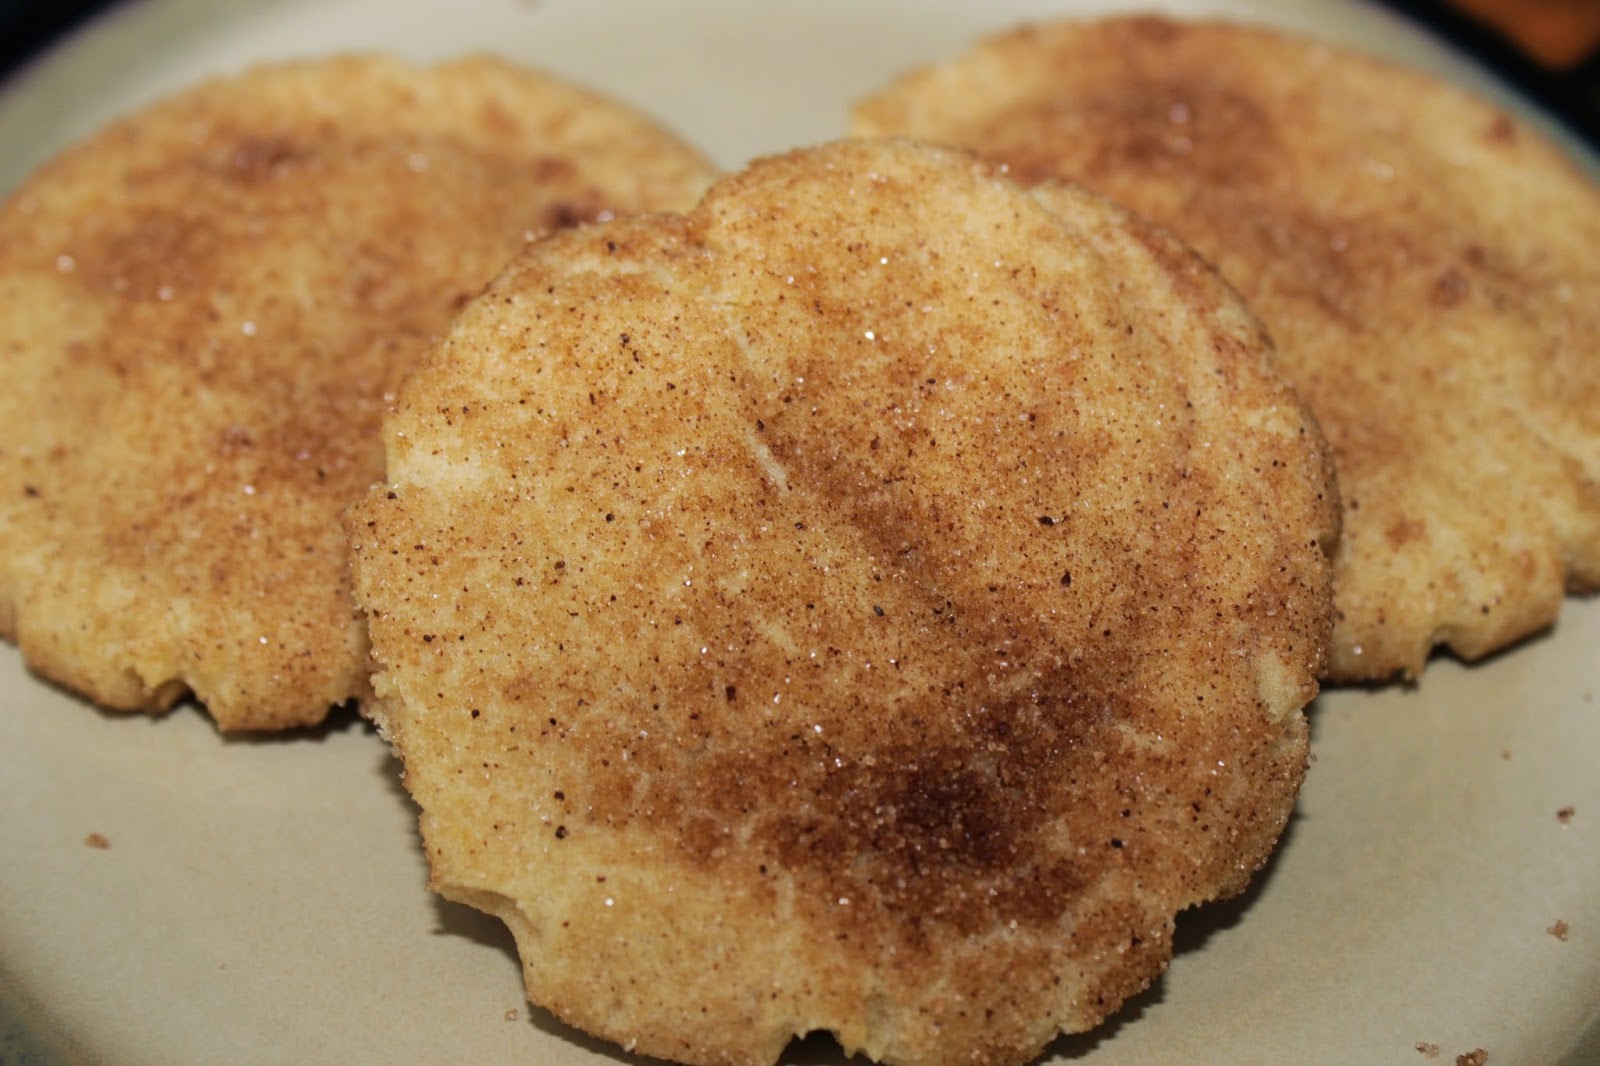
Here is the before and after of the normal cookies:

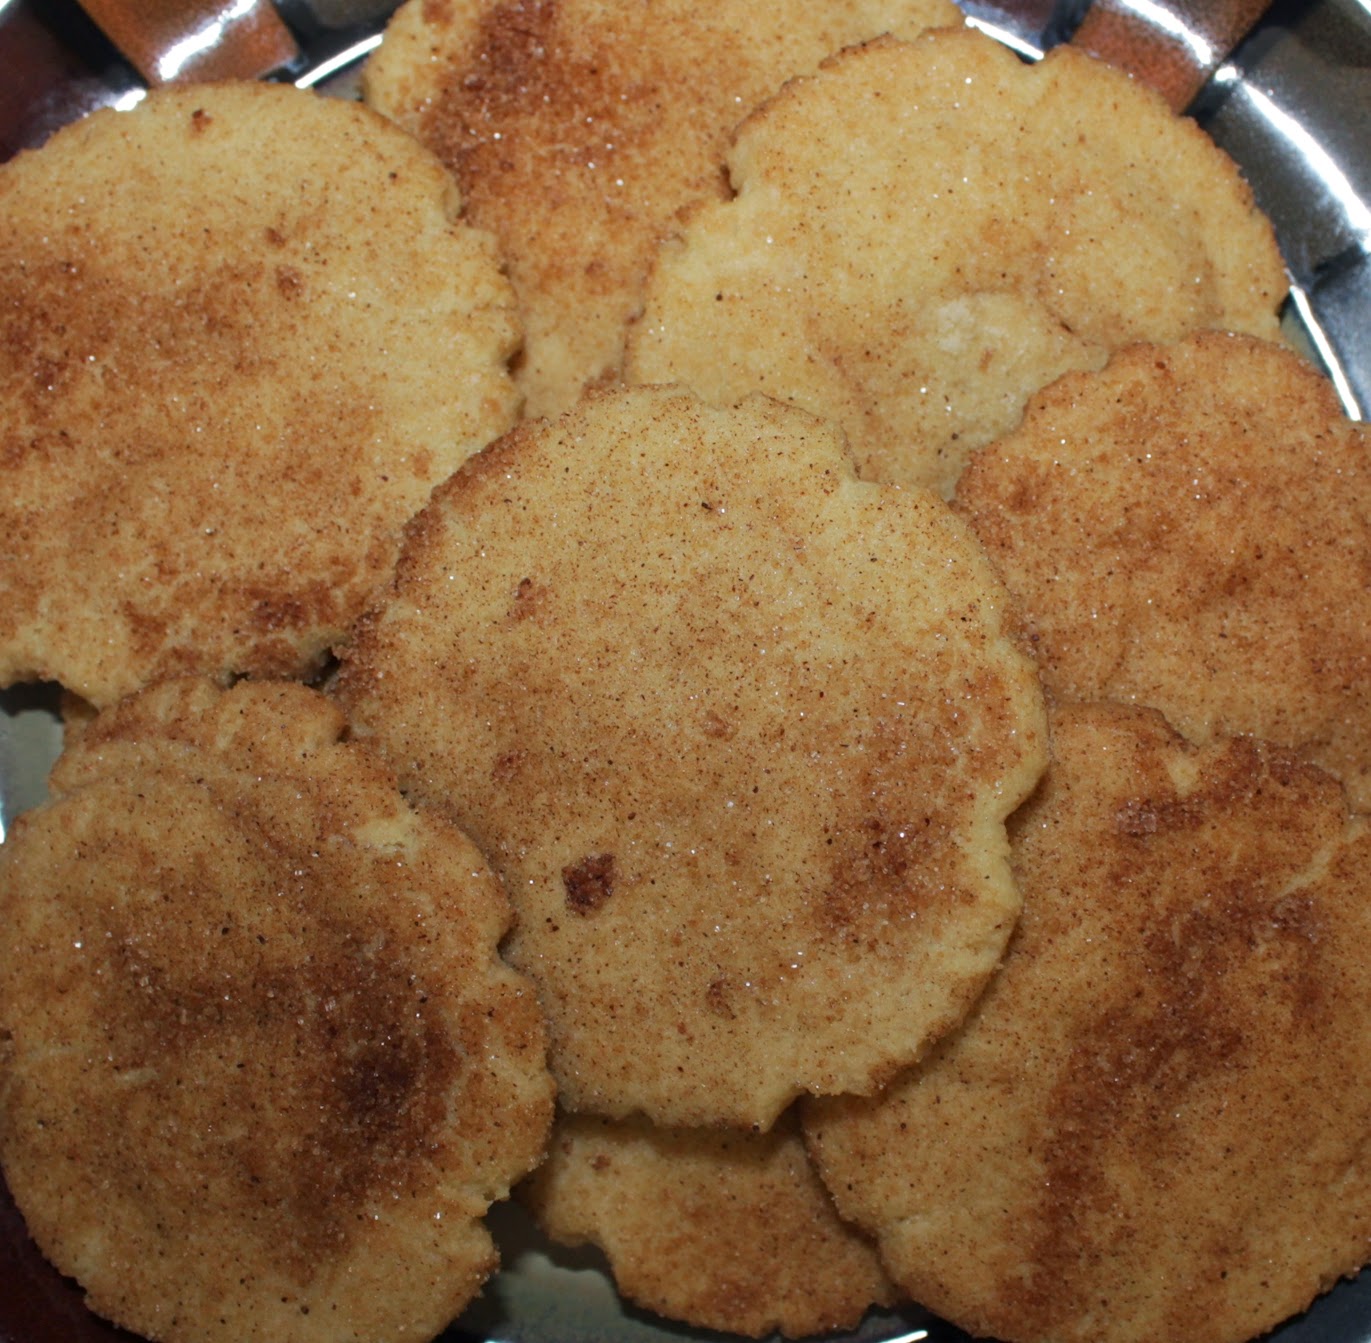
They’re very tasty and we made some maple flavored Whipped Cream Frosting to enjoy with them! For maple we used about 1 tbsp plus 1 tsp of 100% pure maple syrup for the flavoring, which is quite delicious.

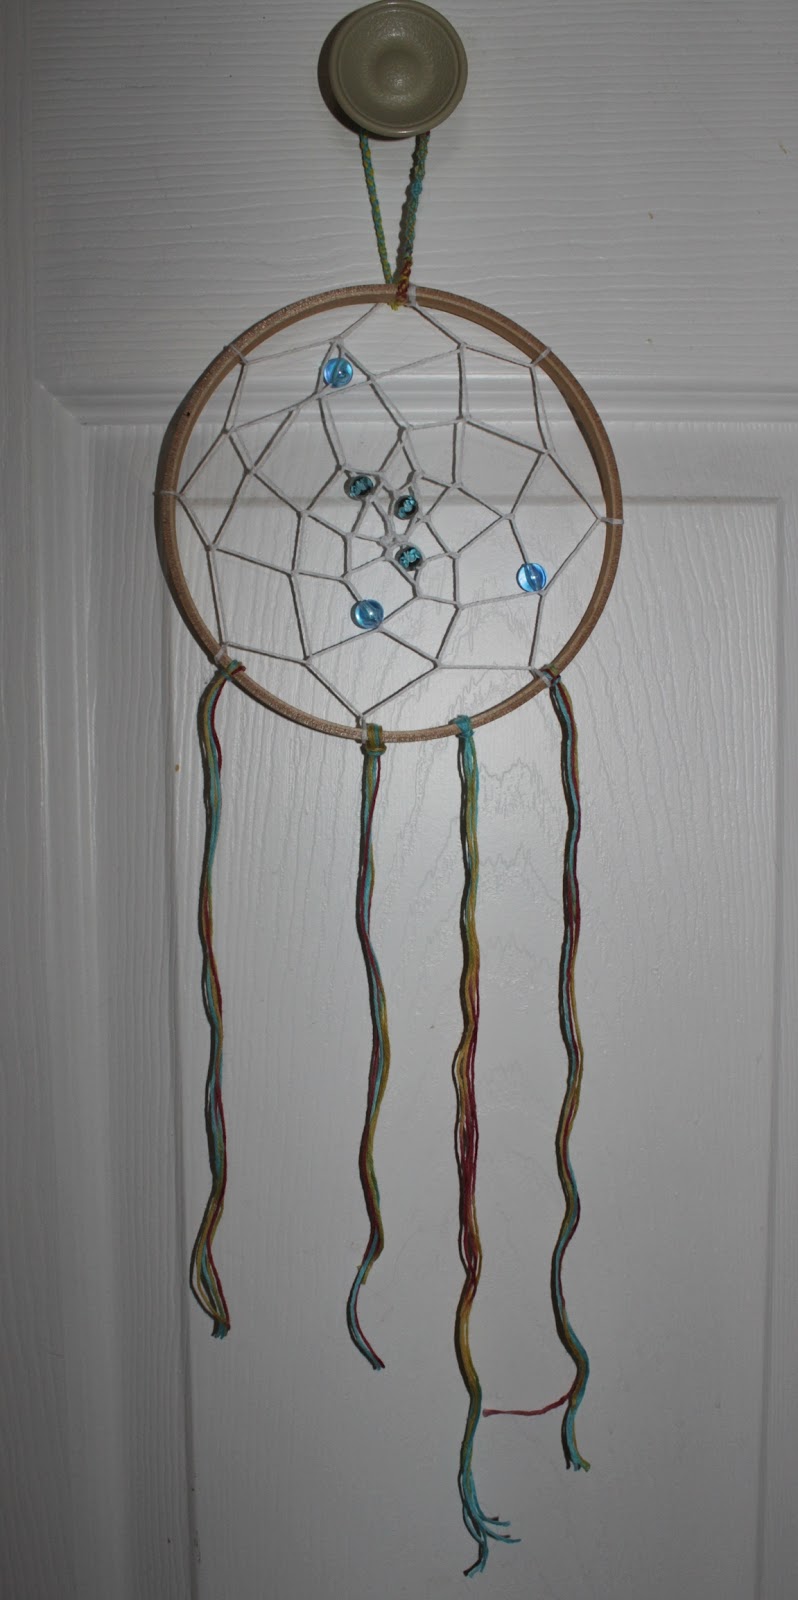
Tomorrow’s project is a Spike Bow!


Brown Sugar Snickerdoodle Cookies

Ingredients

  • 1 cup unsalted butter, softened
  • 1 cup granulated sugar
  • 1 cup brown sugar
  • 1/2 teaspoon baking soda
  • 1/2 teaspoon cream of tartar
  • 2 large eggs
  • 1 tsp vanilla extract
  • 3 cups all purpose flour

Coating

  • 1/2 cup granulated sugar
  • 1.5 tsp ground cinnamon

Instructions

  1. In a mixing bowl beat butter on medium high for 30 seconds
  2. Add the 1 cup granulated sugar, brown sugar, baking soda and cream of tartar. Beat until combined, scraping down sides occasionally.
  3. Beat in eggs and vanilla until combined well
  4. Beat in the flour until well combined
  5. Cover the dough and refrigerate for 1-2 hours
  6. Preheat oven to 375° F
  7. Mix the remaining granulated sugar and the ground cinnamon in a small bowl
  8. Roll dough into 1 inch balls and then roll them around in the cinnamon-sugar mix until coated
  9. Place on cookie sheet spaced about 1″ apart. Partially flatten the balls.
  10. Bake for 10-12 minutes, or until the edges start to brown
  11. Let cool a few minutes before transferring to a cooling rack
Recipe adapted from Mommy’s Sweet Confessions

What’s Keeping Me Busy (March 2014 Edition)

The old monitors.

I’m fantastic at writing for my crafting blog, but for a general one? Not so much. It’s been about a month and a half since I wrote last, and life just keeps on chugging along.

Over the past month I’ve played quite a bit of Banished, worked a lot, did a lot of daily crafts and started a cooking blog with Calthine. I also read Words of Radiance, Luck of the Draw and am currently working on Volume 1 of the Game of Thrones Graphic Novel. I finally got new monitors… that are actually the same size as each other!

The new monitors.


Continue reading “What’s Keeping Me Busy (March 2014 Edition)”

Discovering 2014: Dreamcatcher

Discovering 2014 is a personal goal to complete a daily project throughout the year!

Today’s project was a Dreamcatcher. I made one once before as a young teen, but once I recalled how to get the web pattern down it went pretty quick.

You’ll need the inside hoop of an embroidery hoop, embroidery floss (amount will vary by your hoop size; I needed under half a skein for the smallest hoop), and you can optionally use 6mm and 8mm beads as well.


Knot the beginning of your floss onto the hoop, leaving a 2″-3″ tail.

Continue around the hoop, taking your embroidery floss over the top then through the opening. Pull tight!

This is a bit further along, but maybe it shows the “over and through” better:

At the end of the first rotation around the hoop, tie the tail you left at the beginning with the floss you just ended on. Double or triple knot, then feel free to trim the tail.

The second, and remaining, rotations you just do the “over and through” method on the previous rotation, aiming for the center.

Optionally you can string some beads on!

Once you reach the middle make a double or triple knot and trim the remaining embroidery floss.

Make a loop to hang your dreamcatcher with. I actually used the French Knot bracelet I made earlier this month for my loop, but just looping around some plain floss would work fine, too!

Finally, make some tails for your dreamcatcher. I cut some random lengths of embroidery floss, folded them a few times then looped them onto the bottom of the hoop.

My cat approved a bit too much!

Tomorrow’s project is Snickerdoodle Sugar Cookies!