Discovering 2014: Pen & Pencil Savers

Discovering 2014 is a personal goal to complete a daily project throughout the year!

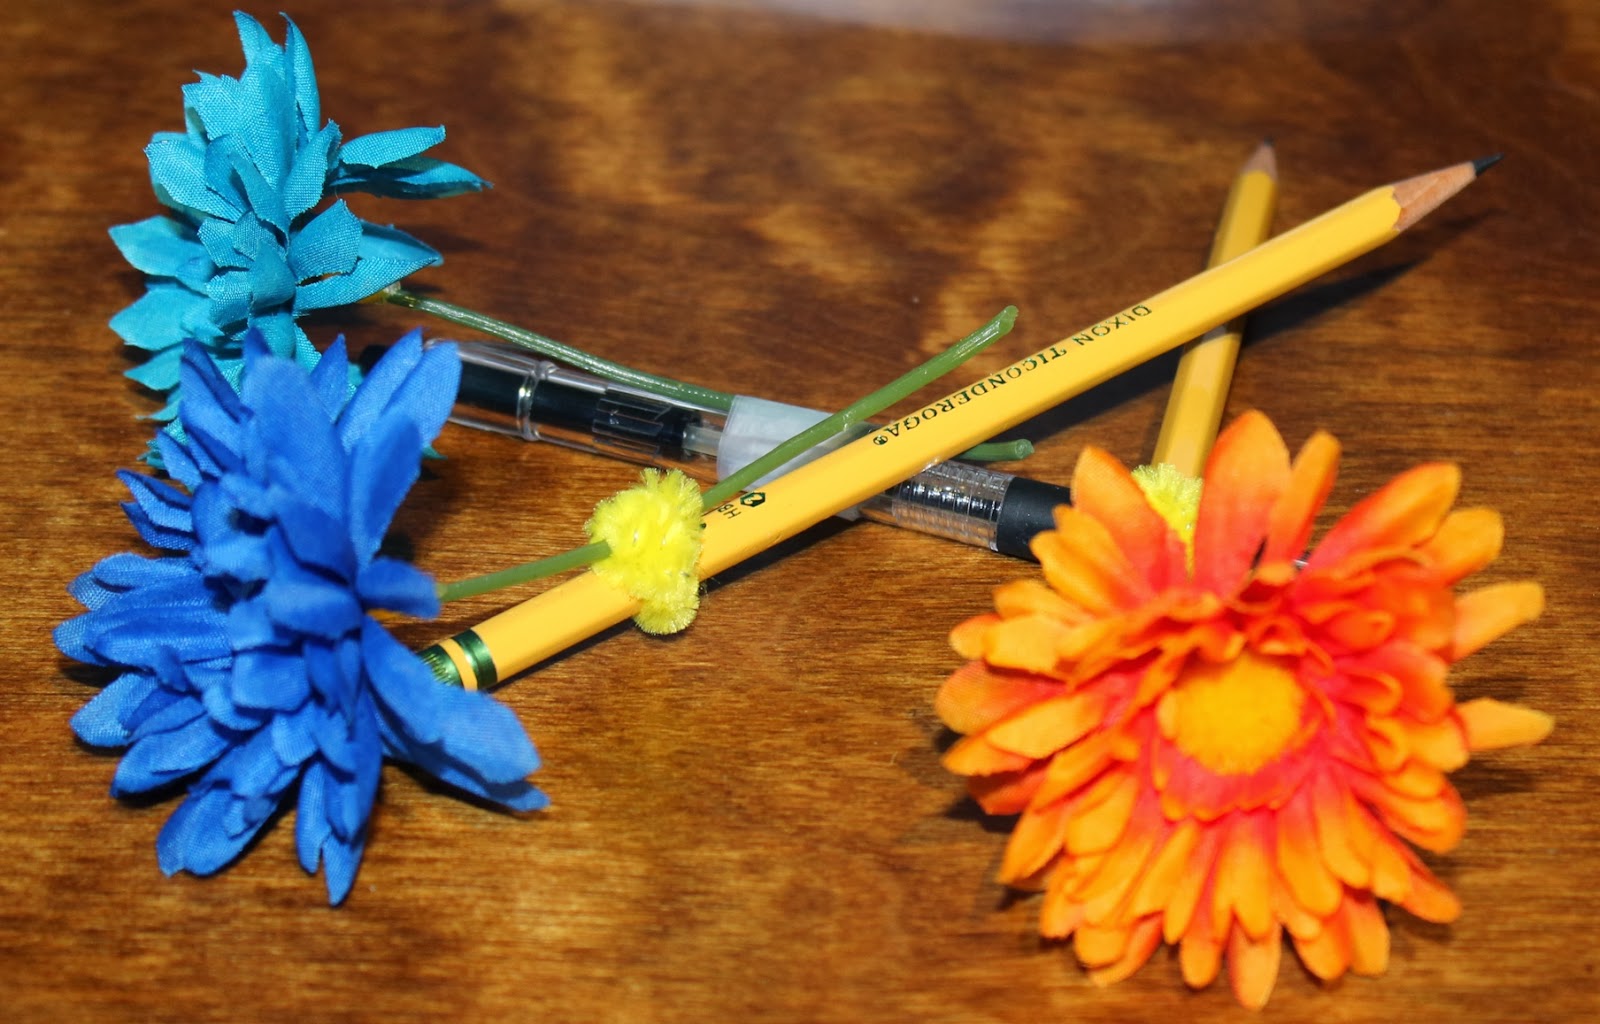
My day 21 project was Pen & Pencil Savers. The idea came from my local prescription store, where they have these large artificial flowers on their pens because they got tired of having to replace them all the time.

While I don’t have customers to worry about, I have children. My youngest is the worst. He has an entire bucket of his own pencils a mere two rooms away from my computer desk, but he’ll go out of his way to come and borrow one of mine, then just leave it where he used it and half the time I’m lucky to find it again. He’s trying to be better at it after we discussed it, but it still happens from time to time.

For this project I used a few artificial flowers I had gotten on clearance at Michaels, a couple of pipe cleaners (for the pencils, so the flowers can slide up/down if the erasers needs to be used) and scotch tape (to hold it onto the pen). The store I got the idea from uses rubber bands to hold theirs in place.

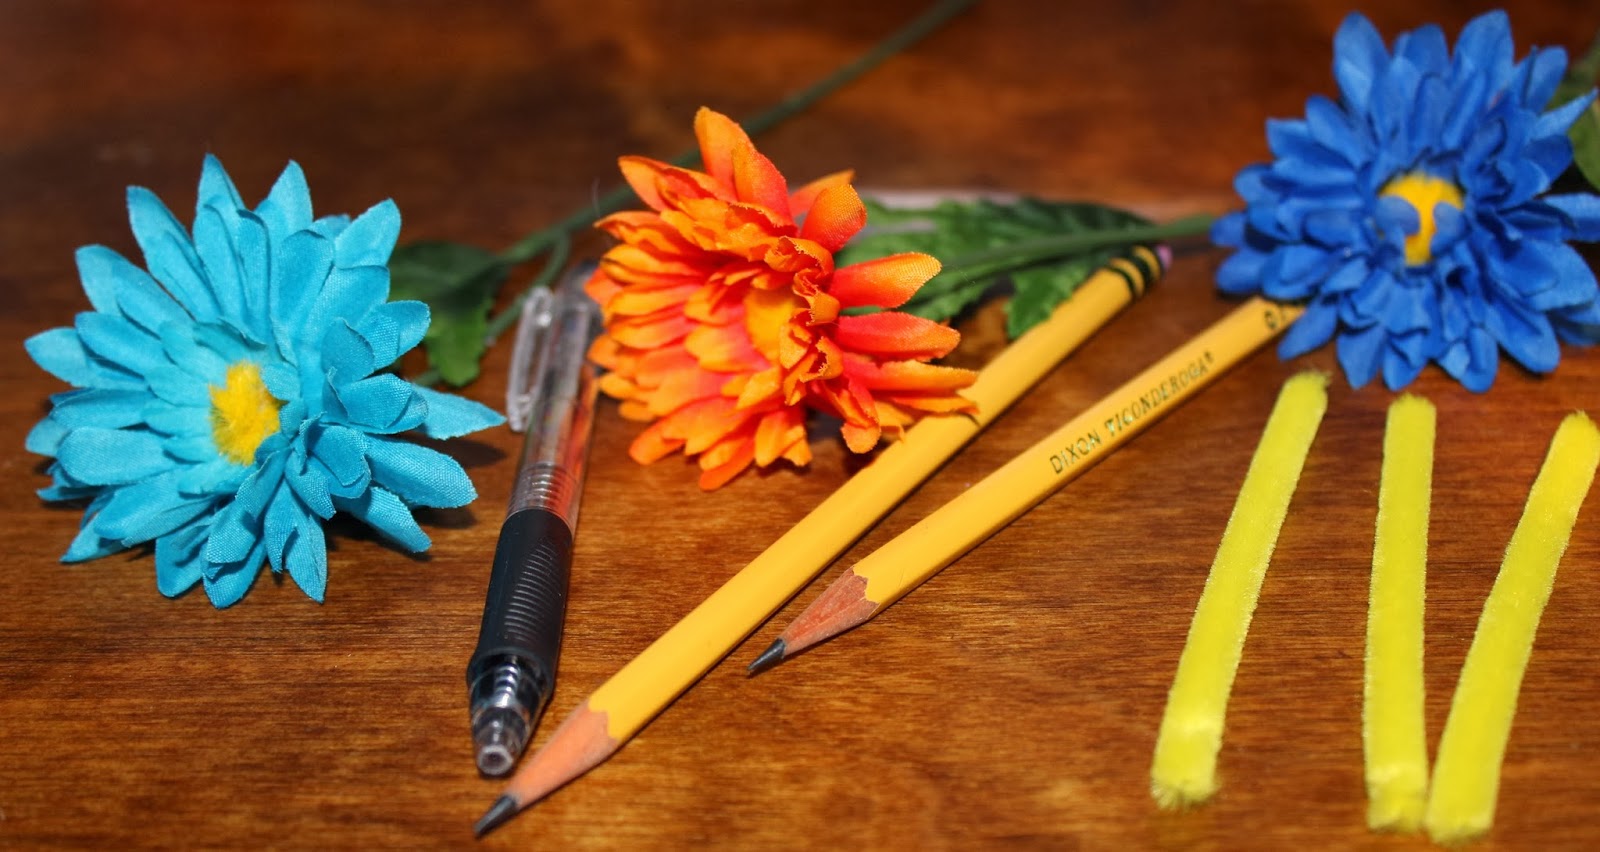
I trimmed the stems enough for there to be still room for it to slide around a bit, but not so long that they interfere with writing. The scotch tape on the pen is self-explanatory, and with the pipe cleaners I did a small wrap around the flower stem, then wrapped the remainders around the pencils.

That’s all there is to it! I don’t know yet how well it will work, but if anything, they’ll definitely be easier to find. Bonus: my desk looks a bit prettier now, as well!

Tomorrow’s project is Paperclip Earrings!

Discovering 2014: Countertop Pendants

Discovering 2014 is a personal goal to complete a daily project throughout the year!

My day 20 project was Countertop Pendants. This is a project I actually had started quite some time ago. I had picked up a few of the countertop sample cards from the hardware store last summer and painted over the words on the back, then used Mod Podge over the paint (pictured below). That process had taken me a few nights, giving ample drying time between each, and then I simply put them away without finishing my idea.

Finishing them up was simple: large jump ring, pendant or other decorative object to go with the countertop piece, and a necklace cord.

I decided to try wrapping one in embroidery floss as well, since the above pendants (while very pretty!) didn’t take very long. This took extraordinarily longer, especially since me wrapping horizontally ended poorly, causing me to have to unwrap and re-wrap the entire thing.

Below is a picture of the front (on left) and back (on right) of the countertop piece after I completed the vertical wrapping. The front looks awesome, but if I wrap another one I may incorporate some glue so the back lays nicely as well. In all, I used about three-quarters of a skein (the color is from the Prism Tie-Dye pack).

Tomorrow’s project is Pen & Pencil Savers! Will this mean my children may find it more difficult to steal my writing utensils? Stay tuned to find out!

Discovering 2014: Glass Bottle Pendants

Discovering 2014 is a personal goal to complete a daily project throughout the year!

My day 18 project was Glass Bottle Pendants. I had these tiny 1″ glass bottles I had snagged on sale last year, but they have just sat around lonely and unused since. Today that changed!

I’ve seen many bottle jewelry ideas on Pinterest. There are the candy bottles, a “message in a bottle”, health and mana potion earrings, and.. well really, there’s so many ideas out there! My original intent was to first try confetti pieces before trying beads, but as soon as I pulled them out my husband asked me if I was going to make some health and mana potions with my seed beads, so I rolled with that!

The screw eyes I used were pretty large compared to the bottles, but were the smallest we had in the house. They worked, but just look oversized, so I may swap them out later on. I also considered pushing an eyepin through the cork and wiring it up that way and may try it later on.

Putting the bottles together was simple. It honestly took me longer to take that picture at the top of this post than it did to make the two bottles. The hardest part was screwing the screw eye in and keeping it straight and centered. The result is a couple of very attractive “potion” bottles! There’s so many different things you can do with these and they’d make cute stocking stuffers.

Tomorrow is Whipped Cream Dollop day, which will be the first food-related project I’m tackling (there’s several more in February and March)!

Discovering 2014: Pom Pom Hair Clips

 Discovering 2014 is a personal goal to complete a daily project throughout the year!

My day 17 project makes a record for shortest write-up, I think! Today I tackled Pom Pom Hair Clips, inspired by this pin by Spoonful. There really wasn’t anything else to show aside from my supplies and the finished product.

Get some craft pom poms, covered hair clips, googly eyes and a hot glue gun. Decide what you want to do with your pom poms (I decided making little caterpillars would be cute), and then glue the pom poms and googly eyes onto the hair clip appropriately. Let the glue dry and you have some cute and simple hair clips!

Here’s my grosgrain ribbon caterpillar hair clip project from last year, in case you hadn’t seen it yet!

Tomorrow’s project is Bottle Pendants!

Discovering 2014: Team Spirit Hair Bow

Discovering 2014 is a personal goal to complete a daily project throughout the year!

My day 16 project was a Team Spirit Hair Bow. It was originally called a Cheerleader Hair Bow, but I thought that “team spirit” is more fitting! The project is based off of this pin, which unfortunately led to a dead site, so I had zero instructions to go on aside from the picture.

The local high school team colors are black and gold, and green and gold. In the end I chose to use the green and gold since I didn’t have any large black ribbon in my craft room. I didn’t have enough varying sizes of the green and gold to match the picture, but I did my best!

The first green ribbon I used was 1″ satin ribbon. I made a twist in the center, then the loops, then brought the tails down the front. I used hair clips to temporarily hold it in place.

I did a simple cross-stitch to hold it in place, the added my first 3/8″ yellow grosgrain ribbon and cross-stitched that onto the green. Below is the front and the back (both of which are not visible by the end). Yes, my sewing is still terrible. 🙂

I used the extra thread and looped it around the center, scrunching up the middle. Then I cut off another length of 1″ green ribbon, folded it in half length-wise, and tied a bow.

I added my 1/4″ green and yellow silk ribbon pieces by carefully pulling them through the front part of my bow. I then made sure the bow was tied tightly and did some crazy stitch on the backside, being careful to not poke through the front but stitching far enough to secure the tie.

Afterward, I also stitched the bottom layer to the smaller bow, again careful to not poke through the front of the bow. This part could easily be hot glued as well.

All that remained was hot glue and knotting the smaller ribbons! I glued it to a hair clip then tied single knots on each of the ribbon streamers. I also snipped the 1″ ribbon to have those pointy ends and added some fray check to them.

Go team go!

Tomorrow’s project is Pom Pom Hair Clips!