Embroidery Floss Organization

After I had decided on doing embroidery floss projects while I’m traveling, I checked out Pinterest for interesting patterns, but sadly didn’t find many. What I did find was a cool idea for organizing embroidery floss that didn’t use the typical tiny cardboard cards, but instead uses clothes pins.

While searching through Amazon I saw doll clothespins and decided to give the idea a whirl. It was simple enough to do:

I definitely love the look, and the pins could probably fit two skeins on each. I had an extra pencil case in the house, so I’m going to travel with them in there.

Another thing I picked up was a slim storage clipboard. I had hoped to put the wrapped floss in there but it’s a bit too bulky to close the storage area. However, it’s great for holding onto my patterns, folding scissors, and other supplies for my travel projects, and I’ll be able to use the clipboard part to hold the floss as I work on it.

Now that I’m done distracting myself with organization, it’s time to go work on today’s crafting project!

Discovering 2014: Personalized Candles


Discovering 2014 is a personal goal to complete a daily project throughout the year!

My day nine project was Personalized Candles. The idea was fostered when I saw this pin a few months ago and thought that it might be nice to put a more personalized touch on them for a gift.

The first challenge was finding some candles to use! After unearthing several that were enclosed in glass containers, I finally recalled seeing some votives when we had changed out our office desks last year.

I didn’t have any fancy stick-on letters or numbers like what was used in the pin, so I grabbed a piece of cardstock and cut out a design on that. I also used some acrylic paint, just a small bit from $1 Craft Smart bottles.

I discovered that scotch tape doesn’t hold onto candles very well, so I had to make sure the paper wrapped far enough to be taped onto itself.

I painted the side areas not covered by paper, and then let it dry.

I had to do some minor touch-ups on the wavy line candle after the paper was removed, but that was fairly easy.  I also tried free-handing letters onto another candle, which turned out functional, though not attractive (added a bit of glitter paint over it as well). I may apply a thin coat of matte Mod Podge later tonight to give it a nice finish.

If you’re gifted with drawing or have something you can sketch with, this can be a fun project. These would probably make nice stocking stuffers for that person that seems to have everything. I don’t think I’d try lettering again but I’m happy with how the wavy line candle came out!

Tune in tomorrow when we tackle Tulle Bows! An update on the delayed Incense Cones: the base ingredient arrived this afternoon as well as the sandalwood powder, so it’s a go for Sunday!

Discovering 2014: Caged Bead Earrings

Discovering 2014 is a personal goal to complete a daily project every day throughout the year!

Today’s project wasn’t even on the original January list at all. I had moved the Incense Cones up to today, but the weather delays put UPS two days behind in our area. The bonus part of my day is that my new camera finally arrived (pics in this post are a mix of old and new camera since I had to charge the battery first), but sadly, the base ingredient for the incense cones is still one state away.

So next I tried to do Sunday’s Heart Earring project instead….

I don’t even know where to begin categorizing whatever that ended up being. I have a Wigjig but not the large pegs, so I think I’ll hold off on trying the heart earrings again until I can get those pegs.

At this point is was 7pm in the evening and I hadn’t made any headway. I recalled that I had snagged some earring cage findings for under $1 on EBay a while back and just hadn’t set aside time to do anything with them yet. I grabbed the cages and tried out several beads until I settled on a nice oval blue pair. My day eight project had officially become Caged Bead Earrings.

Then I had fun trying out the new camera:

So today didn’t turn out as expected, but I’m happy to finally be able to produce better quality images and am glad that something got made!
As long as UPS delivers the base ingredient by this weekend, the Incense Cones are rescheduled for Sunday. Swing back tomorrow for the Personalized Candles project!

Discovering 2014: Clay Texture Tools

Discovering 2014 is a personal goal to complete a daily project every day throughout the year!

My day seven project (yay, one full week now!) was to make some Clay Texture Tools, using the project from this pin by PolymerClayWeb. Mine look no where as nice as theirs do, but they are definitely functional and will work nicely for the Clay Medallion project coming up next week!

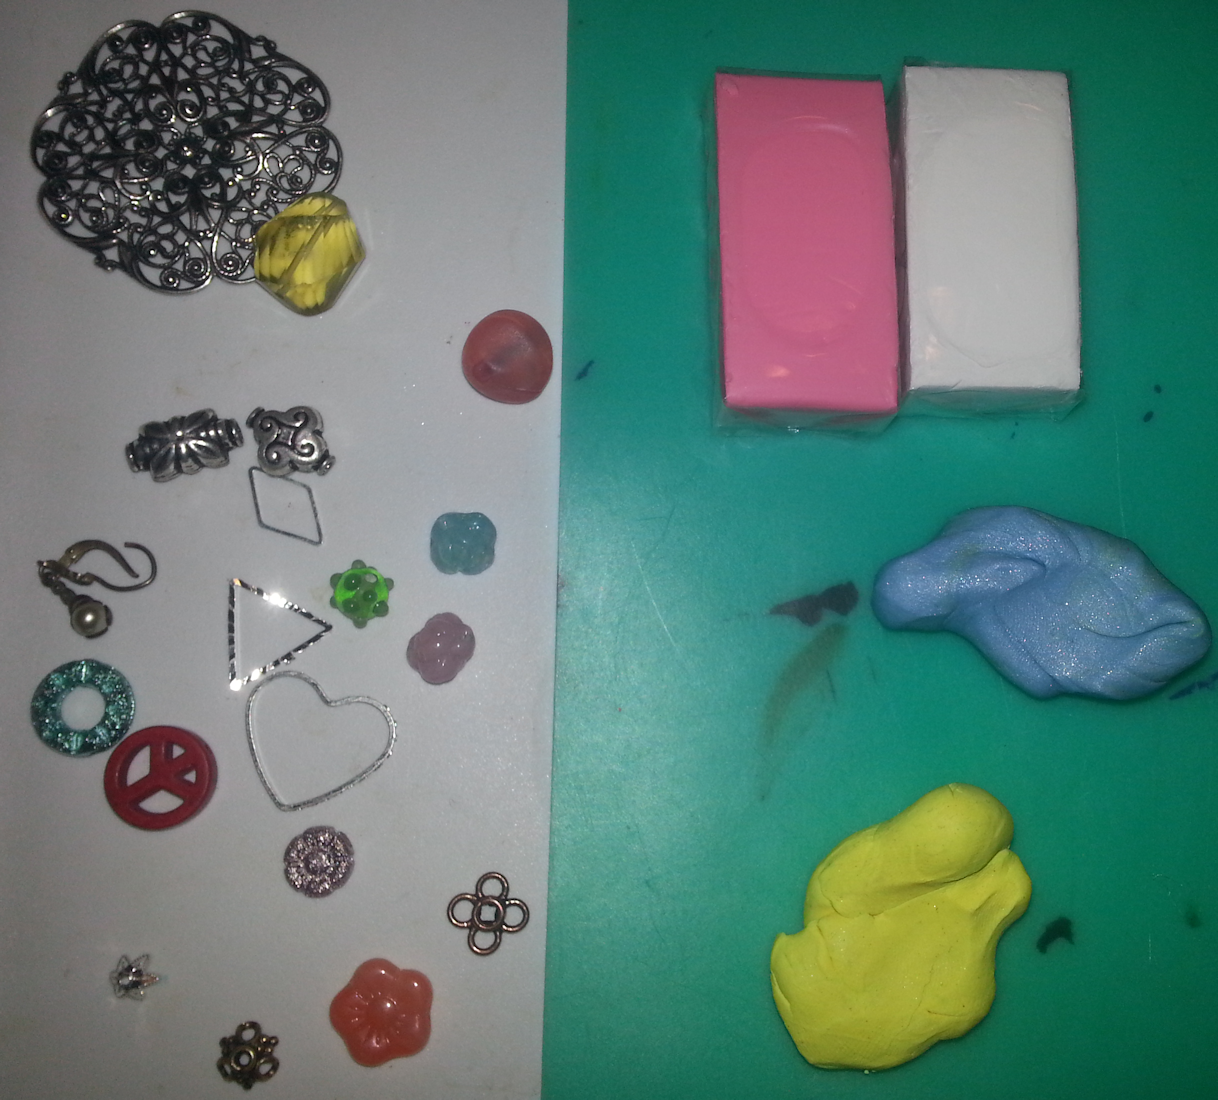
The basic tools you need for this project is clay and some random baubles (preferably oven-safe ones). I ended up selecting a variety of random beads and metal findings, but you could also incorporate other objects from around your home (like bolts, stranded jewelry pieces, etc) as well. It will be easier if all of your objects are oven safe, but if not, you can make do with glue.

Roll out some of your clay and check out what impressions your objects make to make sure you’ll like the final product. I didn’t end up using all the objects I grabbed since some of them didn’t make a very good impression.

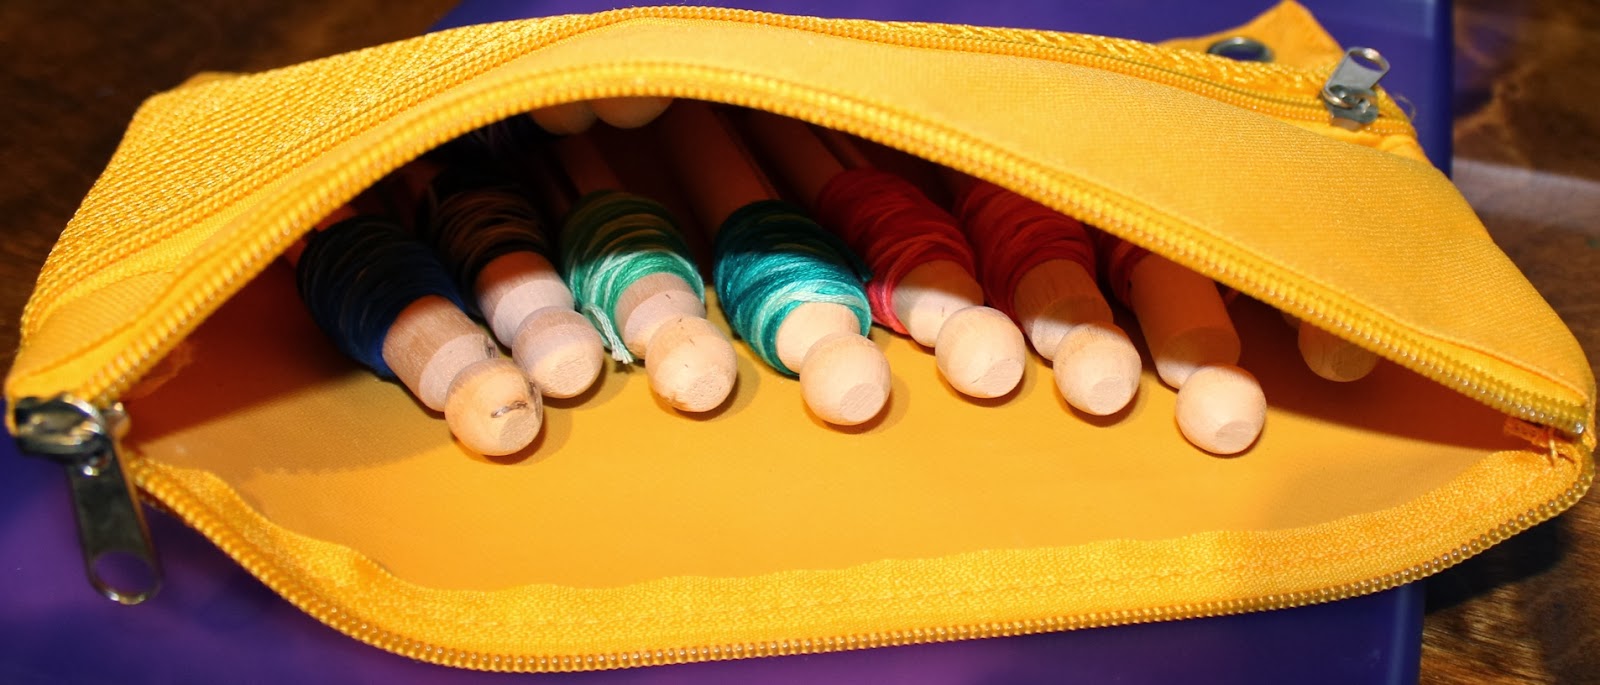
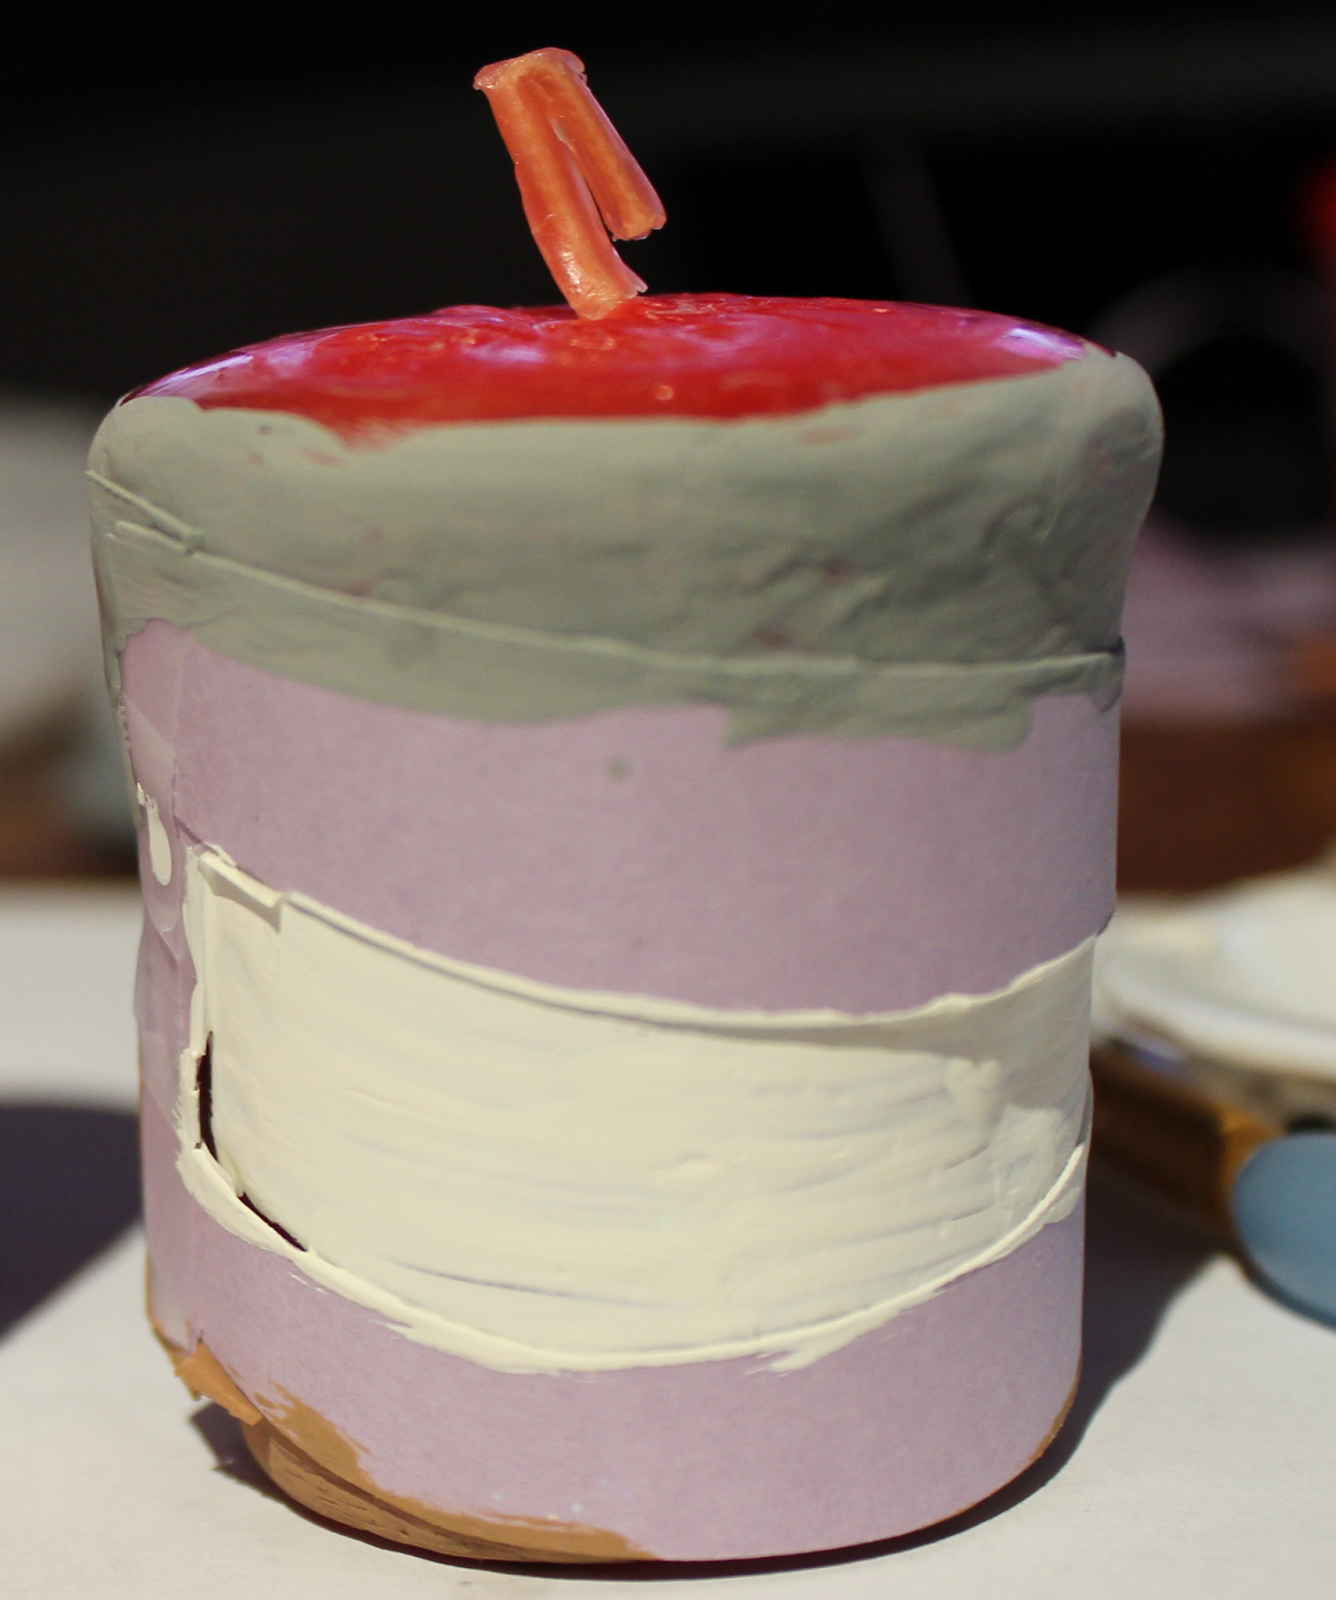
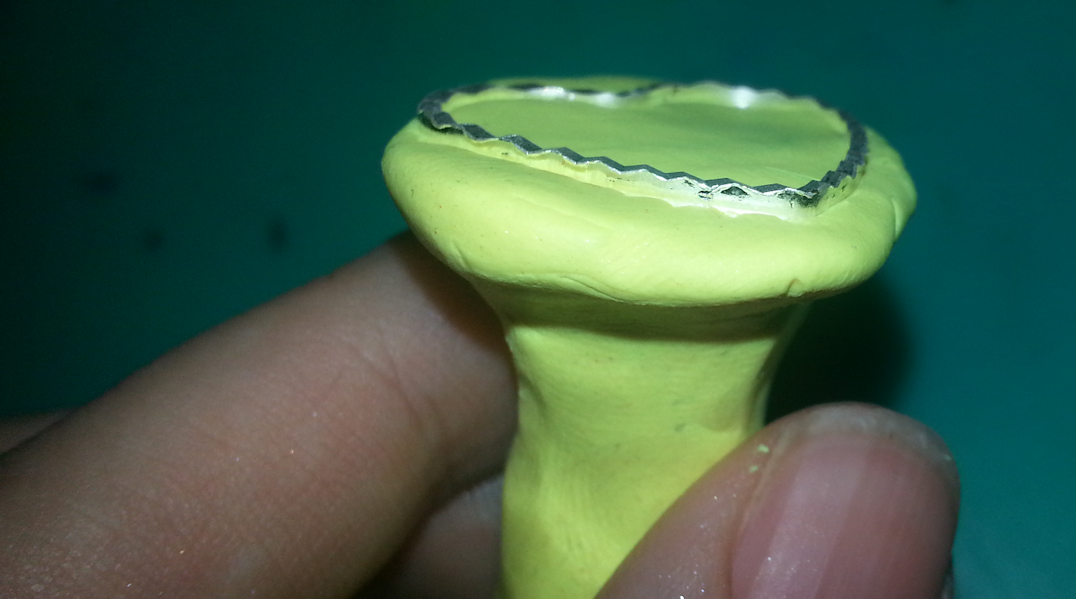
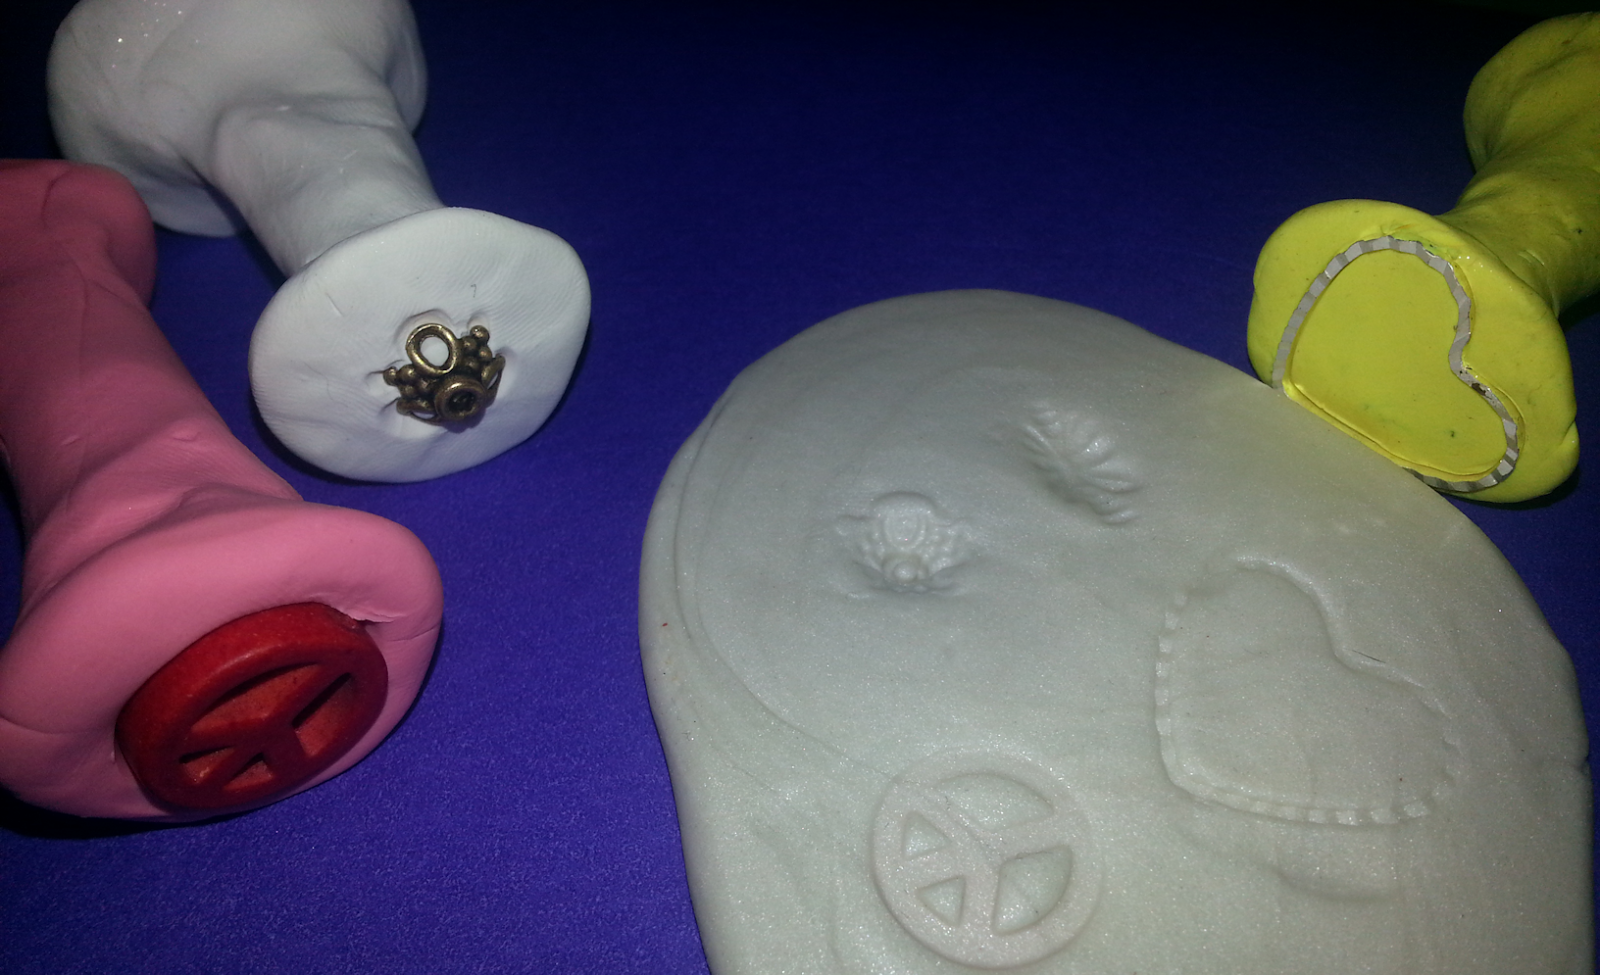
Roll the clay into a handle shape that works well for you, then gently push your objects into the end caps. Aside from the large blue tool I made, the rest of mine were double-ended to maximize my clay real estate.

If any of the clay is not oven-safe (or you’re just not sure), remove them before sticking it in the oven. I baked mine at 275°F for 15 minutes, but check the instructions on your clay’s package in case yours differs!

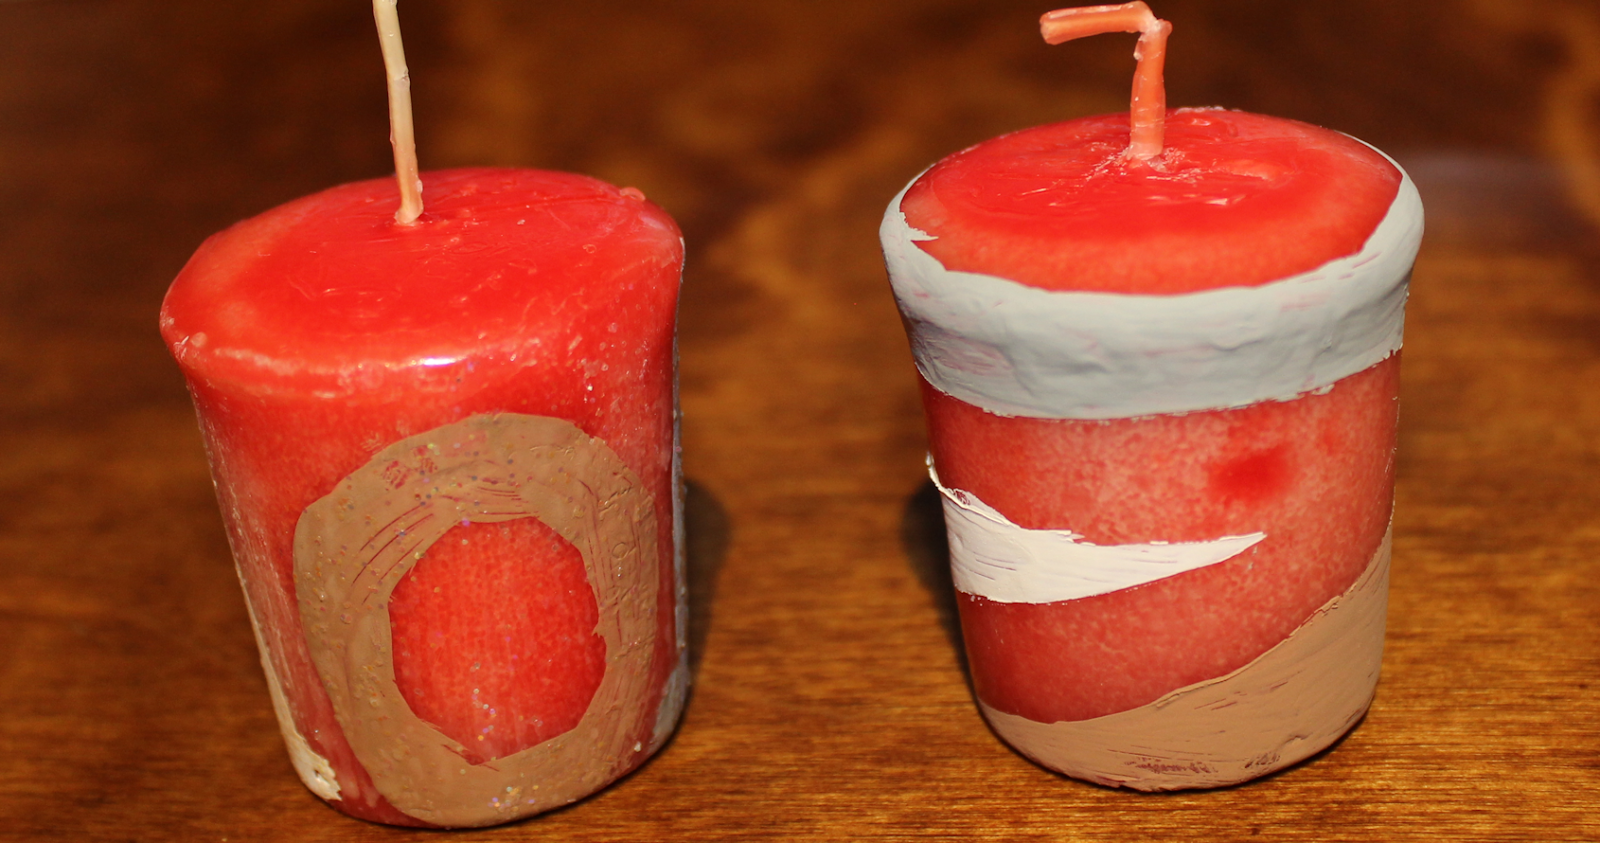
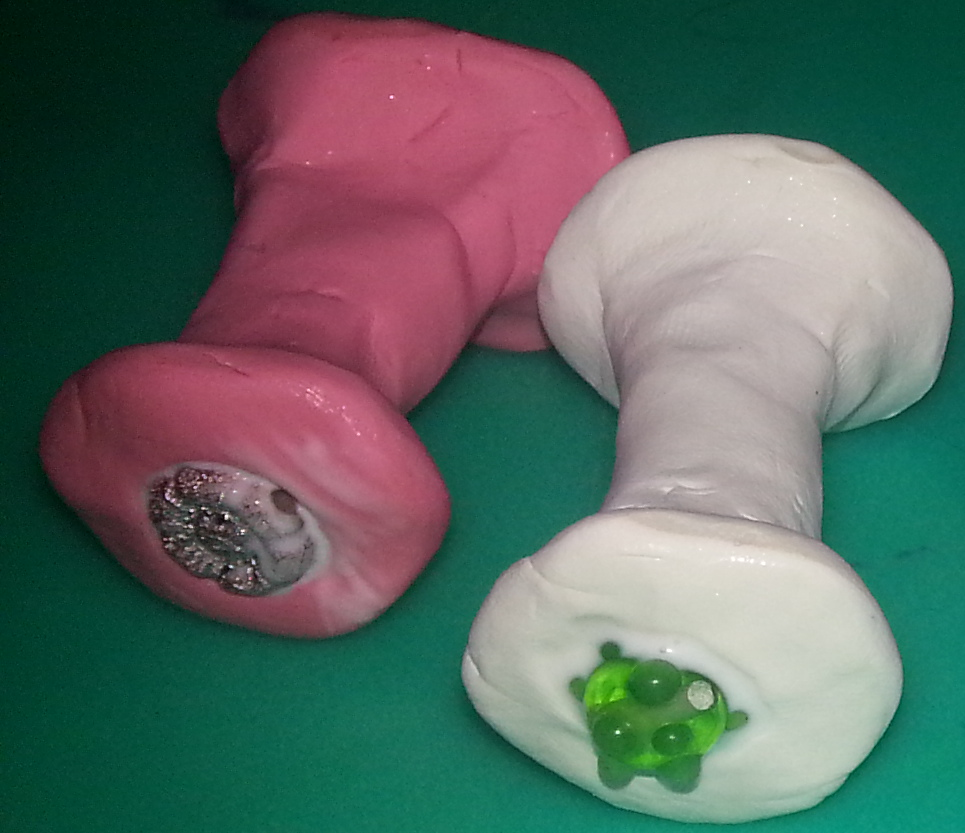
I guess you can’t really tell the difference, but here’s the ones I didn’t have to apply glue to after they cooled down from coming out of the oven.

Here’s a couple that needed glue. I didn’t have clay glue like PolymerClayWeb suggested so we’ll see how it’s working out when I get to put them all to the test next week.

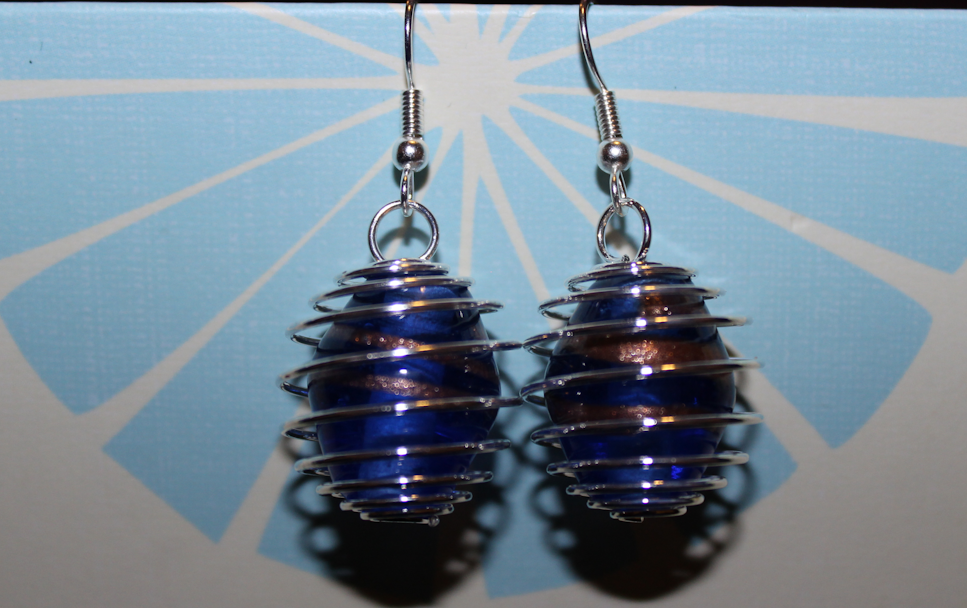
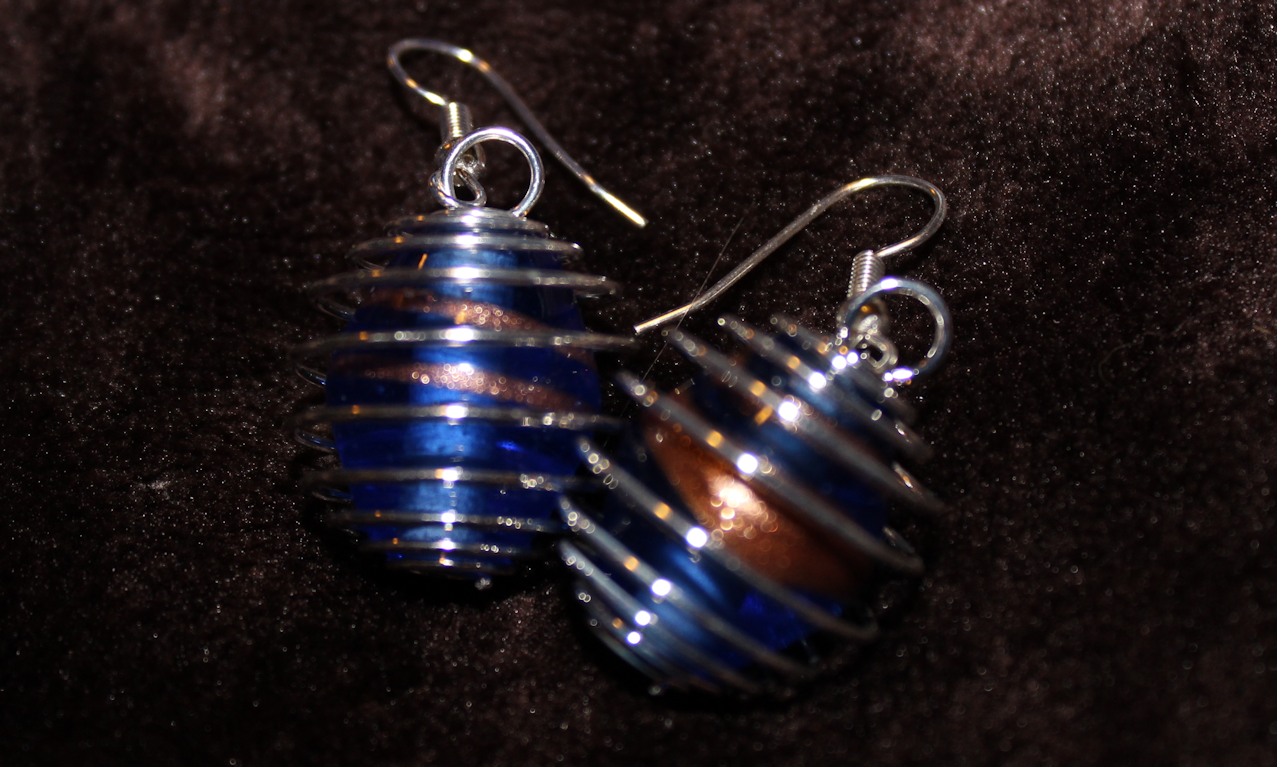
Then it was time to test out the non-glued ones! I think these will do quite nicely and am please with the results. 🙂

Tomorrow’s project should be Incense Cones. However, the “arctic freeze” or whatever that weather event is dubbed, has postponed all UPS deliveries for the past two days in my area, so I may not get the base ingredient in time. One way or the other, some project will be done!

Discovering 2014: Fabric Hair Bow

Discovering 2014 is a personal goal to complete a daily project every day throughout the year!

 
My day six project is a Fabric Hair Bow. The idea was inspired by this pin I found last year on Pinterest, though I think that bow has more ribbon than fabric in it.

I’m not a seamstress–I don’t even know how to operate a sewing machine. I had a box of fabric scraps I took off my sister-in-law’s hands last summer “just in case” I needed them for a project. This morning I weeded through them and found some suitable candidates to make a hair bow with.

I knew I wasn’t going to have enough time to make bows with all of the above options today, so I just chose six pieces of the green/purple chunks to use for this project. I also grabbed a piece of sheer purple ribbon my daughter had left over from a headband kit to add a bit of variety. My other supplies included a hot glue gun, a covered hair clip, sewing thread and needle, a clamp (optional but helpful), and a button.

I used the clamp to hold my needle and cut up the ribbon and fabric scraps, pushing them one-by-one onto the needle. This is the same thing I do when I make my korker bows; it’s a bit less stressful on the hands.

After I removed it from the clamp, I did a simply cross-stitch (which is about the extent of my sewing skills) and knotted it off.

I then hot glued my bow to a covered hair clip and glued on a button as well. That was it! You could also apply some light dabs of fray check if you would like, or add in more ribbon, or maybe even other baubles you have laying around to jazz it up.

I had my daughter try on the bow…

… and my son refused to be shown up!

That’s it for today! Come back tomorrow when we try our hand at making some Clay Texture Tools!