Discovering 2014: Sugar Sprinkles Cookies

.Discovering 2014 is a personal goal to complete a daily project throughout the year!

Today’s project was Sugar Sprinkles Cookies. Yes, these are just sugar cookies with sprinkles on them, but hey, I’ve never made homemade sugar cookies before (the husband normally does the baking) so it’s a first for me!

The recipe from Averie Cooks was spot-on and the only problem I had was having to lengthen my cook times, but I think that’s because I made my cookies larger than they did. Especially the giant cookies.

WHAT?! GIANT COOKIES?? Well, check out my pictures of the creation process!

During the butter/sugar creaming process.
After the butter and sugar were creamed well.
Mixing in the vanilla extract and egg.
After mixing in the flour, baking powder and salt.
Sprinkles! Pre-mixing.
Sprinkles, mixed in!
Packed up for the fridge.

Several hours later…

On the baking pan, before smushing them flatter.
GIANT COOKIES! This is what I did after baking two trays.
Cookie with some Whipped Cream Frosting from yesterday. Taste = awesome.
The baked giant cookies, before my children ate them.

I ended up with 16 normal cookies and 3 giant cookies.

Tomorrow’s project is a Love Pendant!

Discovering 2014: Whipped Cream Frosting

Discovering 2014 is a personal goal to complete a daily project throughout the year!

Today’s project was Whipped Cream Frosting. I followed this recipe from Key Ingredient exactly and it turned out beautifully. The only difference was that mine yielded 4.5 cups instead of 5 cups… and I swear I didn’t eat 1/2 cup! 😉 Whenever I do this again in the future I’ll have to try out other flavors (update using cinnamon here!).

This would be great to use as a fruit dip, on graham crackers, as topping or on cookies. Pictures of the creation process are below!

Cream cheese, sugar and the two extracts, prior to mixing.
I forgot to get a pic of this mixed before adding the cream, sorry!
With one cup of heavy cream added. You can still see the texture of the
cream cheese mixing process on the paddle a bit.
After adding the second cup of heavy cream.
A bit blurry, but this is when it really started to thicken up.
At this point it was nice and whipped (and tasty)!
All finished and in a container!
Have I mentioned that it’s tasty yet?

Tomorrow’s project is Sugar Sprinkles Cookies!

Discovering 2014: Homemade Cheez-Its

Discovering 2014 is a personal goal to complete a daily project throughout the year!

Today’s project was Homemade Cheez-Its, which used a recipe blogged by Shopgirl. Take note that she uses “tsp” for tablespoon instead of “tbsp”, which may save you some confusion when it comes to the water.

The only differences I made was using an 8-oz bag of pre-shredded mild cheddar cheese and needing 5 tbsp of water instead of the 3-4 she noted. I also didn’t have a fluted pastry cutter, so we used a pizza cutter. Since I used our convection oven, the cook time was about 3-5 minutes more than her max of 10 minutes.

While I wouldn’t say it’s an exact replica of Cheez-Its, they are definitely tasty (and have my kids’ stamp of approval) and are similar in flavor. Check out my pictures below taken during the creation process.

After mixing the shredded cheese, butter, and half the salt.
Mixing in the flour.
My dough after five tablespoons of ice water.
Ready for refrigeration!
The husband helped with the rolling and cutting of the squares.
On the pan before going in the oven.
IMPORTANT: Use parchment paper here, not wax paper!
The final product! I over-salted them a bit, but they are so good.
I finally had to shoo the kids out and put them away to stop nomming.

Tomorrow’s project is Bubble Wands!

Discovering 2014: Italian Lemon Drop Cookies

Discovering 2014 is a personal goal to complete a daily project throughout the year!

Today’s project was Italian Lemon Drop Cookies, better known as Anginetti. I followed this recipe from Food.com exactly, and they turned out perfectly. Since I didn’t have to deviate from the recipe at all, I’m just going to simply share some pictures I took while working on them!

Most of the baking supplies.
The cookie dough fully mixed.
Scooped on the pan.. I made them a bit too thick, but that turned out okay.
The icing, which is AMAZING.. and so easy to make.
Finished Anginetti, complete with some edible glitter.
Nom nom nom.

My youngest child came to ask for a second cookie right after finishing the first. I told him that I was glad he liked them, but we shouldn’t eat them all in one night. He replied “I didn’t like them, mom. I LOVED them.” That’s a kid seal of approval, I think!

Tomorrow’s project is Bubble Wands!

Discovering 2014: Edible Glitter

Discovering 2014 is a personal goal to complete a daily project throughout the year!

Today’s project was Edible Glitter (homemade sprinkles), which came from this pin by She Knows. I honestly used more suggestions from the comments than from the original directions in the article, and it came out wonderfully that way.

Here’s a VERY important thing to remember with this project: do NOT use wax paper! It could start a fire. Make sure you’re using parchment paper in your oven.

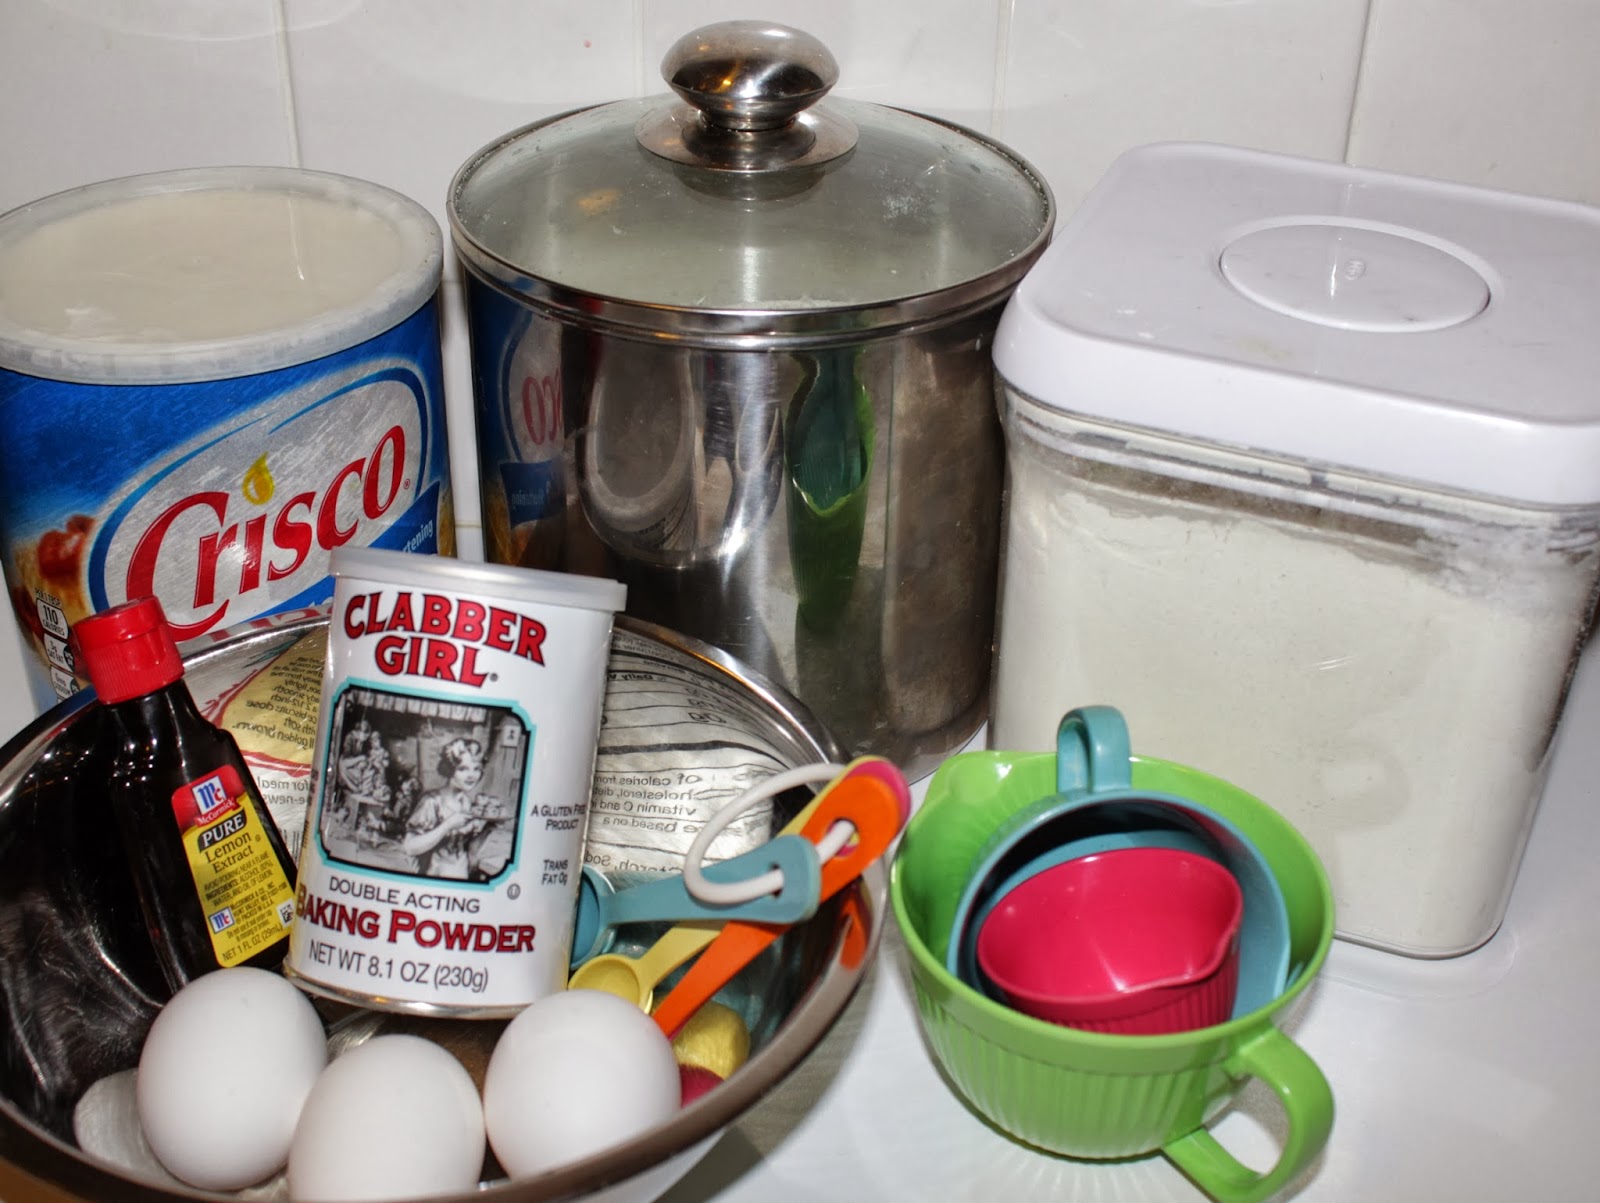
I got four smaller bowls, sugar, measuring cup, baking pan, food coloring, parchment paper, and grapefruit spoons (though I’m sure any spoon would work). The oven should be pre-heated to 310°F (which is 285°F in a convection oven).

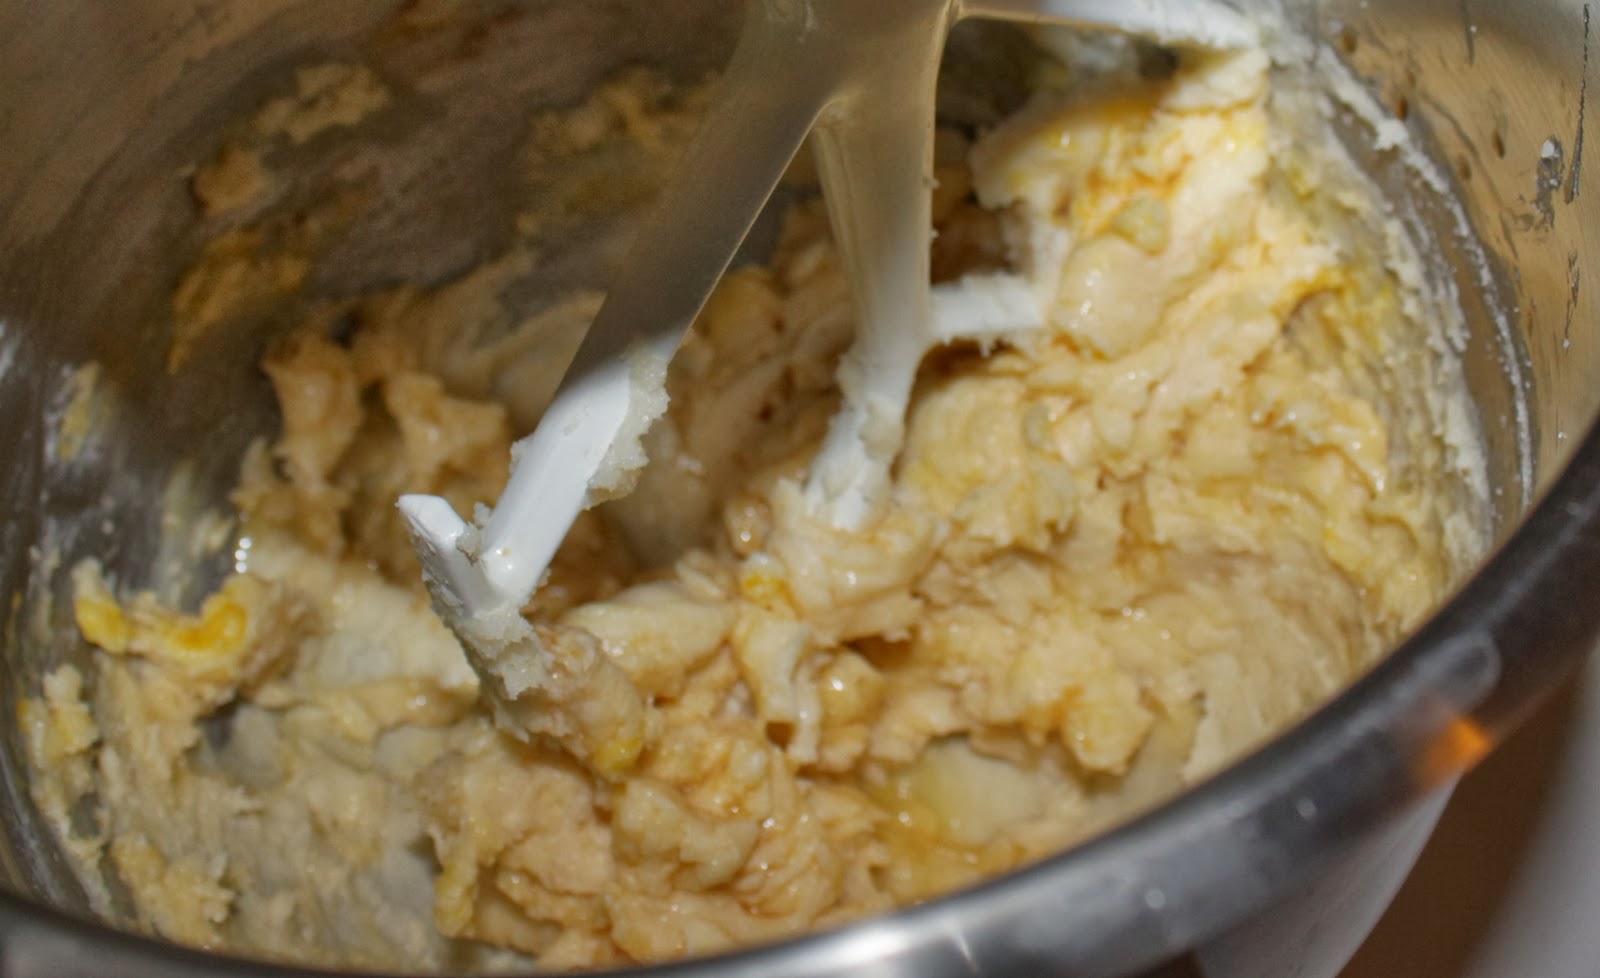
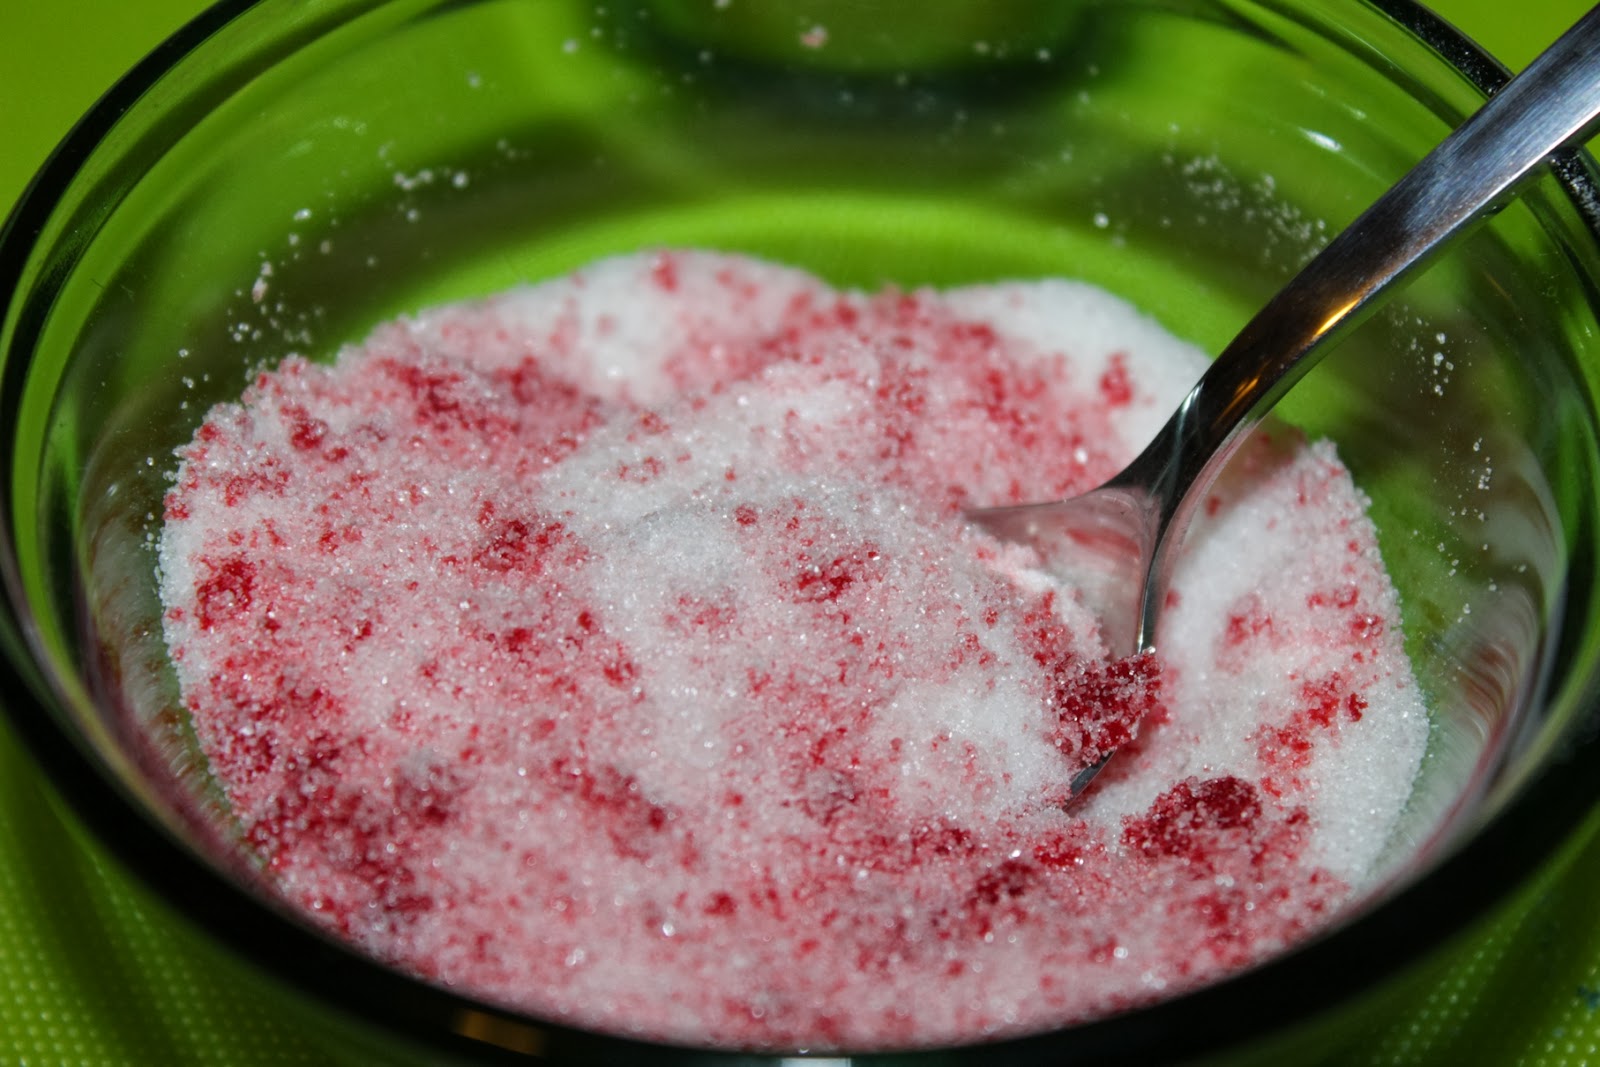
Since the bowls I used were pretty small, I only used 1/4 cup of sugar in each. Then I put in a few drops of food coloring. 4-6 drops should be plenty. If you’re doing multiple bowls, make sure you do only one at a time, so the food coloring doesn’t dry up in the ones you’re not working on.

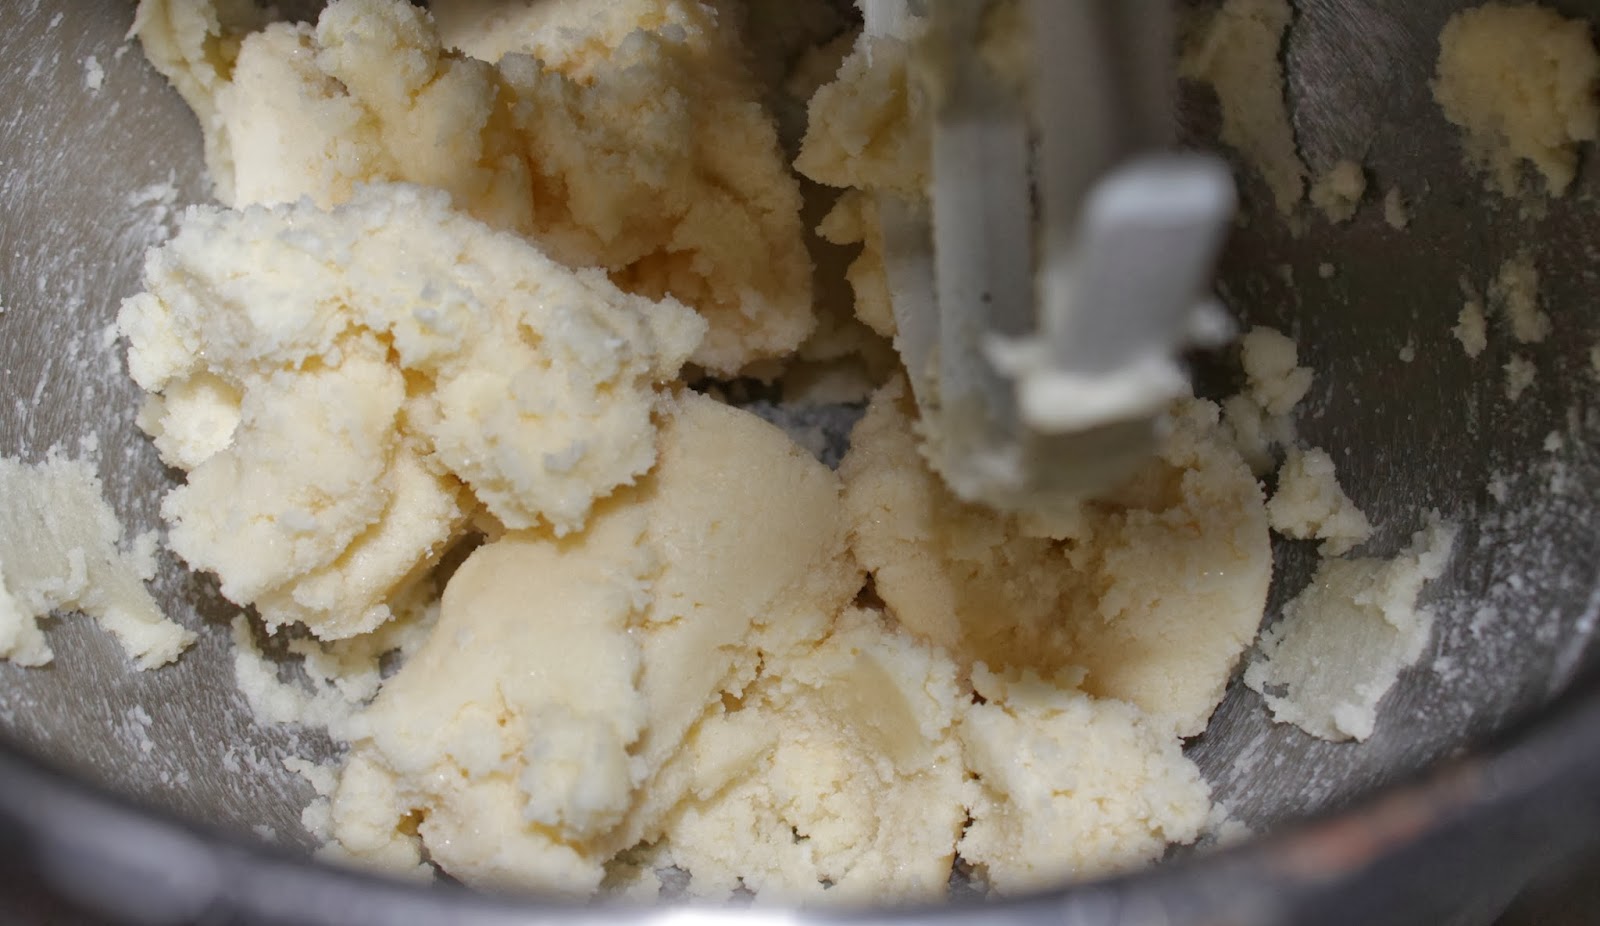
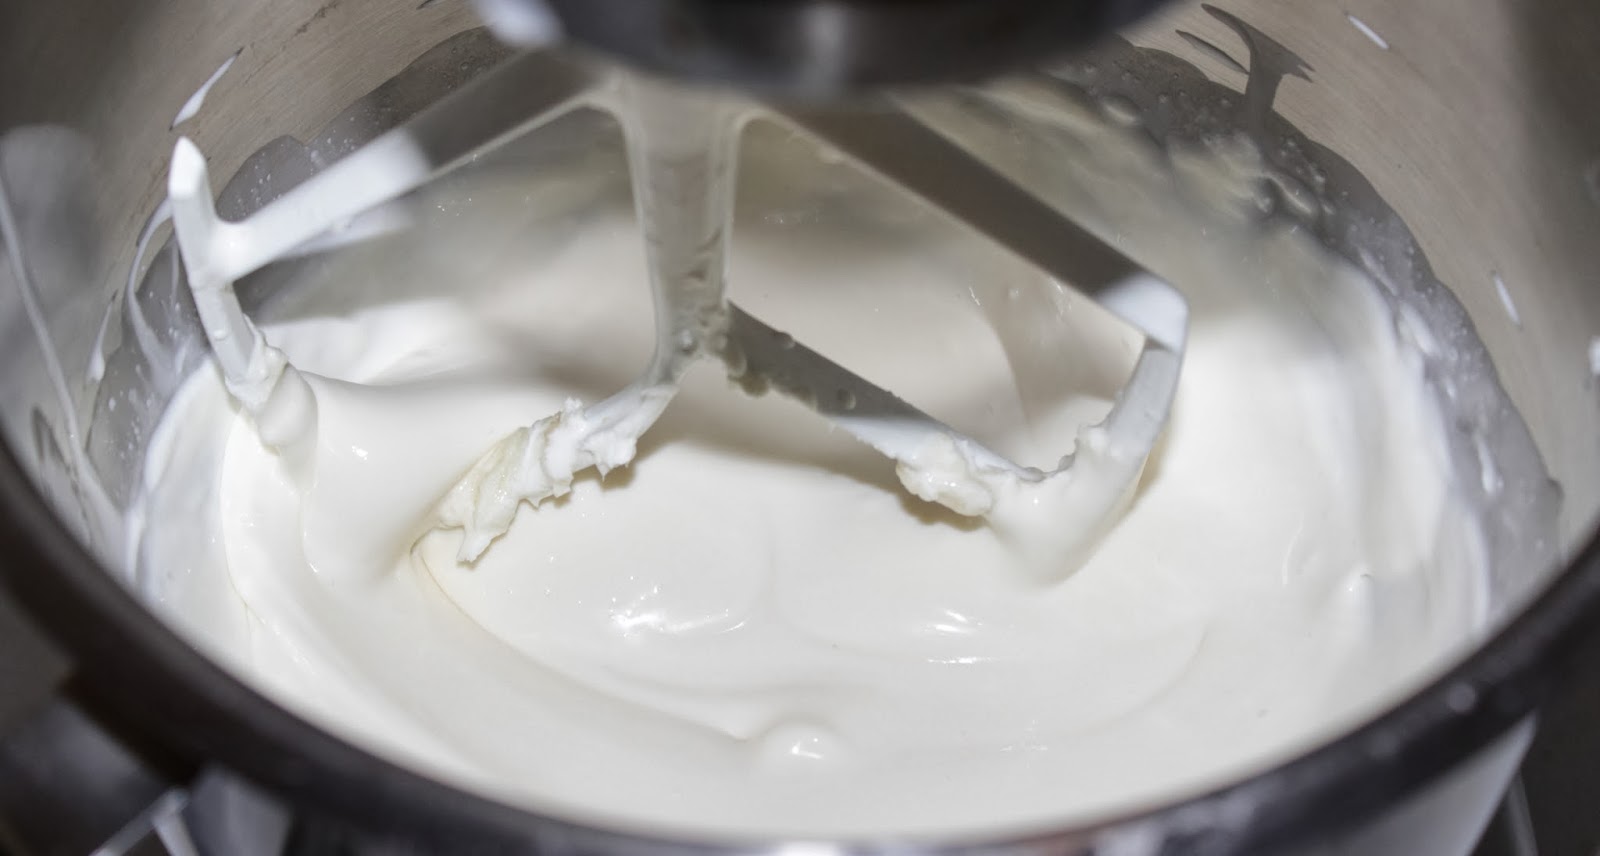
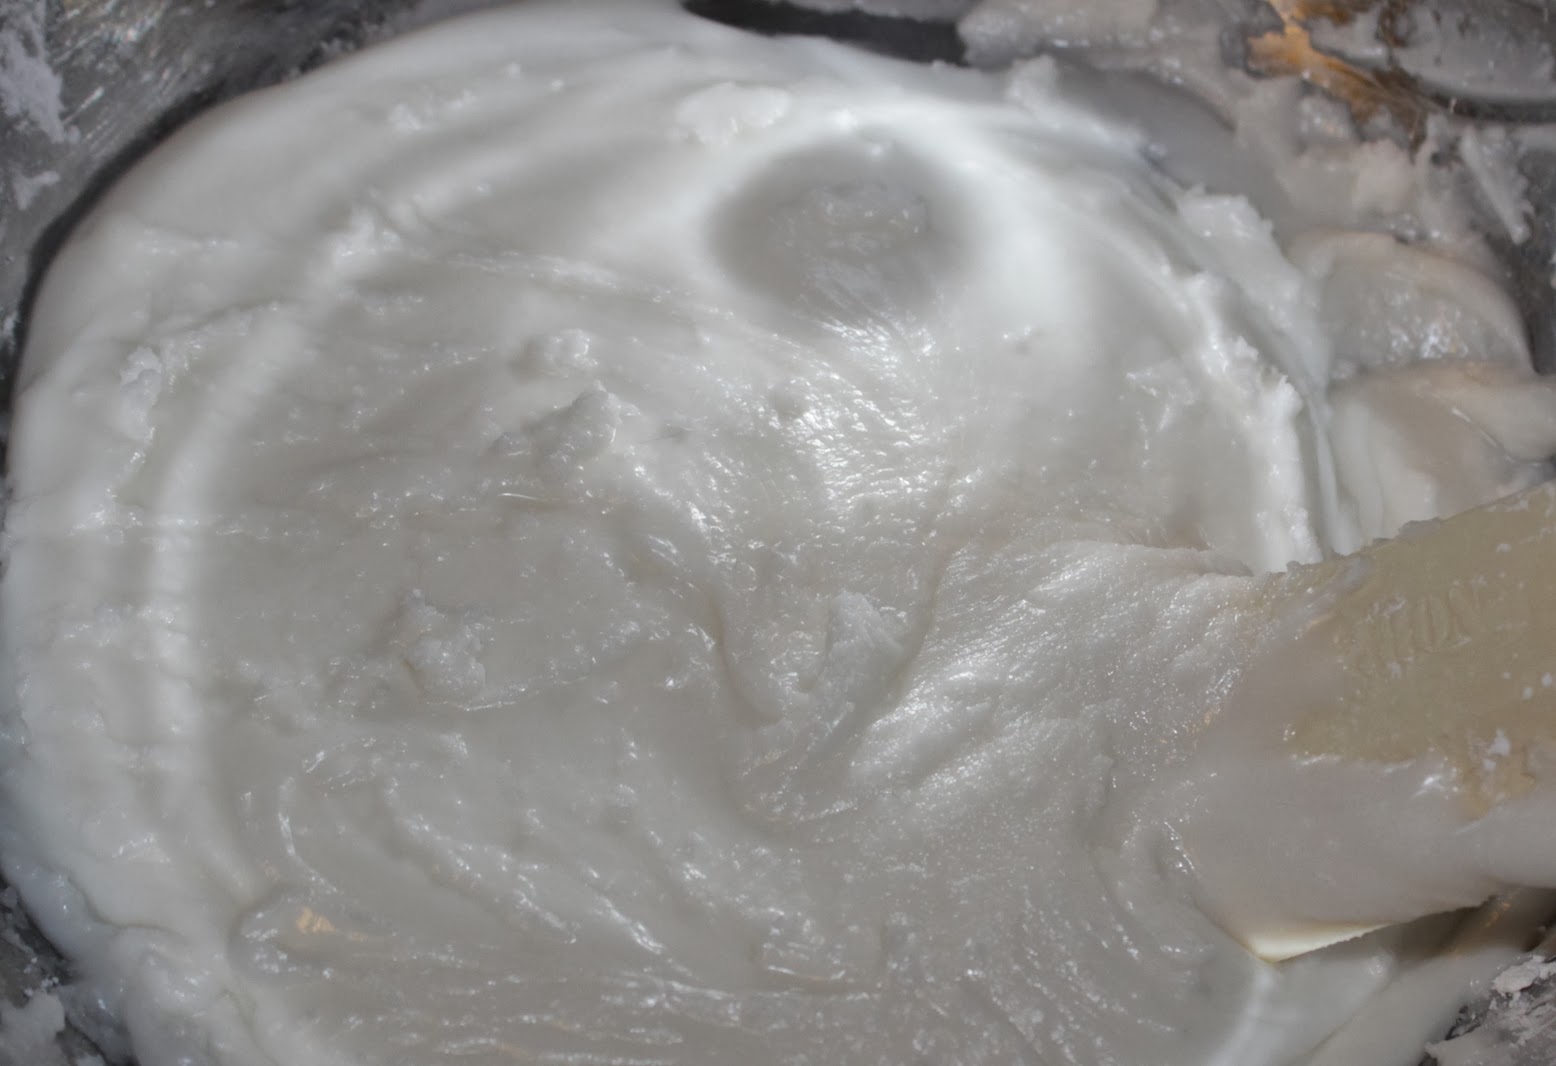
At first it will clump (like above), but just mush it down and mix, mush and mix, mush and mix.

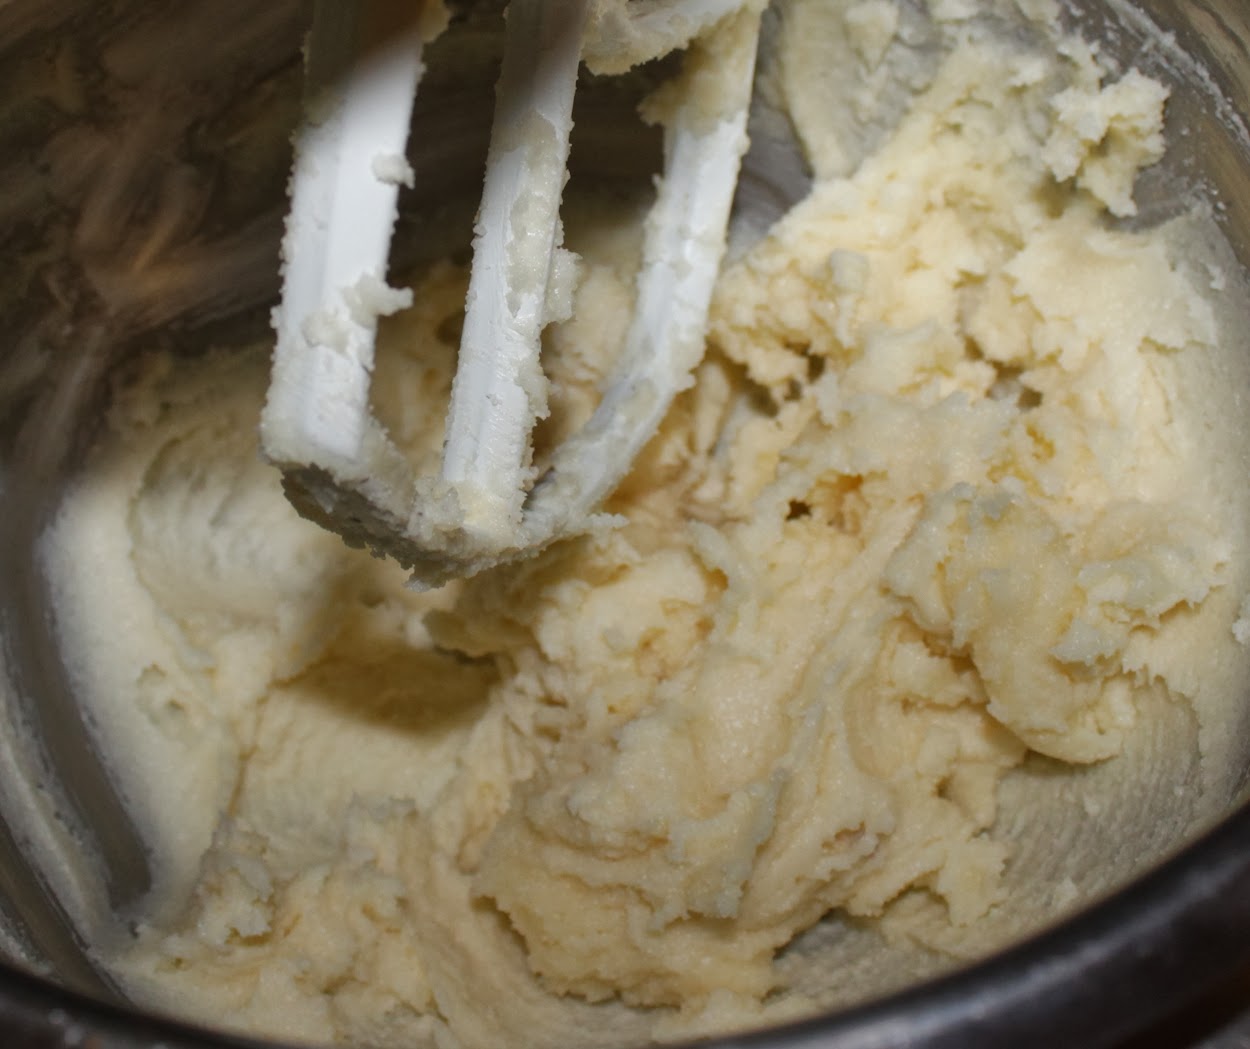
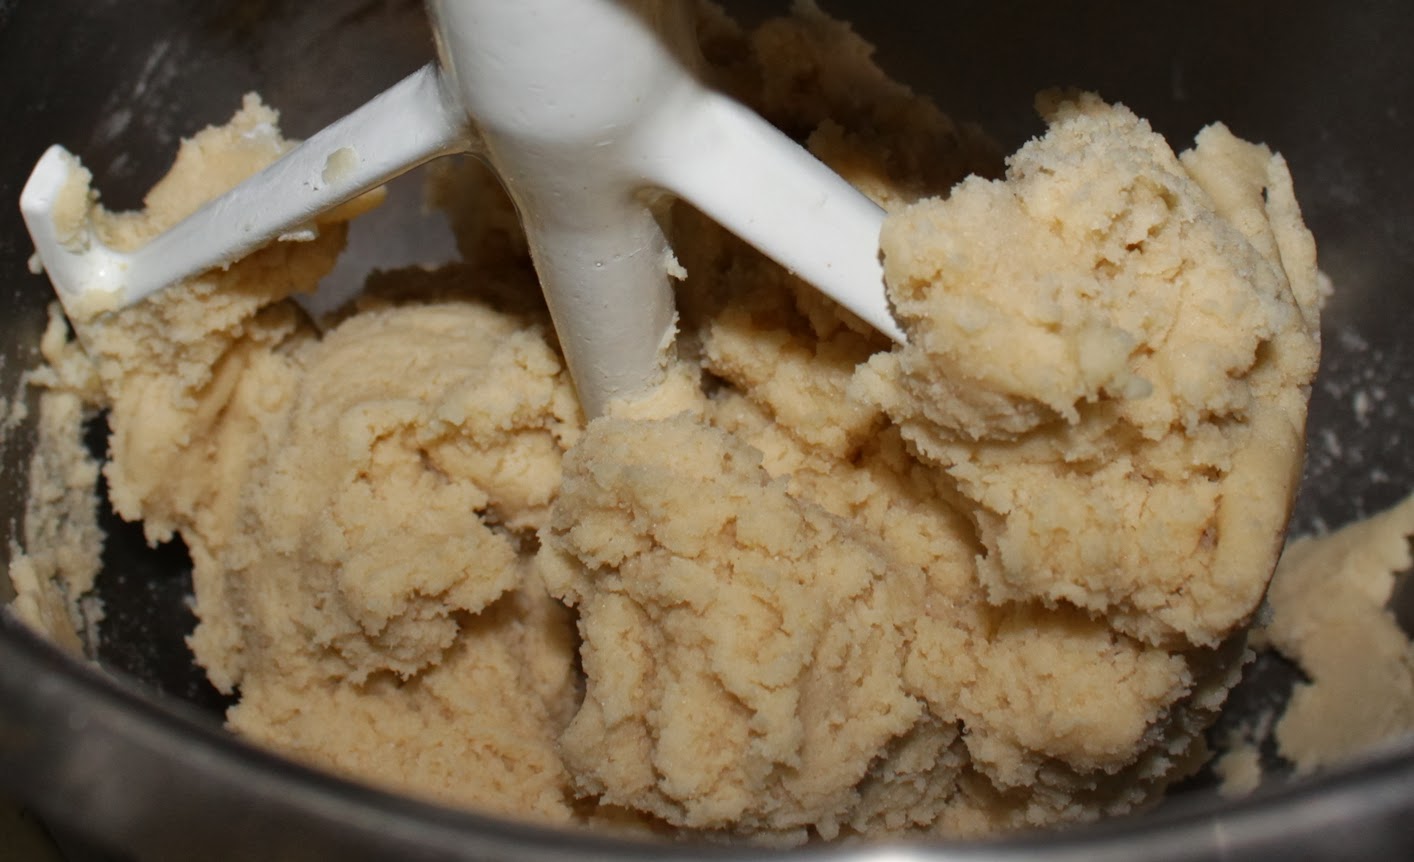
Keep doing this until you think you’ve mixed it as thoroughly as you can.

Put the parchment paper (again, NOT wax paper!!) on your baking pan. I did two colors at a time, and thinly spread them out on the paper (give them a mix first to make sure they didn’t clumped from sitting in the bowl). In hindsight I should have pre-cut the paper in half (made it easier to get back in the bowl at the end), but once it cooled I was able to carefully cut it.

The cook times I saw were between 8-10 minutes. I tried both 8 minutes and 10 minutes and saw no difference. Whichever you choose, set a timer for the halfway point (either 4 or 5 minutes) and pull the pan out when it goes off. The sugar will have clumped up some; gently break it apart and then put it back in for the remainder of its cook time.

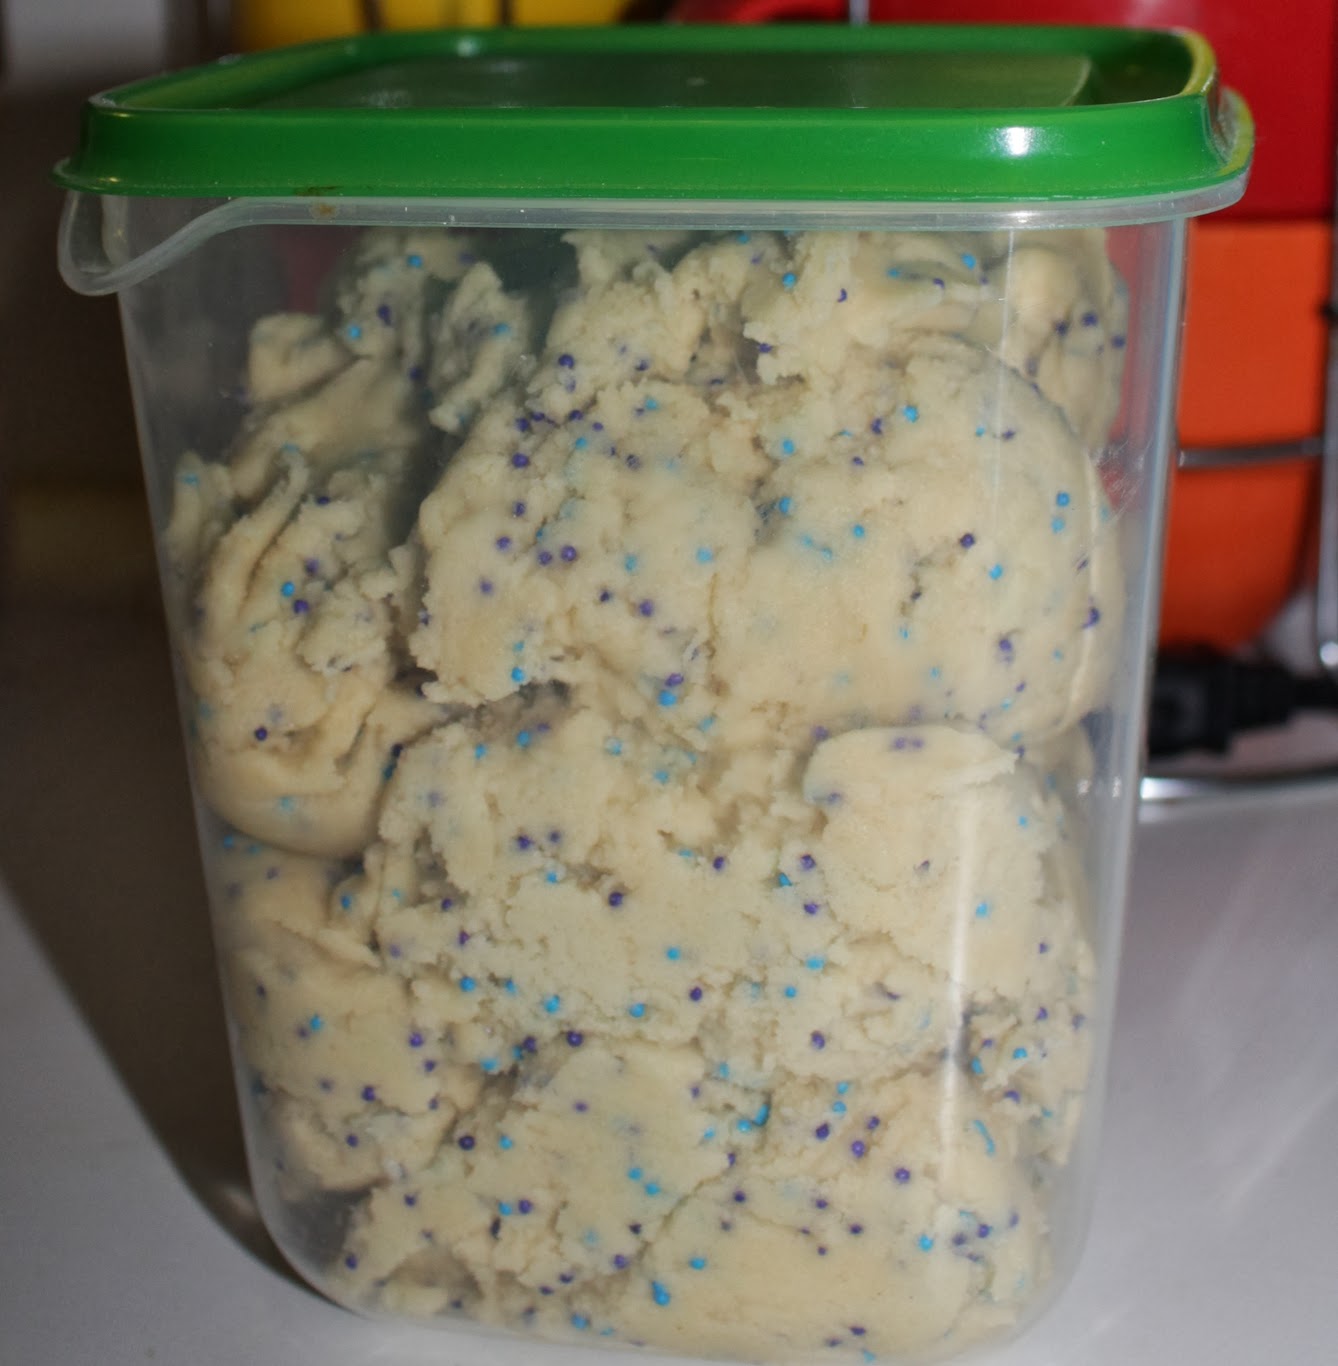
Once its done allow about 10-15 minutes of cooling before you store it. There shouldn’t be anymore clumps but it doesn’t hurt to try and break it up the best you can. Mine still had a few tiny clumps here and there but overall it looked very nice (and tasted like… sprinkles!).

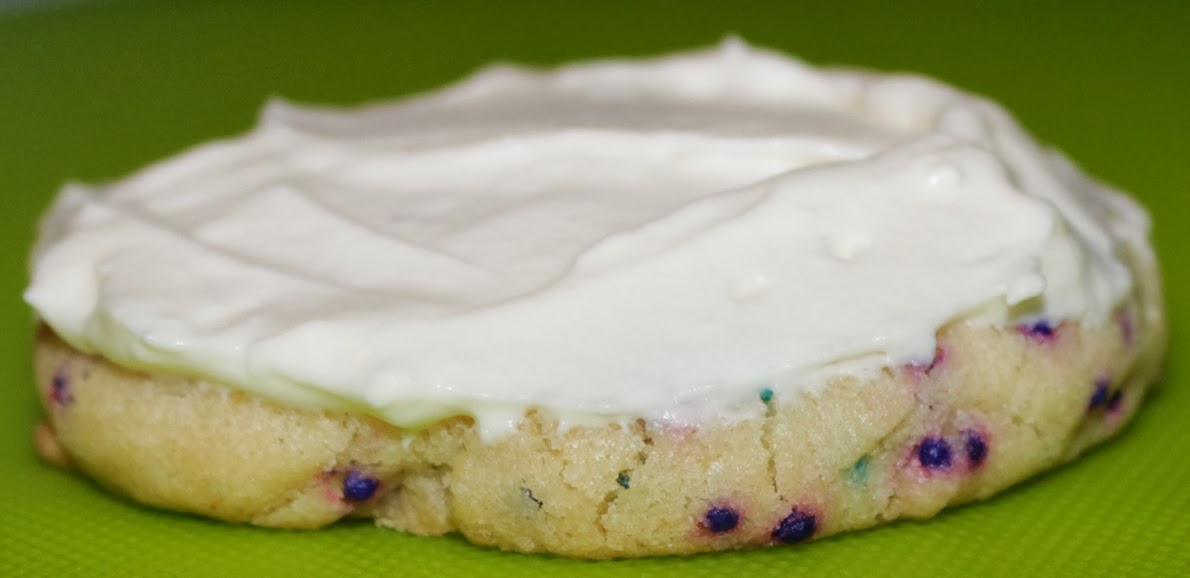
Tomorrow’s project is Italian Cookies. Gee, I wonder what sprinkles I could use on the icing? 🙂