Discovering 2014: Italian Lemon Drop Cookies

Discovering 2014 is a personal goal to complete a daily project throughout the year!

Today’s project was Italian Lemon Drop Cookies, better known as Anginetti. I followed this recipe from Food.com exactly, and they turned out perfectly. Since I didn’t have to deviate from the recipe at all, I’m just going to simply share some pictures I took while working on them!

Most of the baking supplies.
The cookie dough fully mixed.
Scooped on the pan.. I made them a bit too thick, but that turned out okay.
The icing, which is AMAZING.. and so easy to make.
Finished Anginetti, complete with some edible glitter.
Nom nom nom.

My youngest child came to ask for a second cookie right after finishing the first. I told him that I was glad he liked them, but we shouldn’t eat them all in one night. He replied “I didn’t like them, mom. I LOVED them.” That’s a kid seal of approval, I think!

Tomorrow’s project is Bubble Wands!

Discovering 2014: Embroidery Floss Tassels

Discovering 2014 is a personal goal to complete a daily project throughout the year!

My final project of January was Embroidery Floss Tassels! This is a very quick craft to do. 

Make some loops with your embroidery floss, and cut off a length to wrap close to the top. Once that’s tied off, snip the ends off on the longer half, fluff,  and you have a tassel!
The more loops you have the fuller it will be. Pictures are below! 

Discovering 2014: Crochet Stitch Markers

Discovering 2014 is a personal goal to complete a daily project throughout the year!

My day 27 project were Crochet Stitch Markers. A while back my mother-in-law (whose beautiful dishcloth is included in the picture above) had asked me to make her some, but not researching what in the world ones specifically for crochet would look like, the stitch markers I made weren’t able to be removed, and therefore became keychains. It’s past time to rectify that mistake, and that’s the heart of today’s project!

I checked Pinterest over the weekend and found a few different styles. The three major ones I found were leverback findings (similar variation here), curved wire findings, and safety pins. Of the three, I made stitch markers with leverback and curved wire findings. I also used some random chunkier beads I had, including the yellow owls shown in one of those linked pins, and a couple of wigjig wires that were abandoned.

The assembly is straight-forward, aside from curving the wire. To be honest, I just winged that part. It made them inconsistent, but they turned out alright. After trying out both types, I definitely like the leverbacks the best.

Tomorrow’s project is an Embroidery Floss Friendship Bracelet. It also begins the first project I’ll be doing while traveling. I will try my best to at least post a picture of the finished product!

I’ll be most active on my Twitter account (my real life/gaming one, not my crafting one) while I’m gone, so if you’re interested in seeing what’s up, follow me @Cyliena!

Discovering 2014: No-Sew Crayon Wrap

Discovering 2014 is a personal goal to complete a daily project throughout the year!

My day 25 project was a No-Sew Crayon Wrap. The project came from seeing this pin by Small + Friendly. Her full tutorial is quite excellent and should be able to help with making your own!

For differences: I didn’t have a disappearing ink pen, I didn’t stiffen the felt (though afterward I think it would have been better stiffened), and I used scissors more than my exacto knife. There wasn’t a size listed for the ribbon, but I estimated that it was 3/8″ grosgrain.

The crayon slots I made a bit too much off-center. They stay in fine but it feels a bit awkward. Next one I make I will focus more on precision.

Fitting the paper was easy enough, though I’m not certain how the felt will hold up long-term in an unstiffened state.

This was an easy and fun project. I think I may lay a piece of felt between the crayons and paper to prevent the crayons from marking the paper up while the wrap is closed. This would make a cool gift and would also be great for travel.

Tomorrow’s project is a Memory Wire Dangle Necklace!

Discovering 2014: Whipped Cream Dollops

Discovering 2014 is a personal goal to complete a daily project throughout the year!

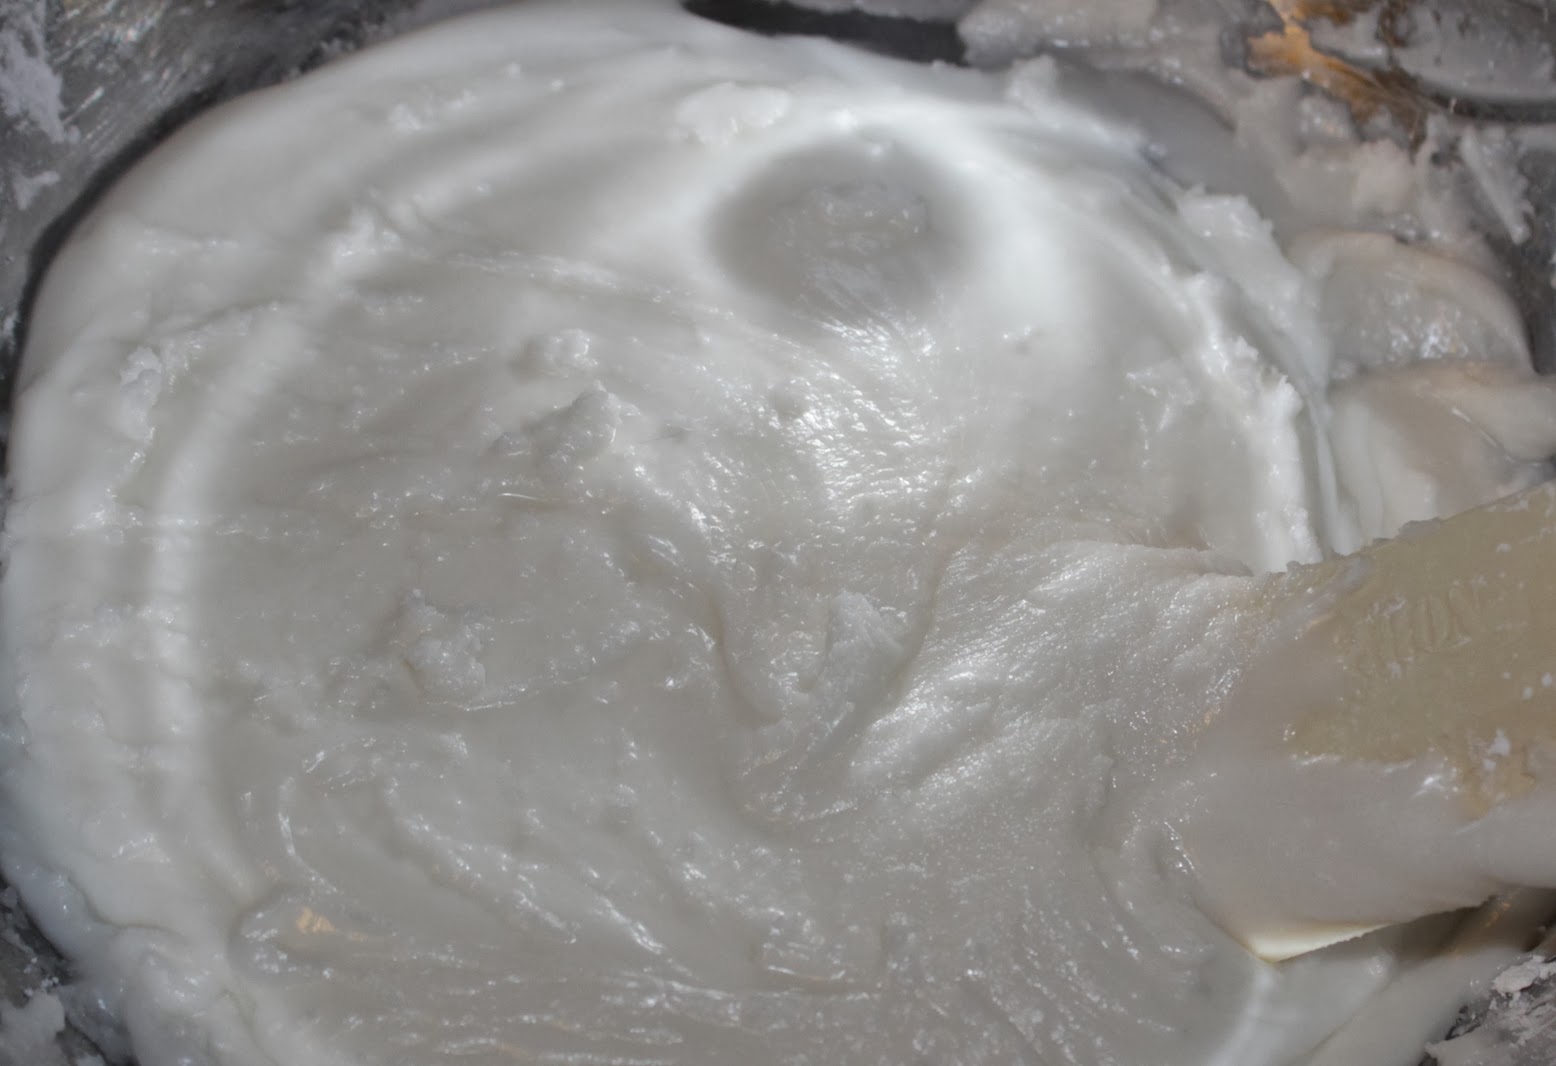
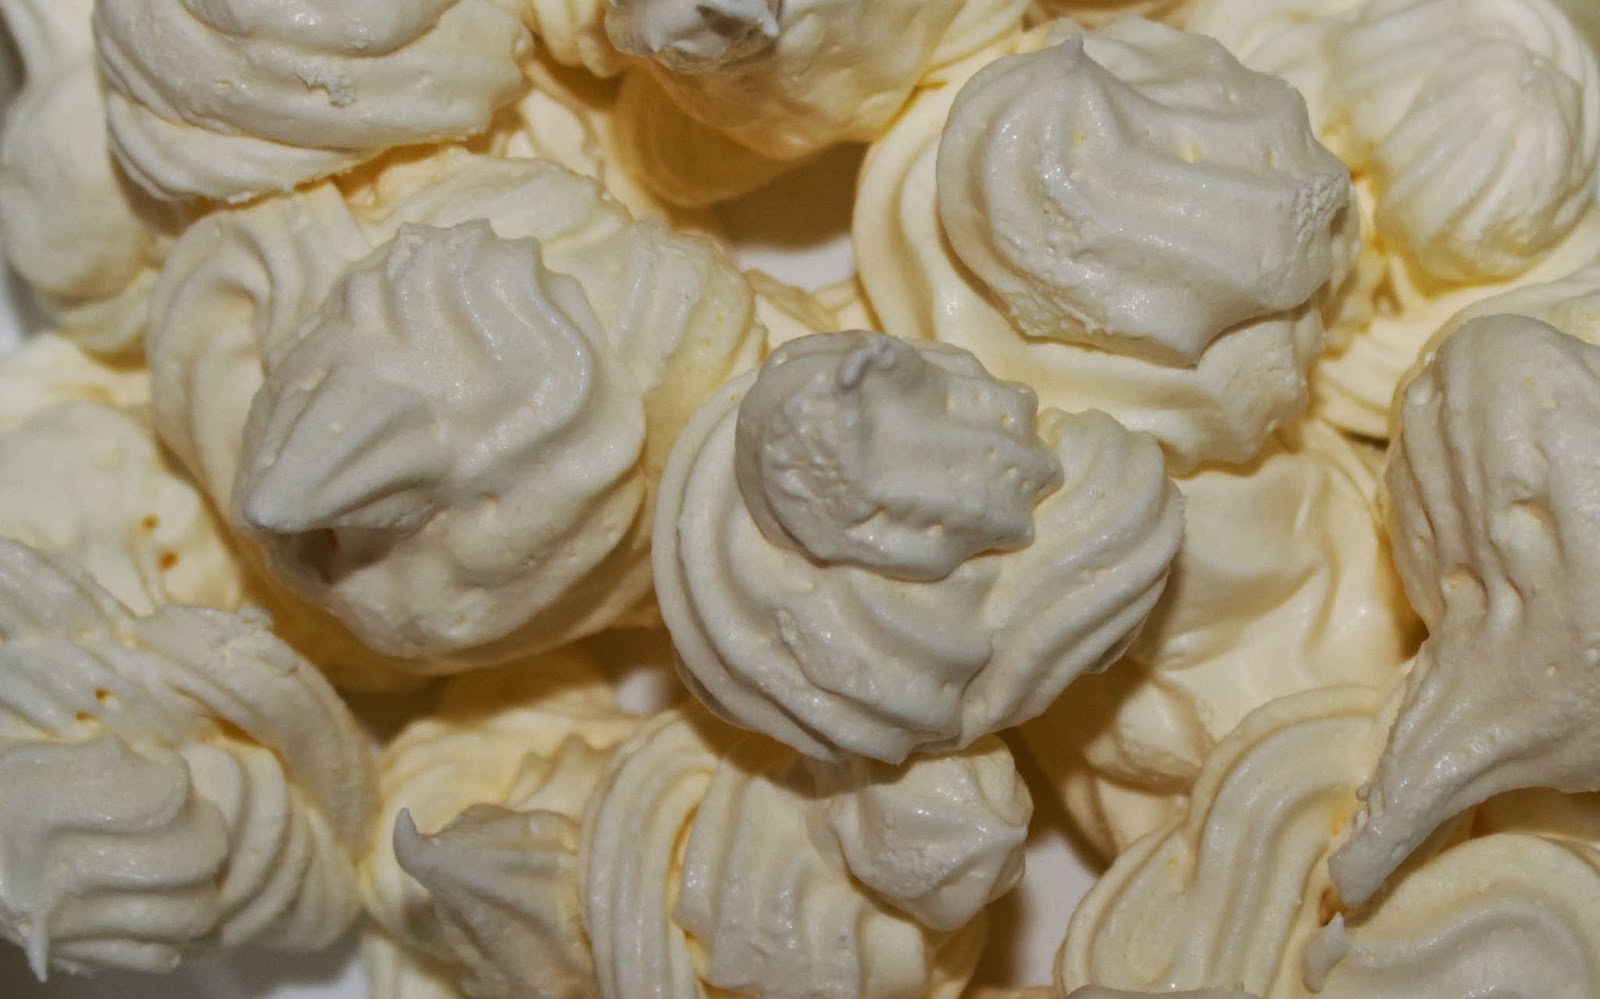
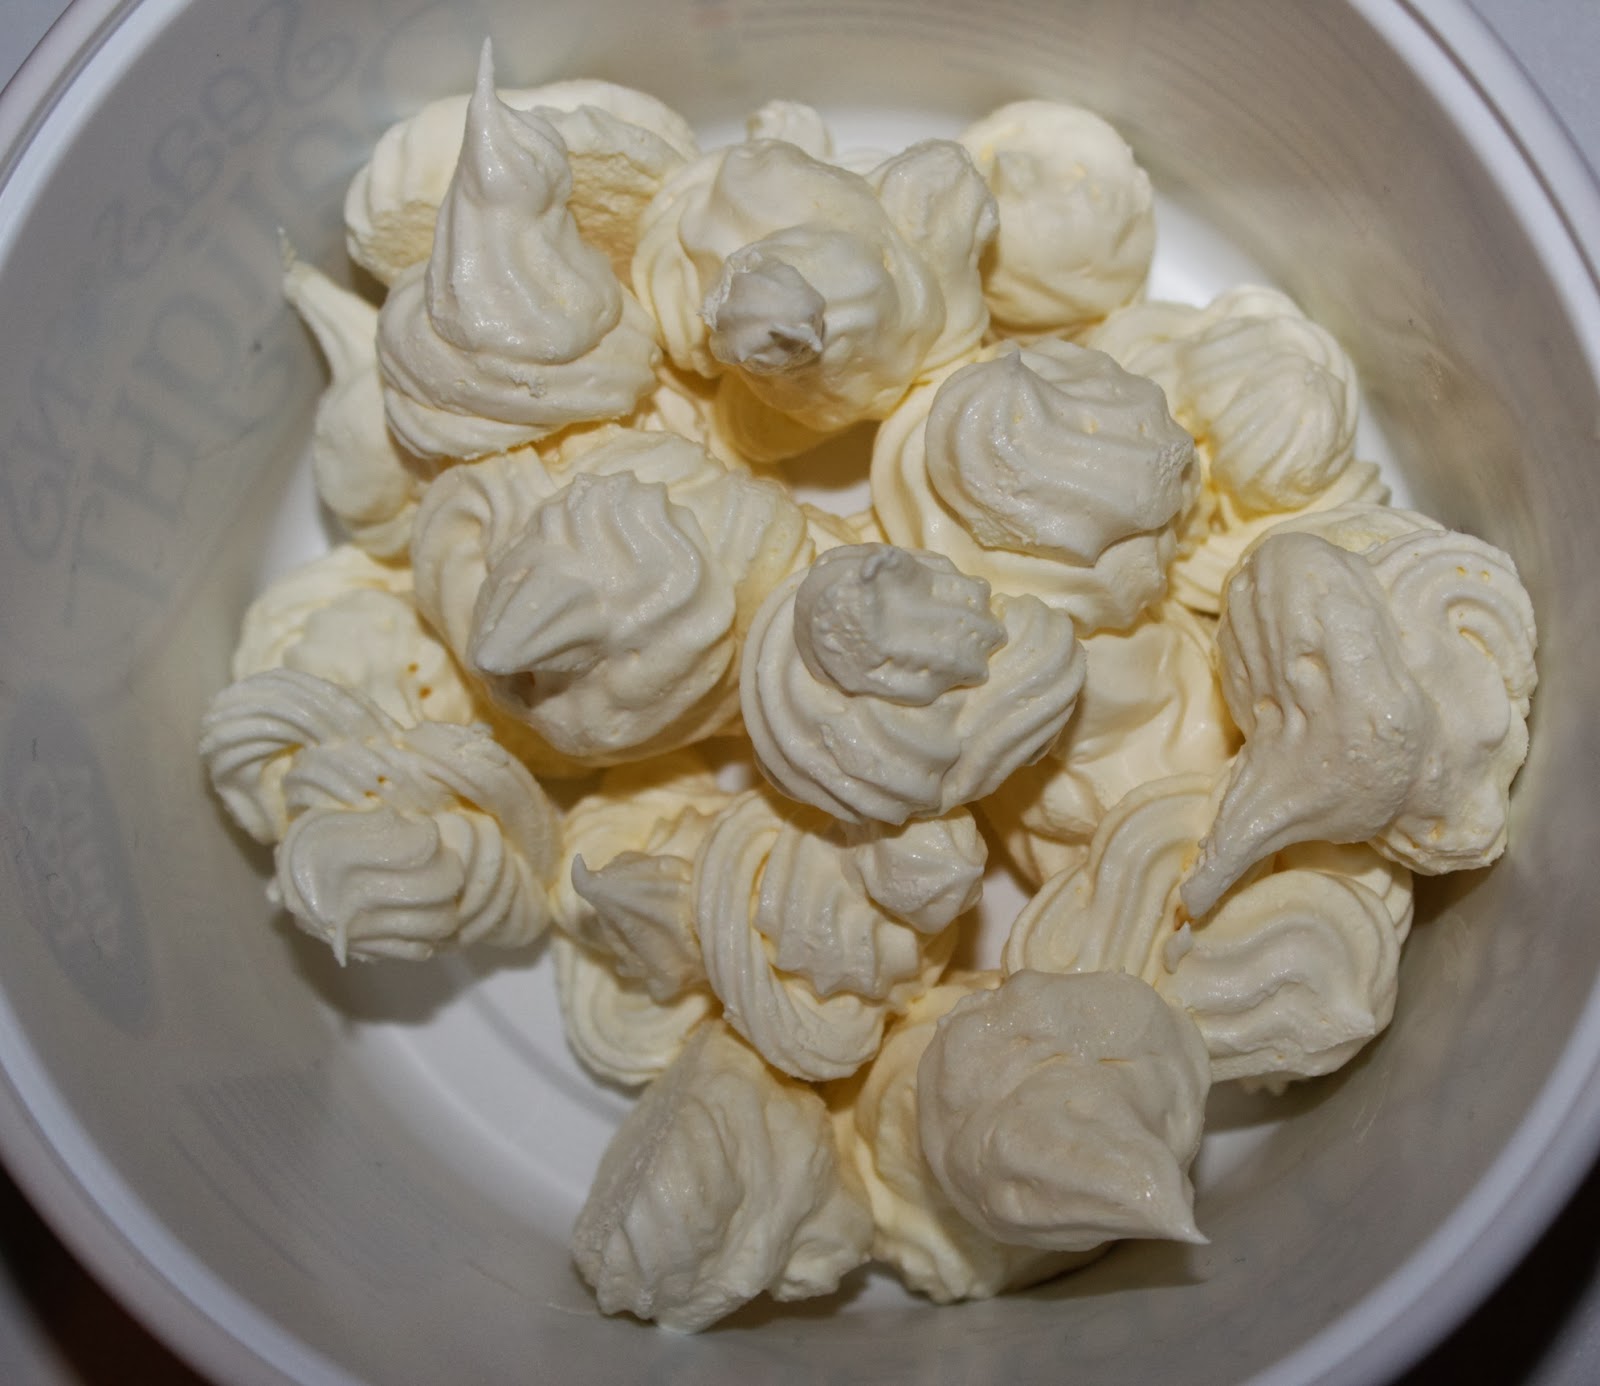
My day 19 project was Whipped Cream Dollops. This is one I actually started a few days ago to ensure everything was done in time. The idea came from this pin by The Creative Mama. Her dollops turned out much nicer in appearance than mine (it was only my second time using a icing bag) and she made the whipped cream from scratch, but the end result is the same. =)

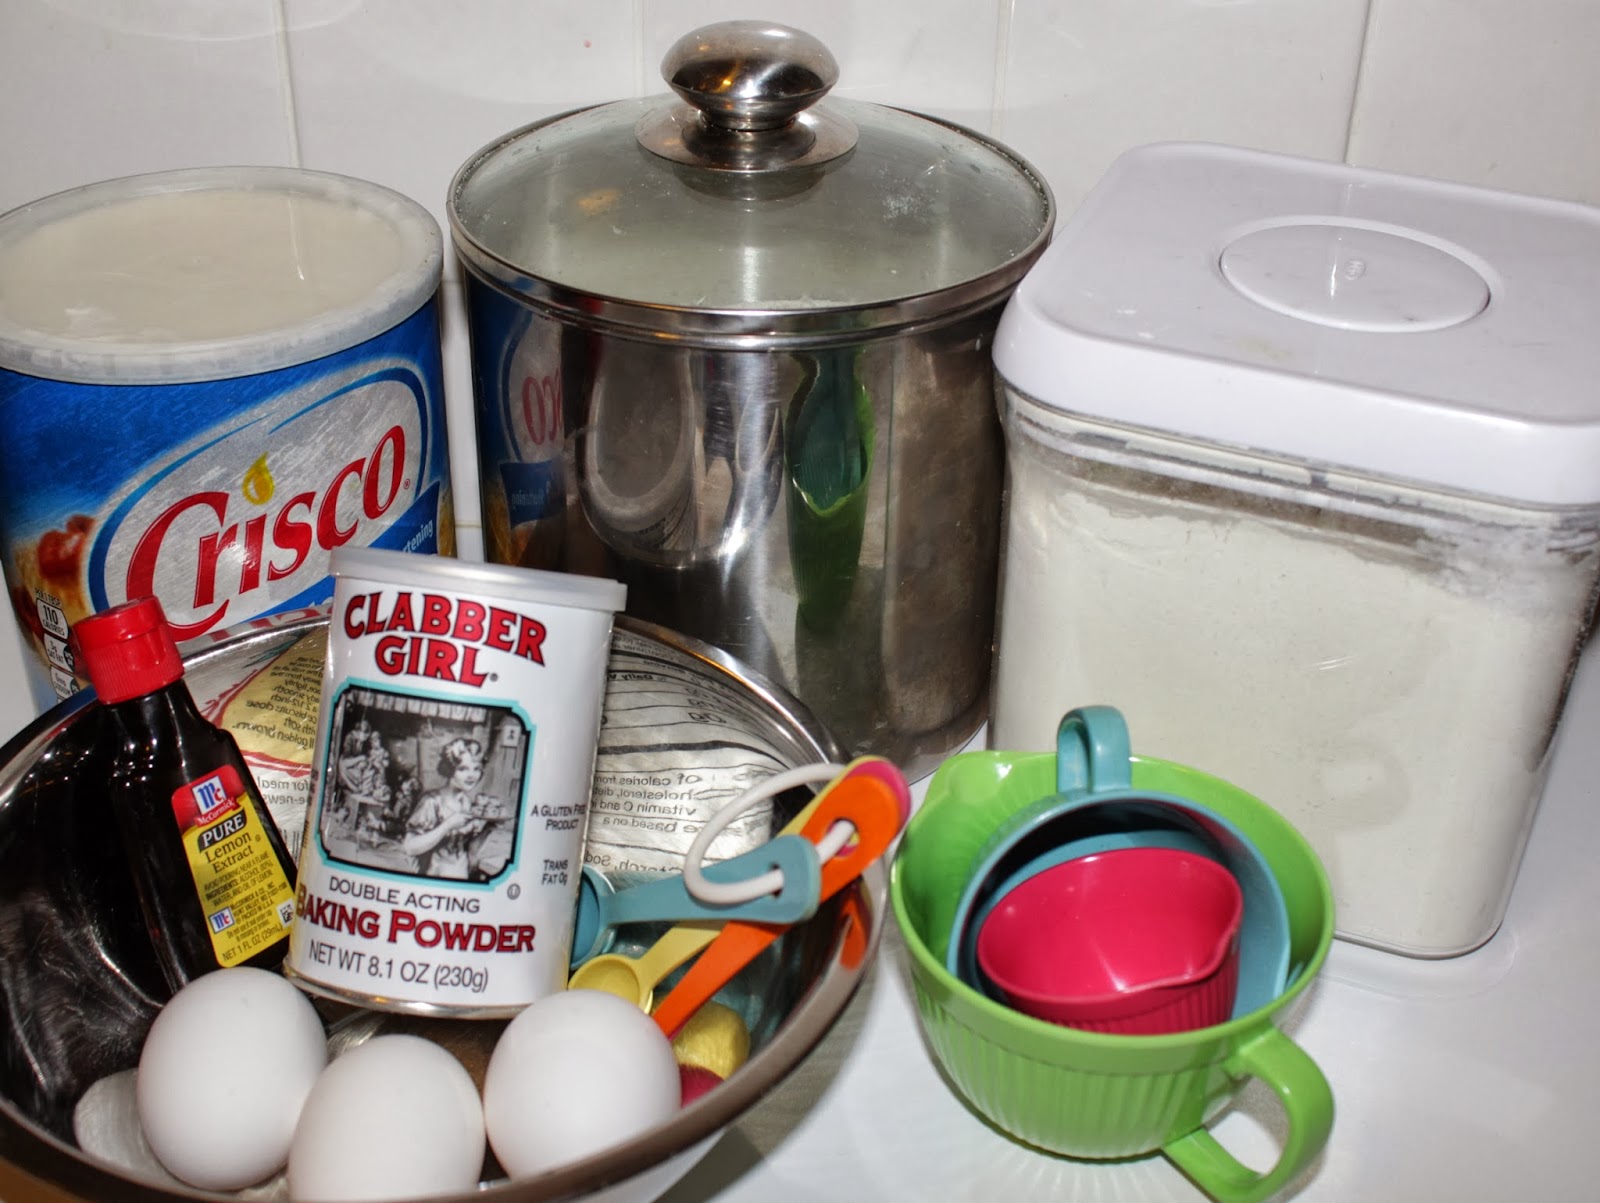
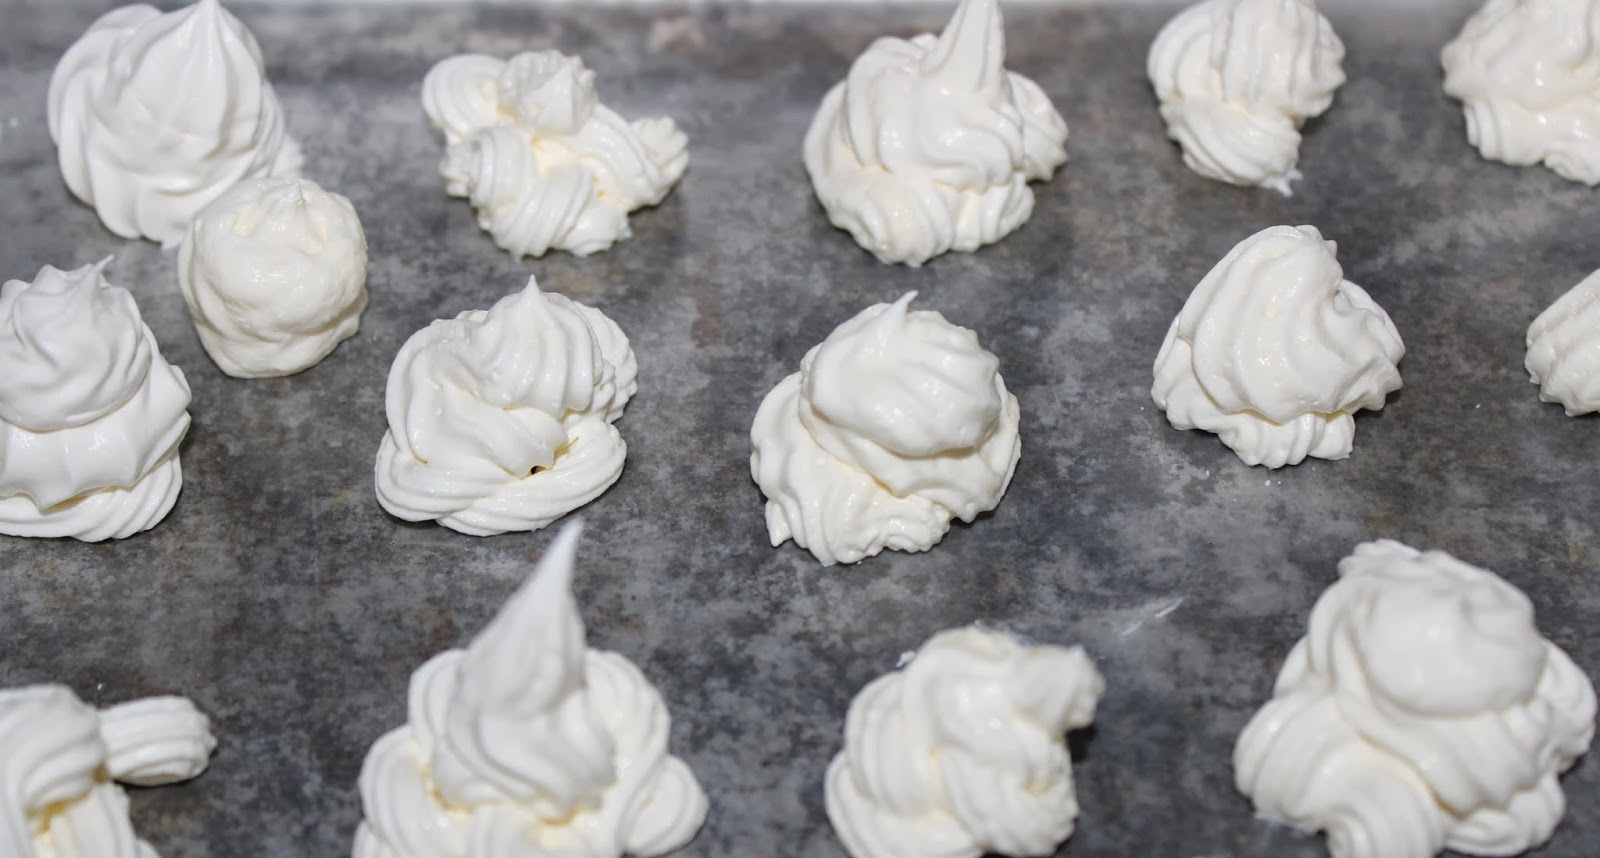
This was actually supposed to be a February project, but when we ended up with a partially used whipped cream container, I decided to bump it up by swapping it with the Paper Bag Booklet day. The supplies are: whipped cream (store-bought or handmade), wax paper, decorating/icing bag, something to set your dollops on while they freeze, space in your freezer (pretty sure that’s a commodity), and a container to transplant the dollops to after they’re done.

The icing bag probably isn’t a necessity, but you certainly get a nicer appearance than just chucking some whipped cream on a pan. Whipped cream inside an icing bag is much more difficult and messy to deal with than icing in an icing bag, because it’s so much lighter. Even while trying to be careful and neat, my dollops were far from beautiful.

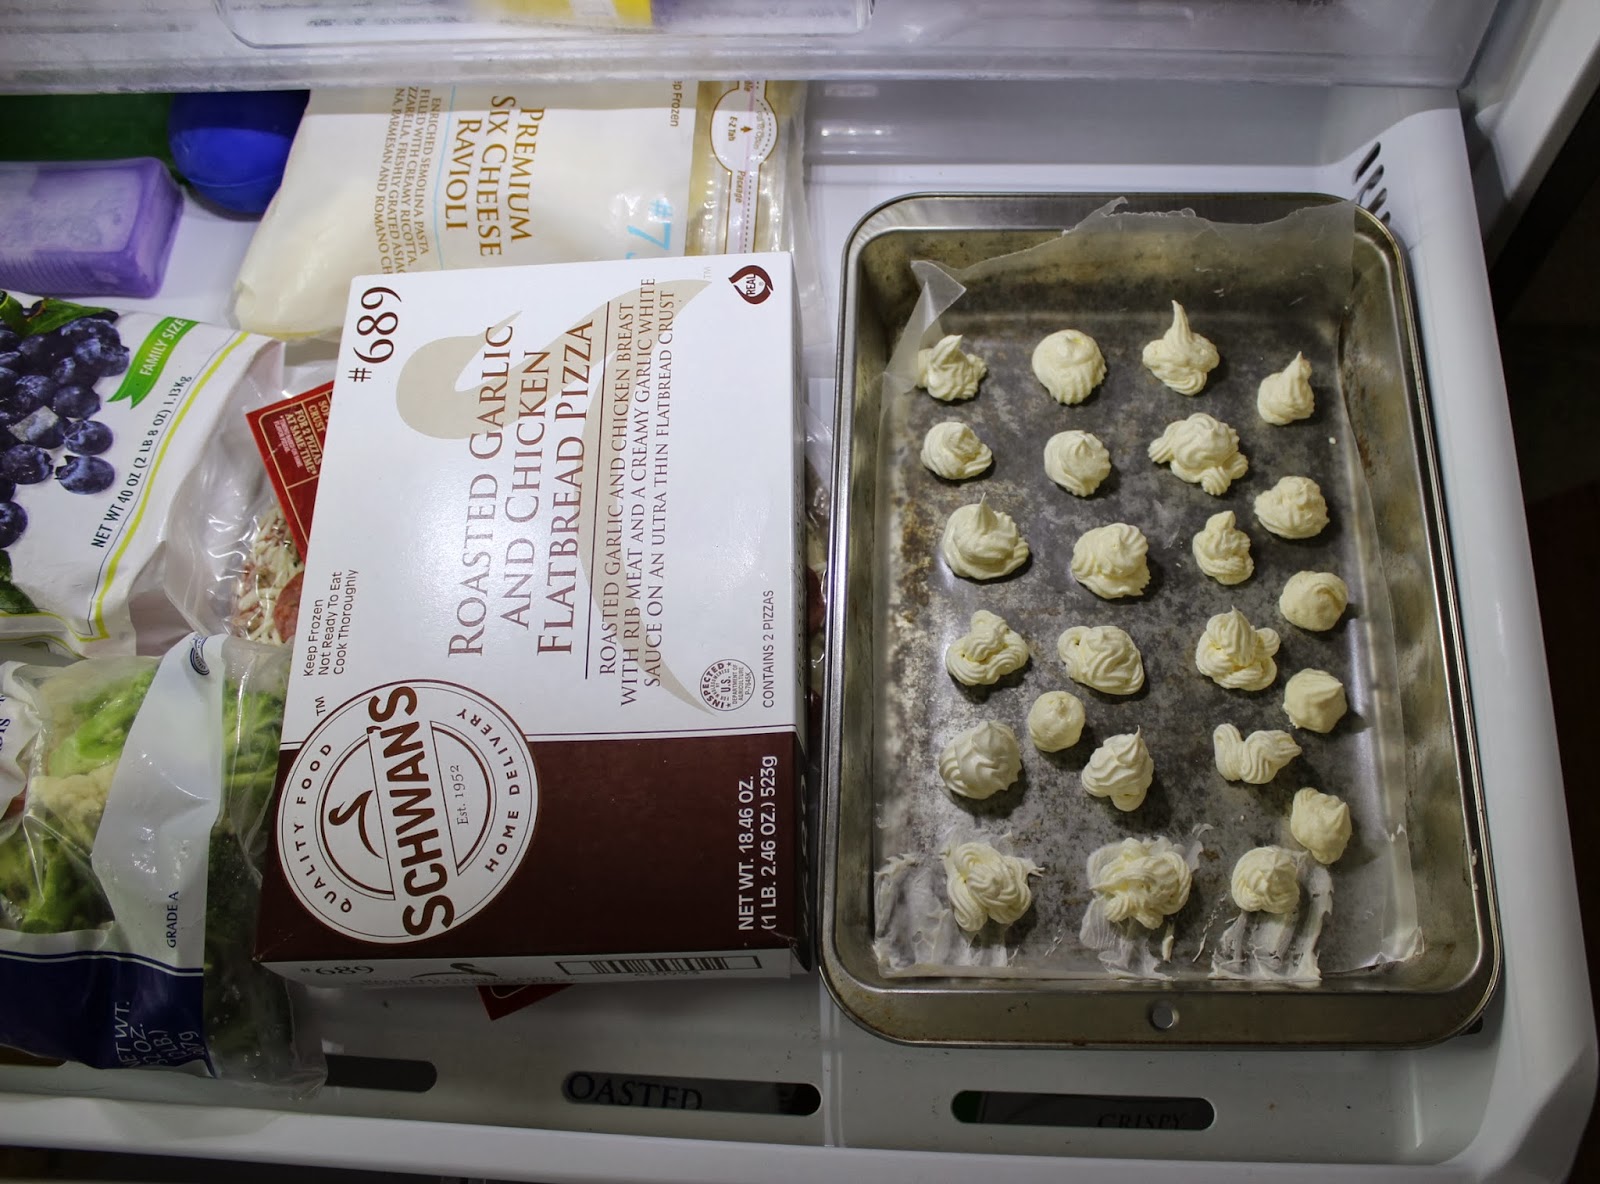
Then I played Tetris in order to fit the pan in one of my freezer shelves:

After a few hours they should be able to be transplanted into your container. I will warn you that they are not completely frozen at this point and can be squished if you’re not gentle pulling them off the wax paper. My husband tried to help and overestimated his finger strength.

A couple of days went by before we used them in hot chocolate. I made some for the kids after they shoveled snow yesterday and had the camera at the ready.

At that point my six year old got very annoyed at me taking pictures, but as you can see they worked wonderfully!

Tomorrow’s project is Countertop Pendants!